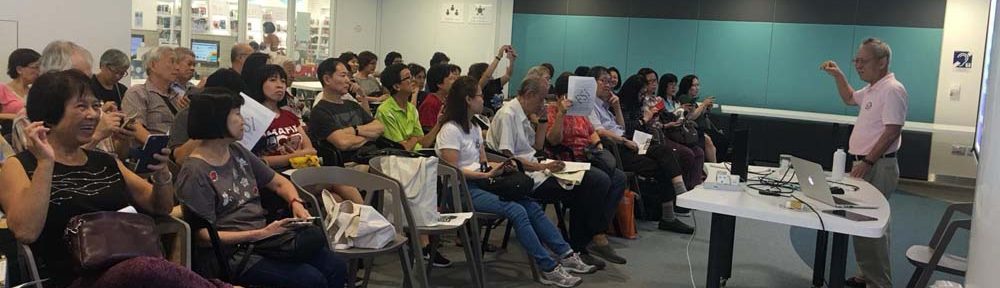
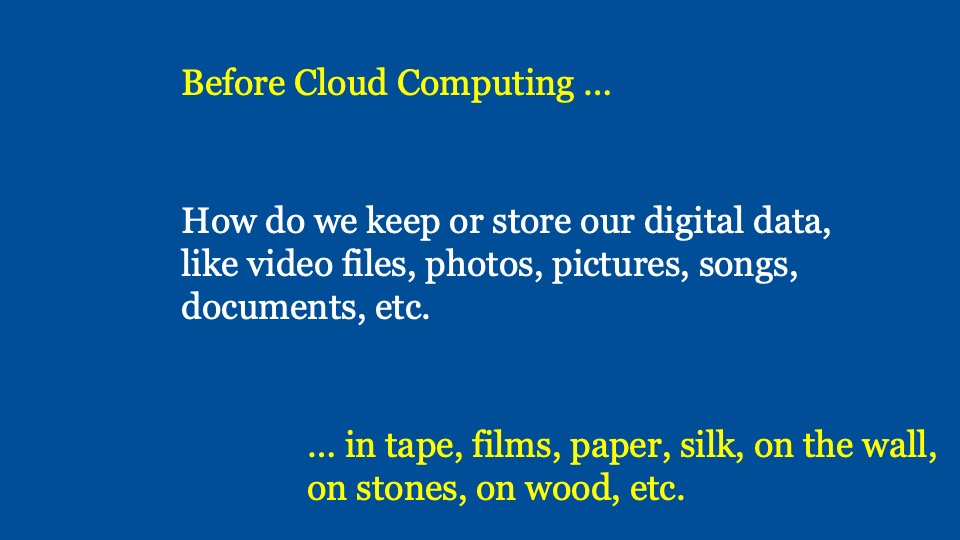
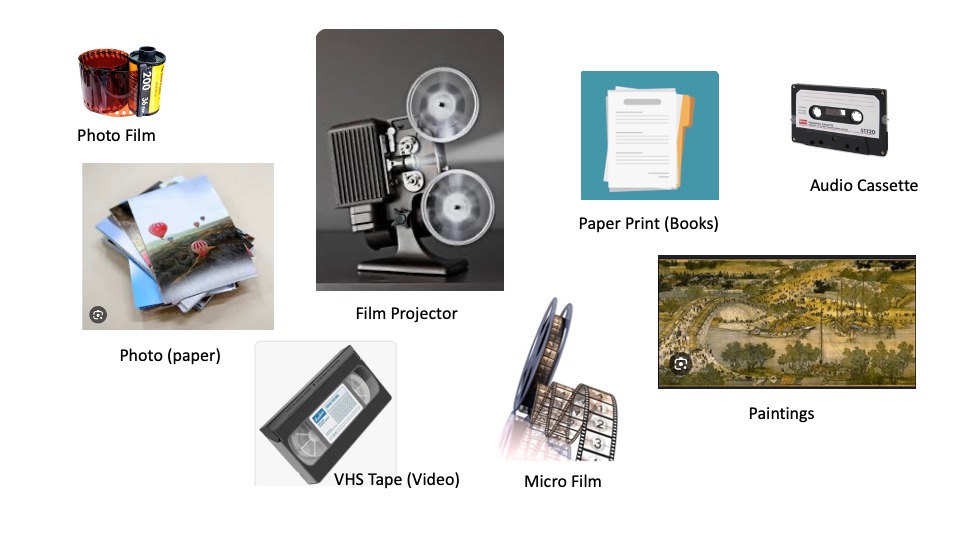
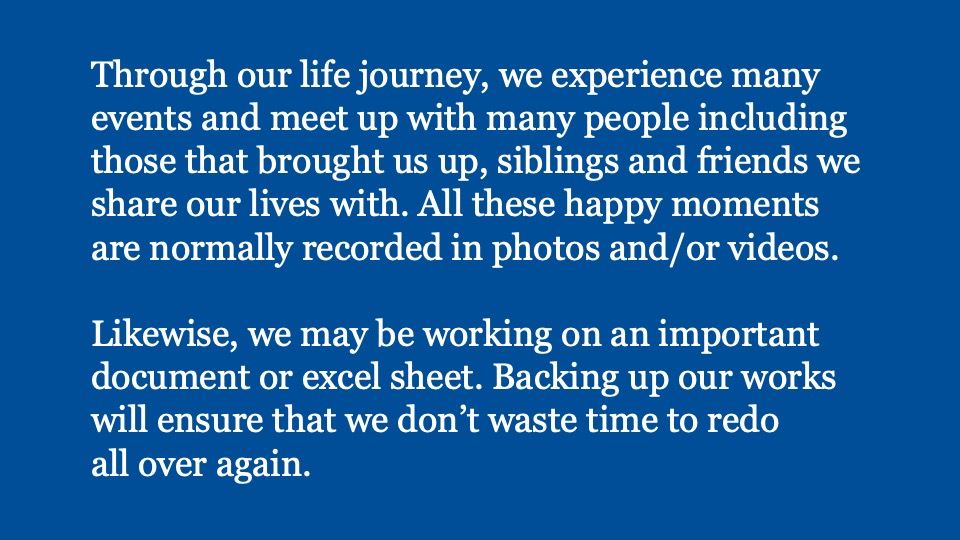
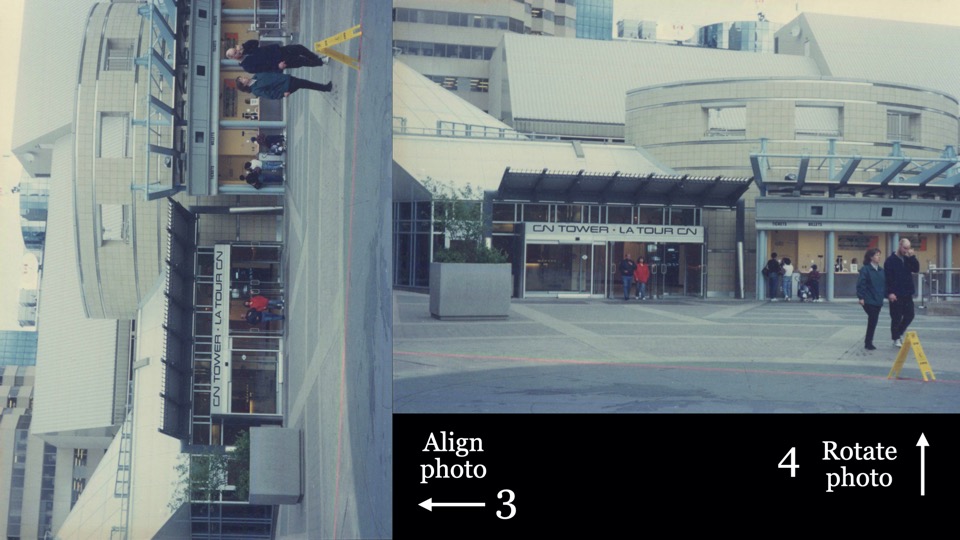
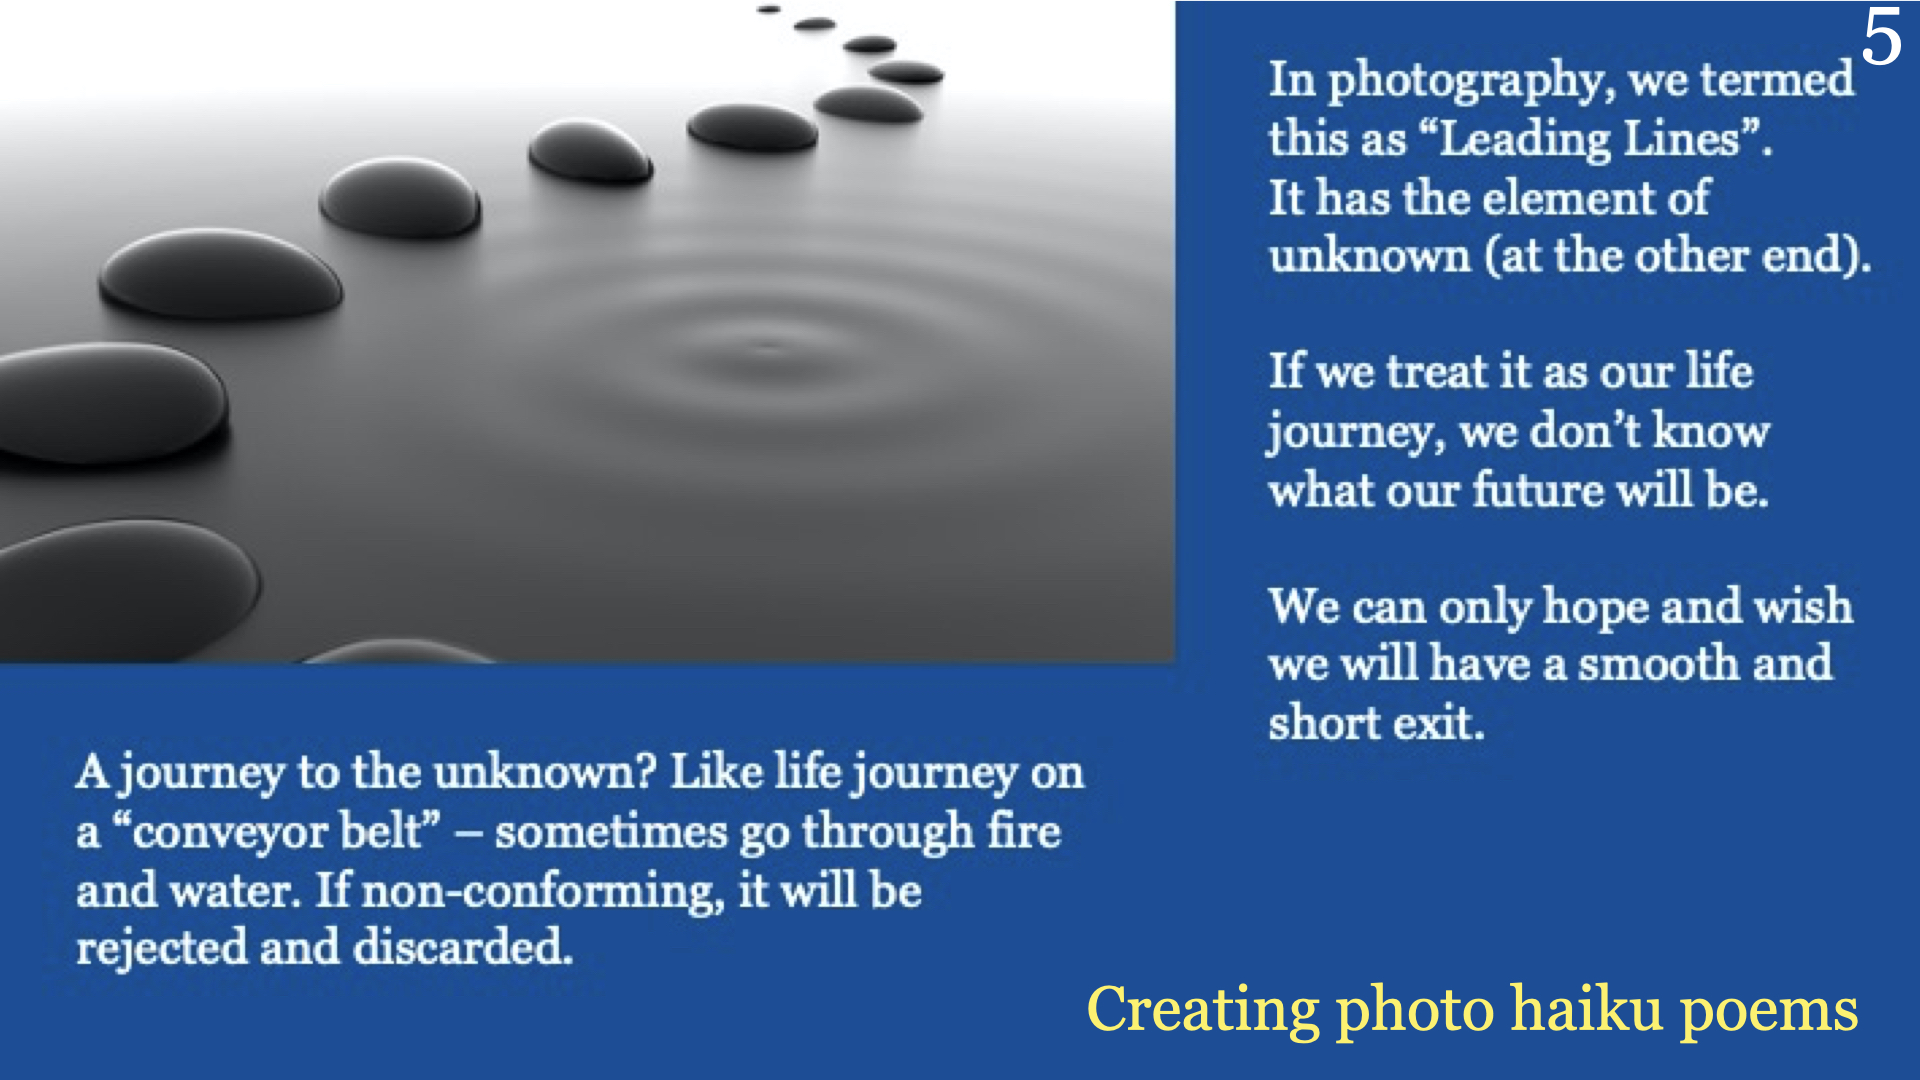
Introduction: Every photo has a story to tell. How do we preserve these memories. In the past, before Cloud Computing, we keep or store our memories in tapes, films, paper prints, silk on the wall, on stones, on wood, etc.
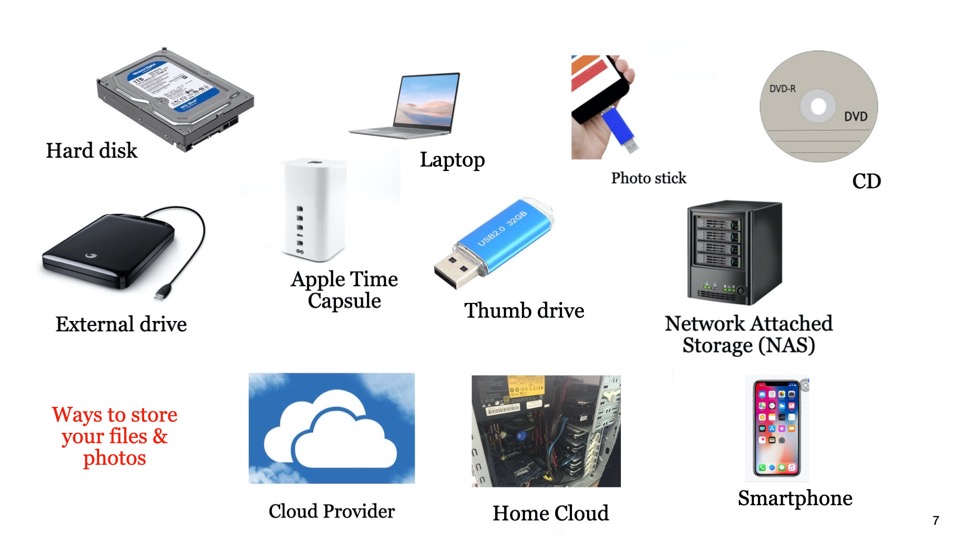
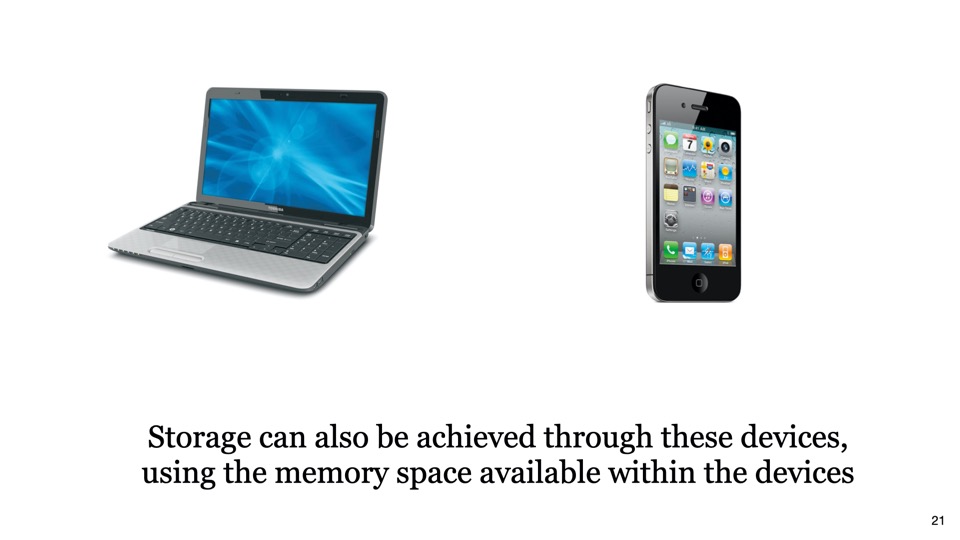
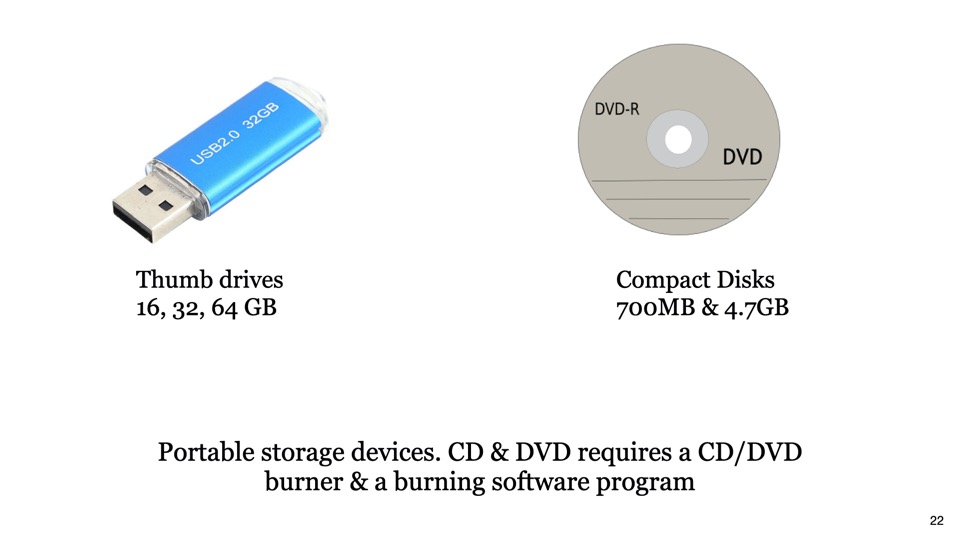
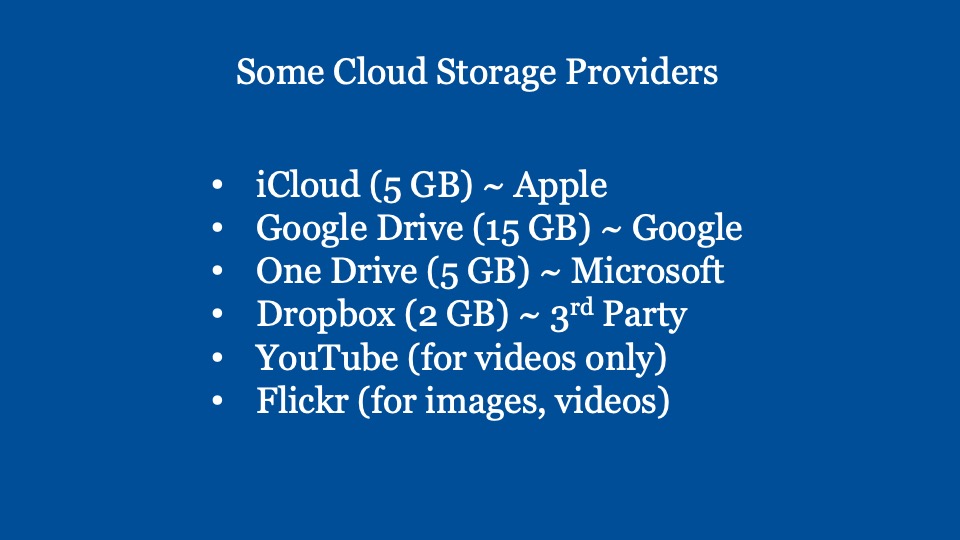
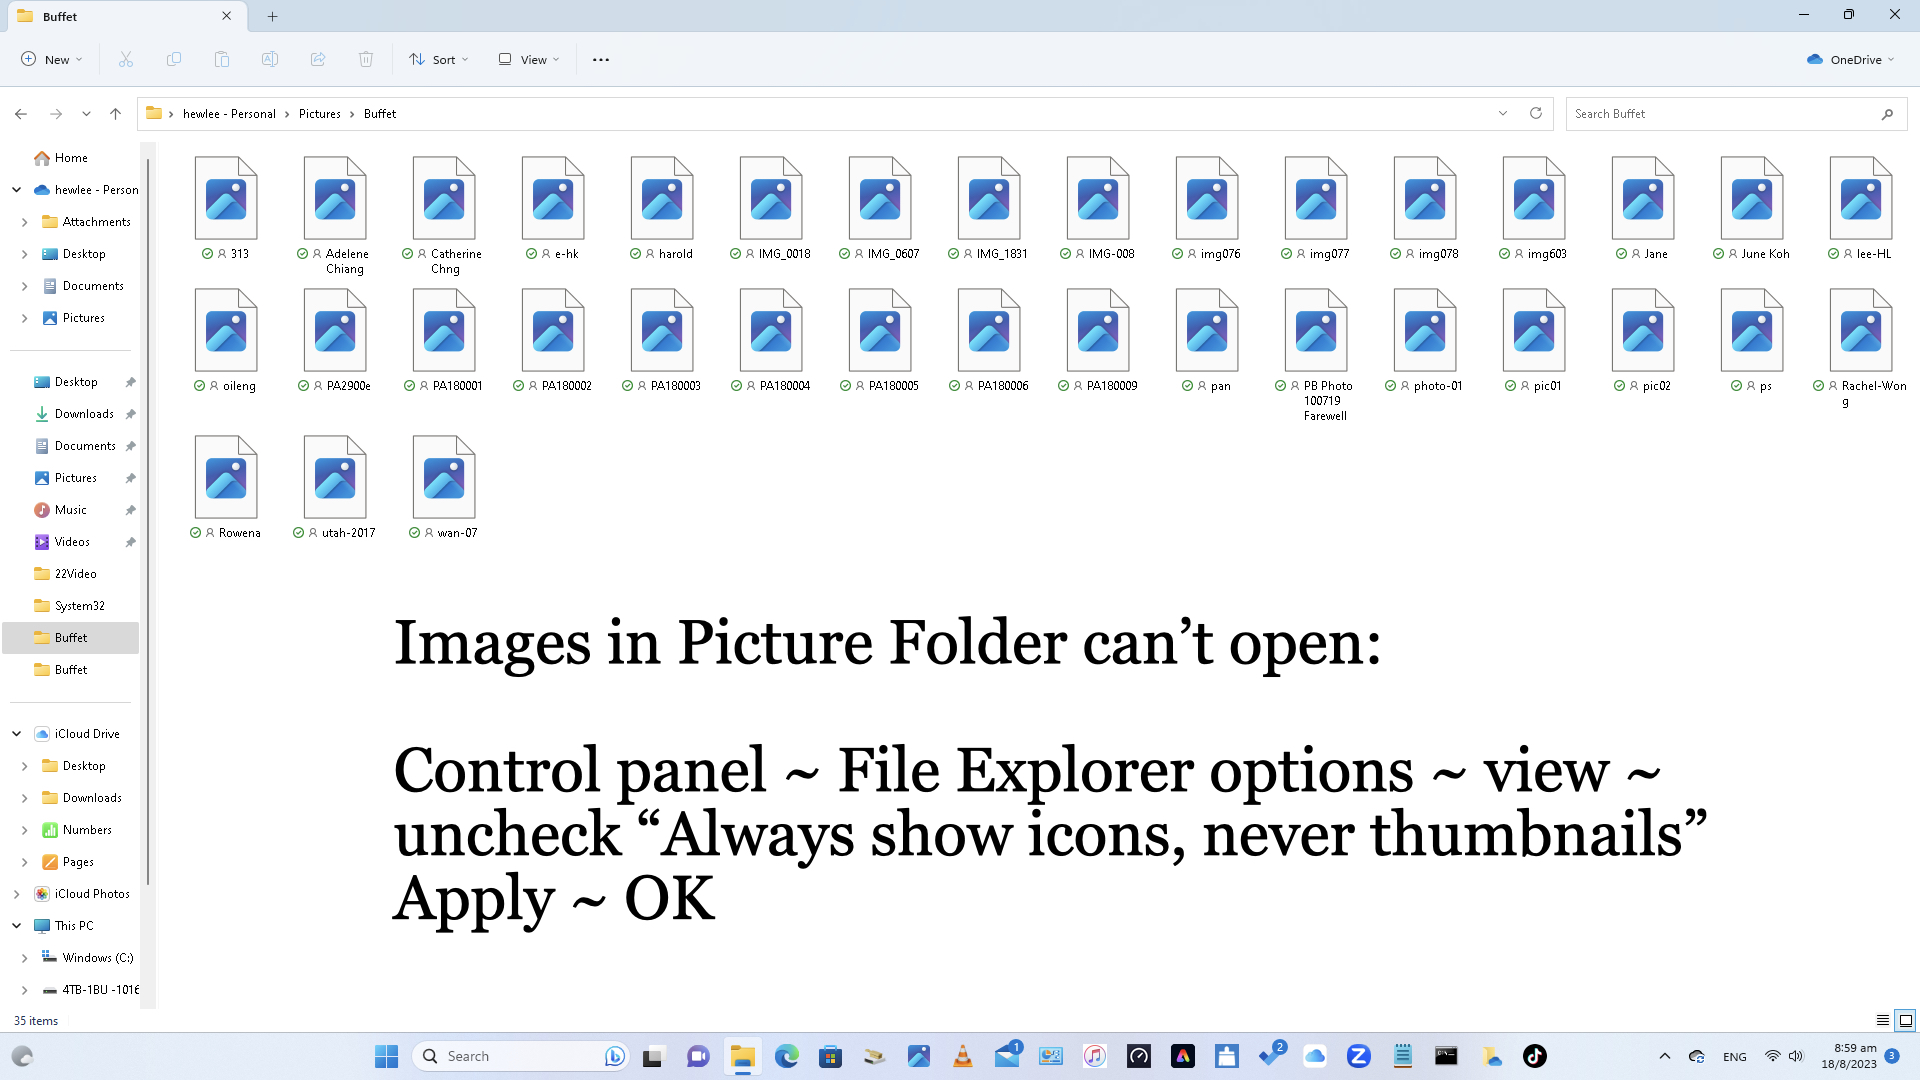
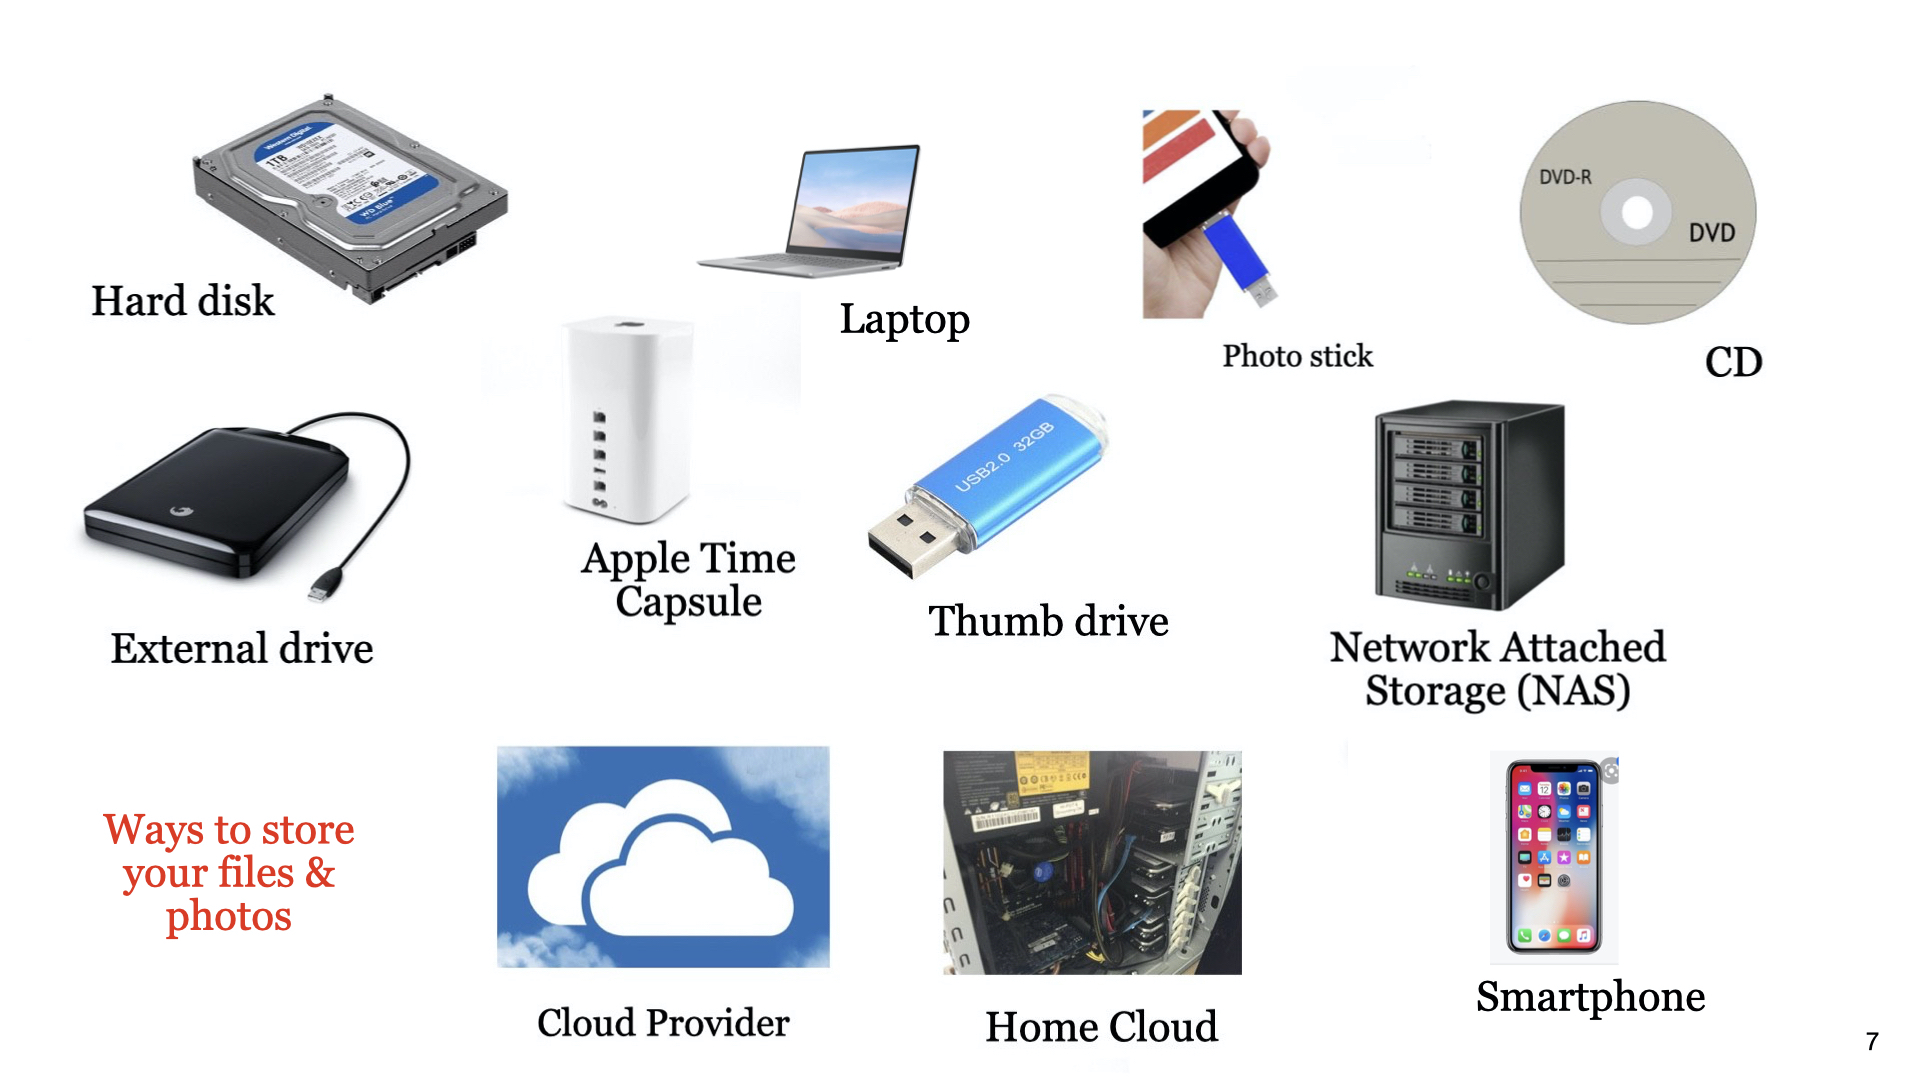
Now, all our memories are digitised in various file formats, such as, JPEG, TIFF, BMP, RAW, etc. So, these digital files (containing our memories) can be stored in hard disk, laptop, smartphones, CDs, thumb drives, in the Cloud,, etc. The question is … which is the best for my purpose.
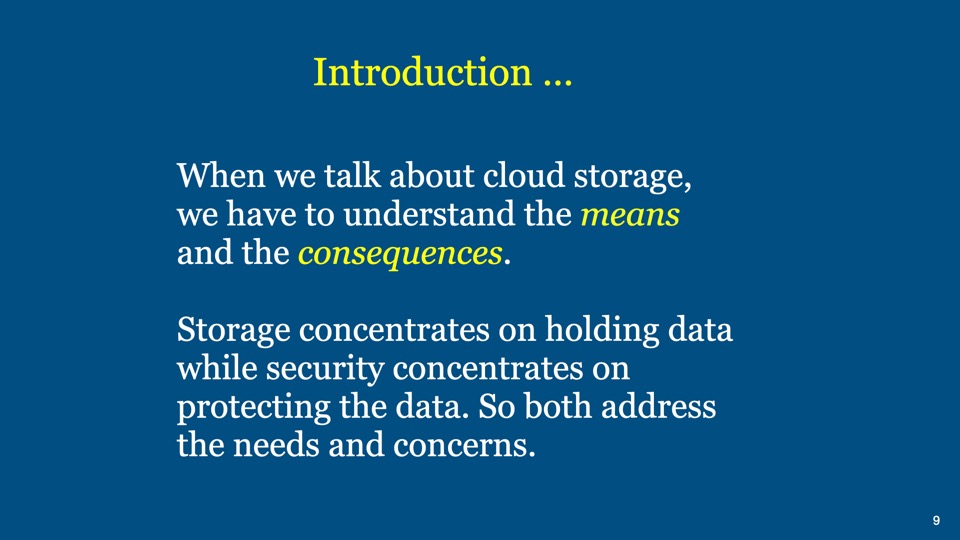
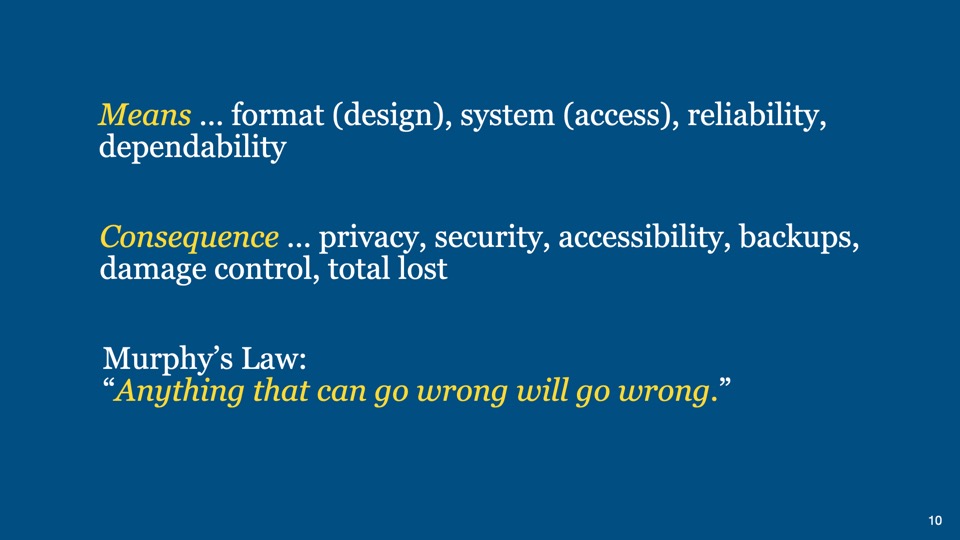
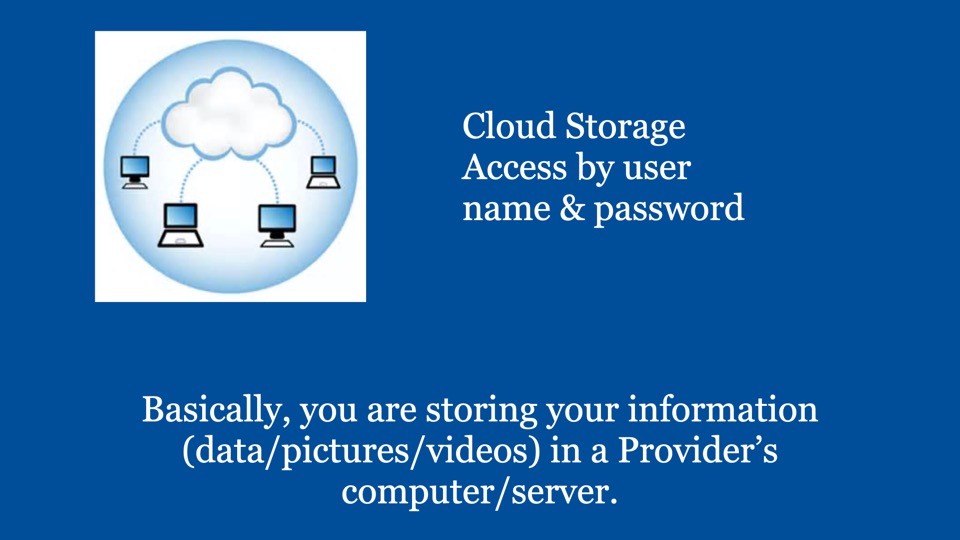
When we talk about cloud storage, we have to understand the means and the consequences.
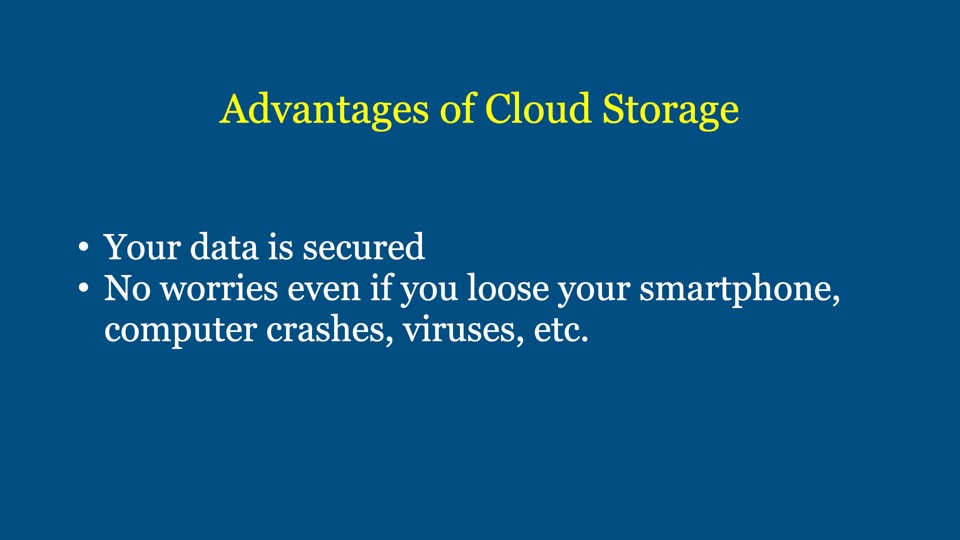
Storage concentrates on holding data while security concentrates on protecting the data. So both address the needs and concerns.
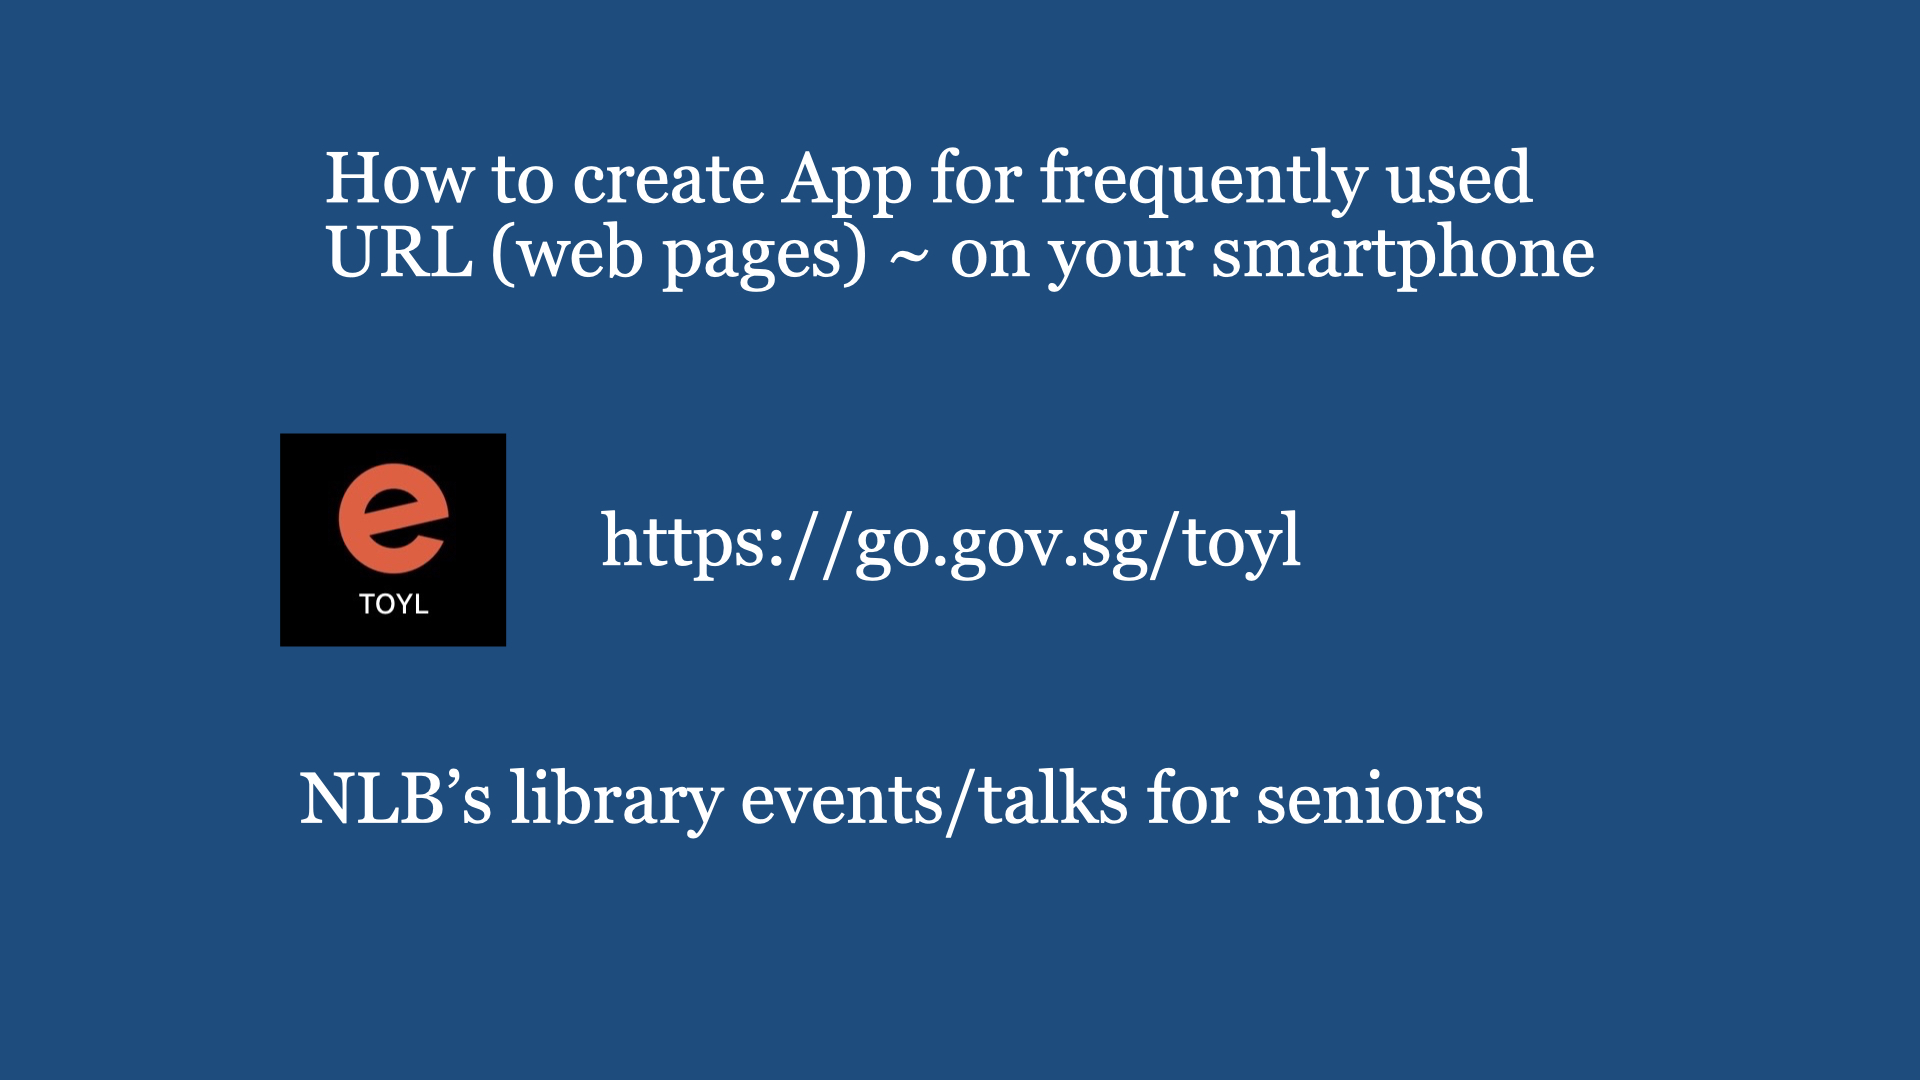
Digital Cafe@Harbourfront Discussion: DIY (Do It Yourself) Date: 9th March (Saturday) Time: 2PM to 4.30PM Venue: library@harbourfront (Vivo city) Facilitator: Hewlee Ho Registration: https://go.gov.sg/toyl (scroll down to date to register. NLB membership is required). Admission: Free Interested, please register with link given below …
This session is to acquire basic knowledge of DIY, including safe guarding yourself on personal safety. Remember, age and experience DO matters in the performance on DIY job in hand and not getting trouble yourself (including your eyes, hands, feet, back, etc). Even not interested in DIY, at least you can be aware why things don’t work the way it said should. So, when engaging any repairman, you are well informed whether he is overcharging you or experience enough to offer you the right solution.
Safety Matters:
Before even starting to lean how to rectify, replace and/or repair anything in the home, ensure you understand and be aware of the following:
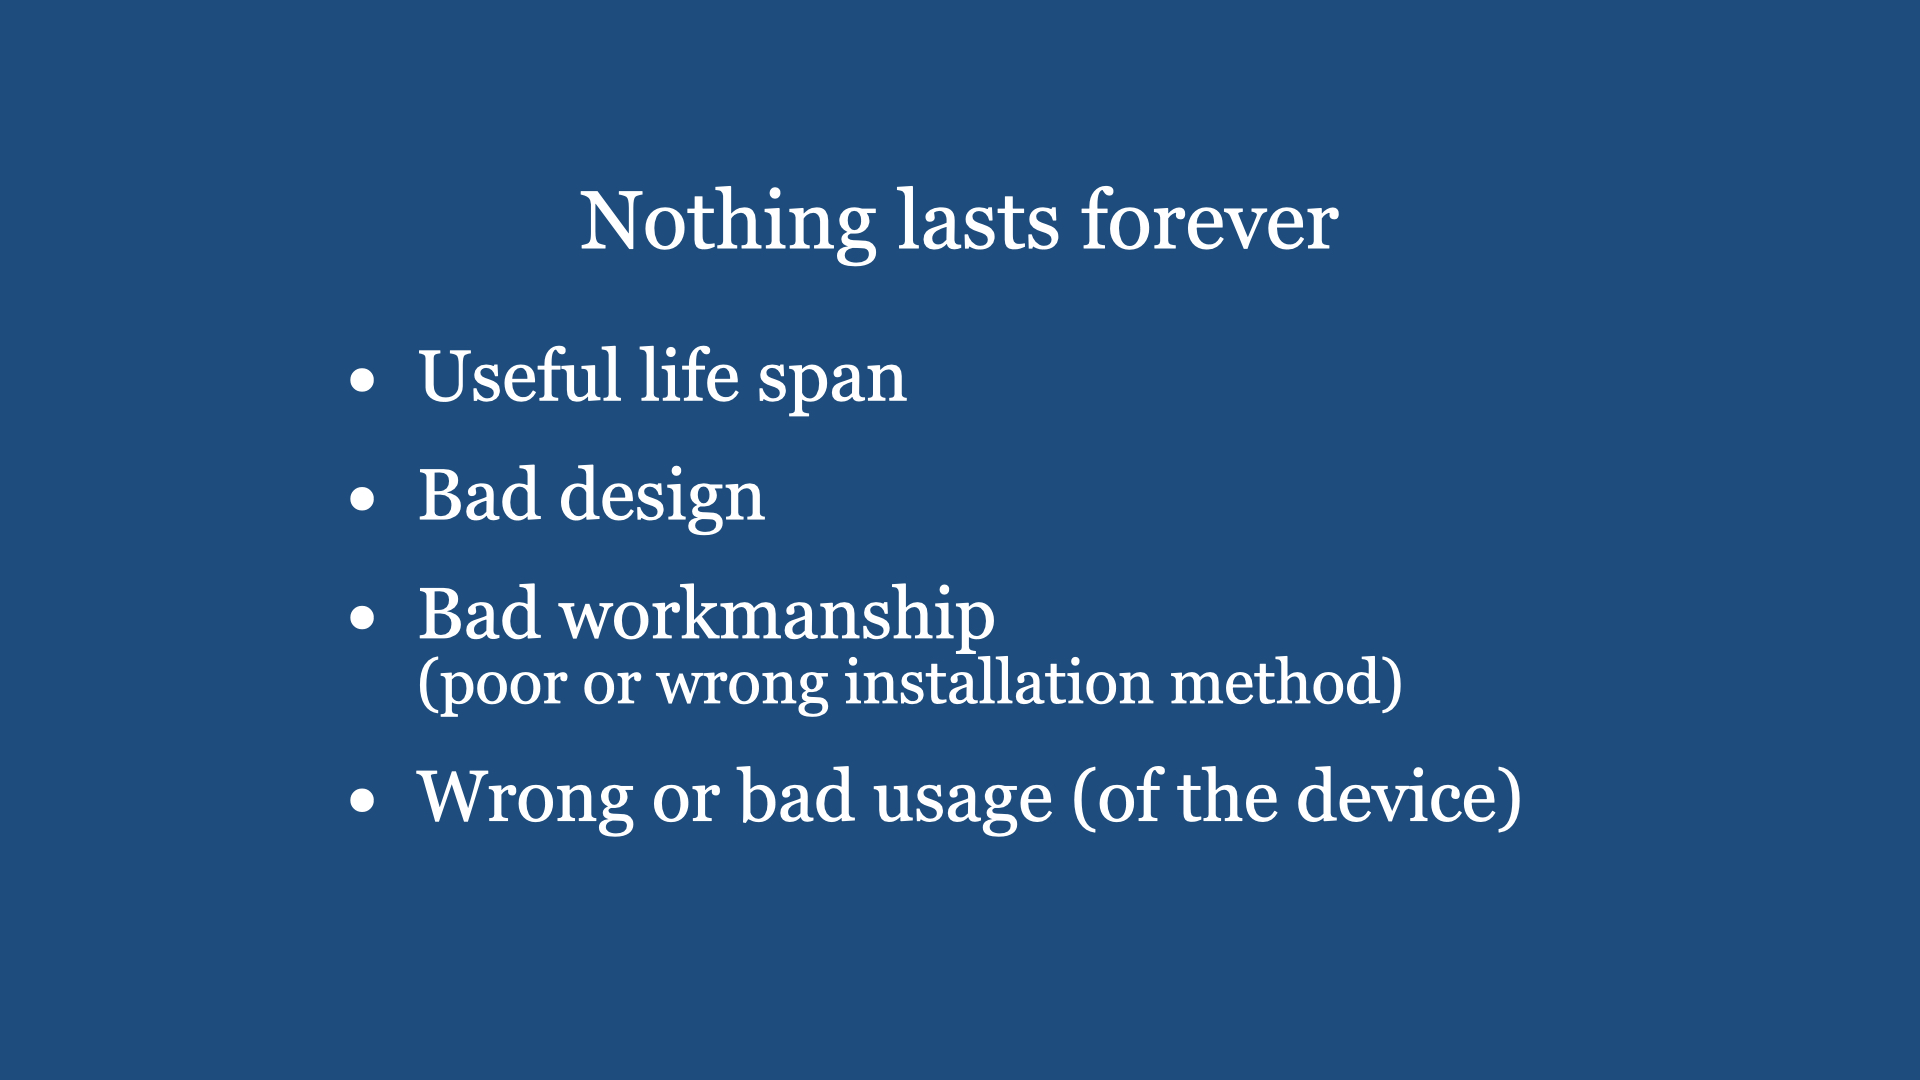
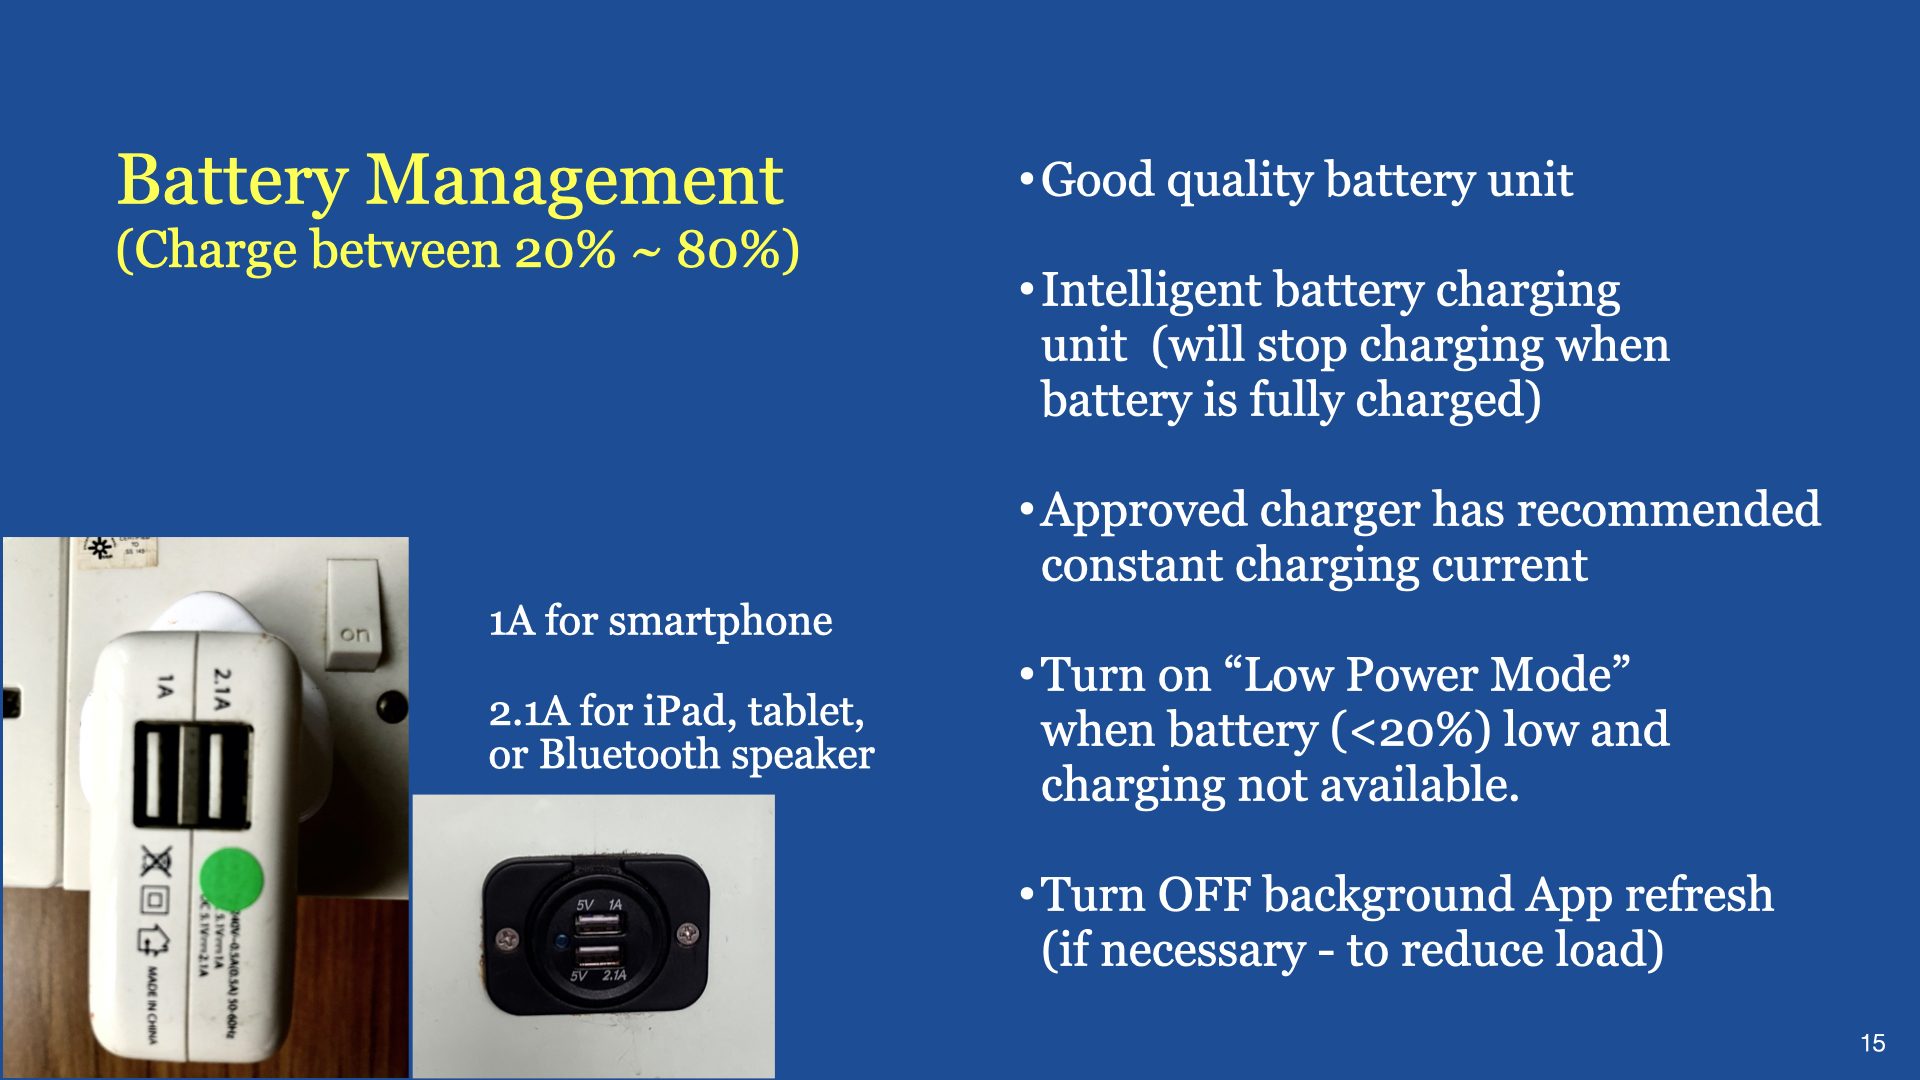
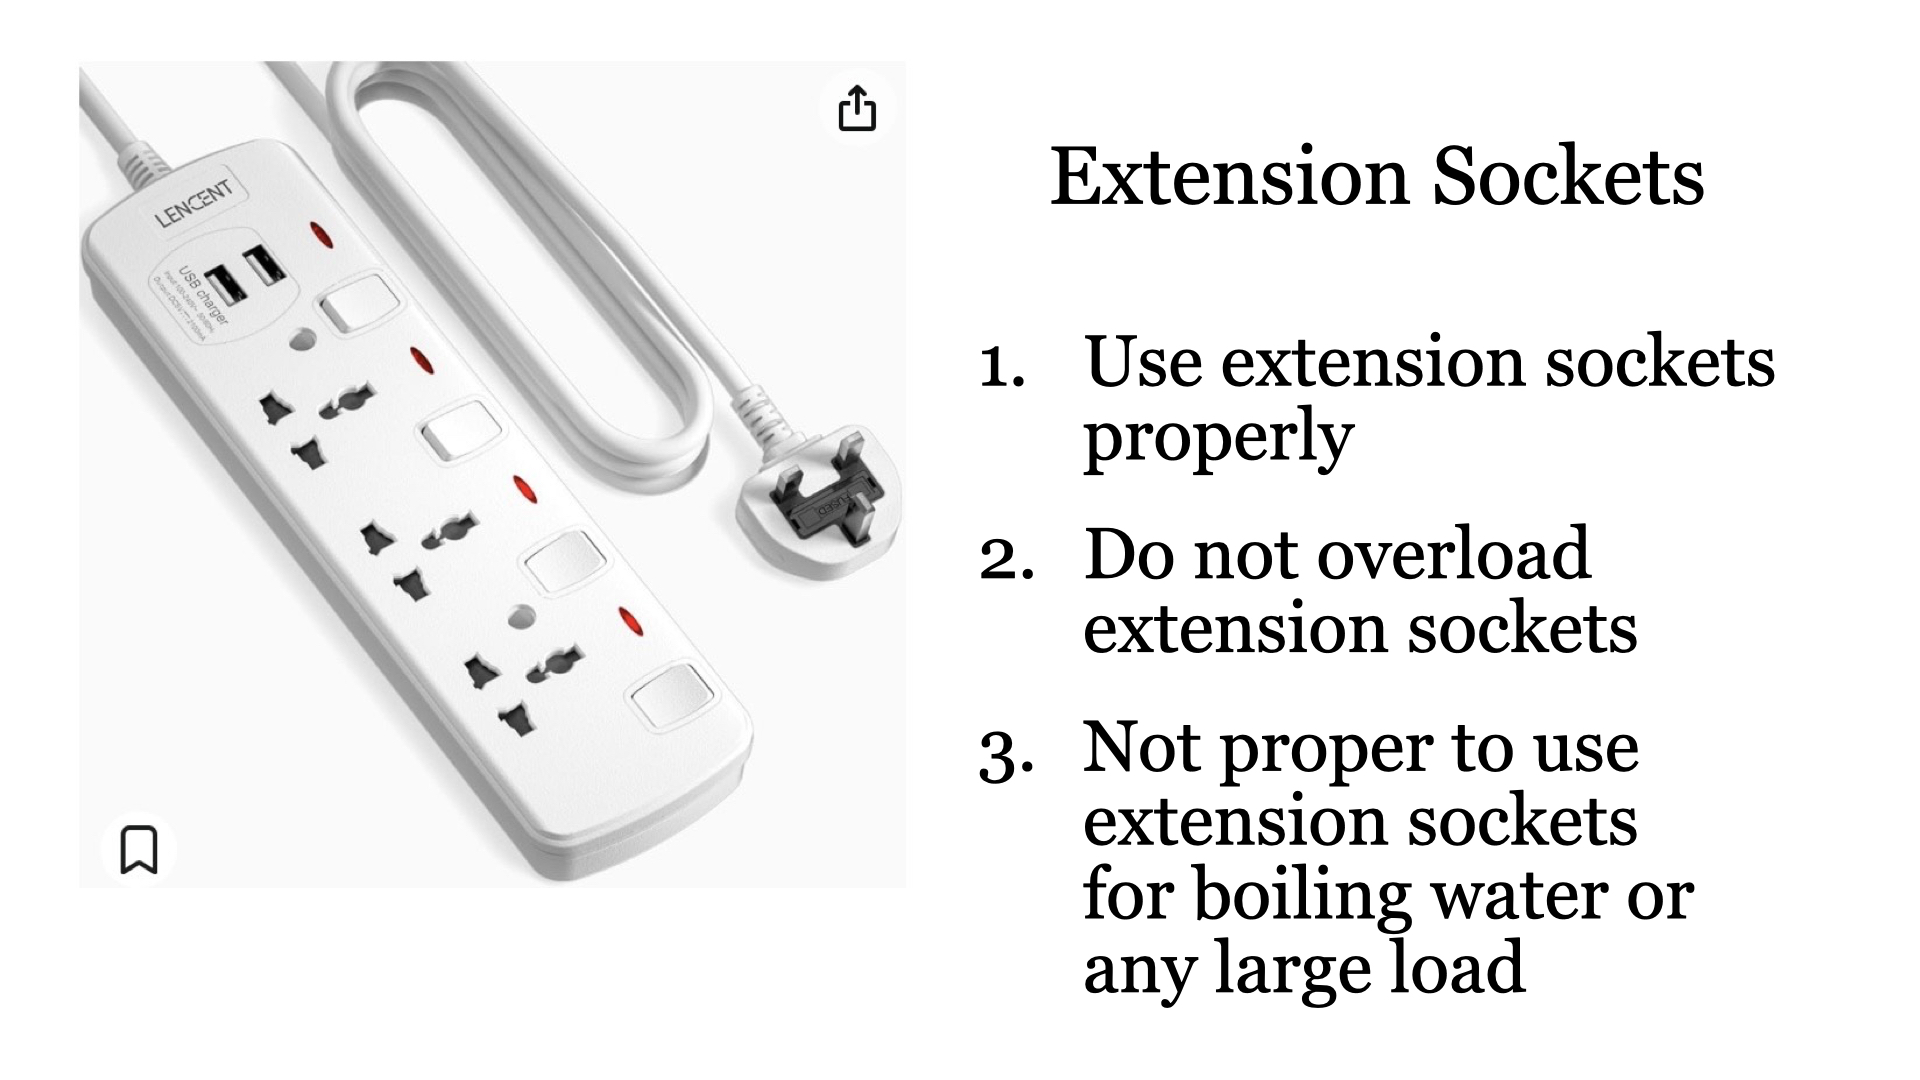
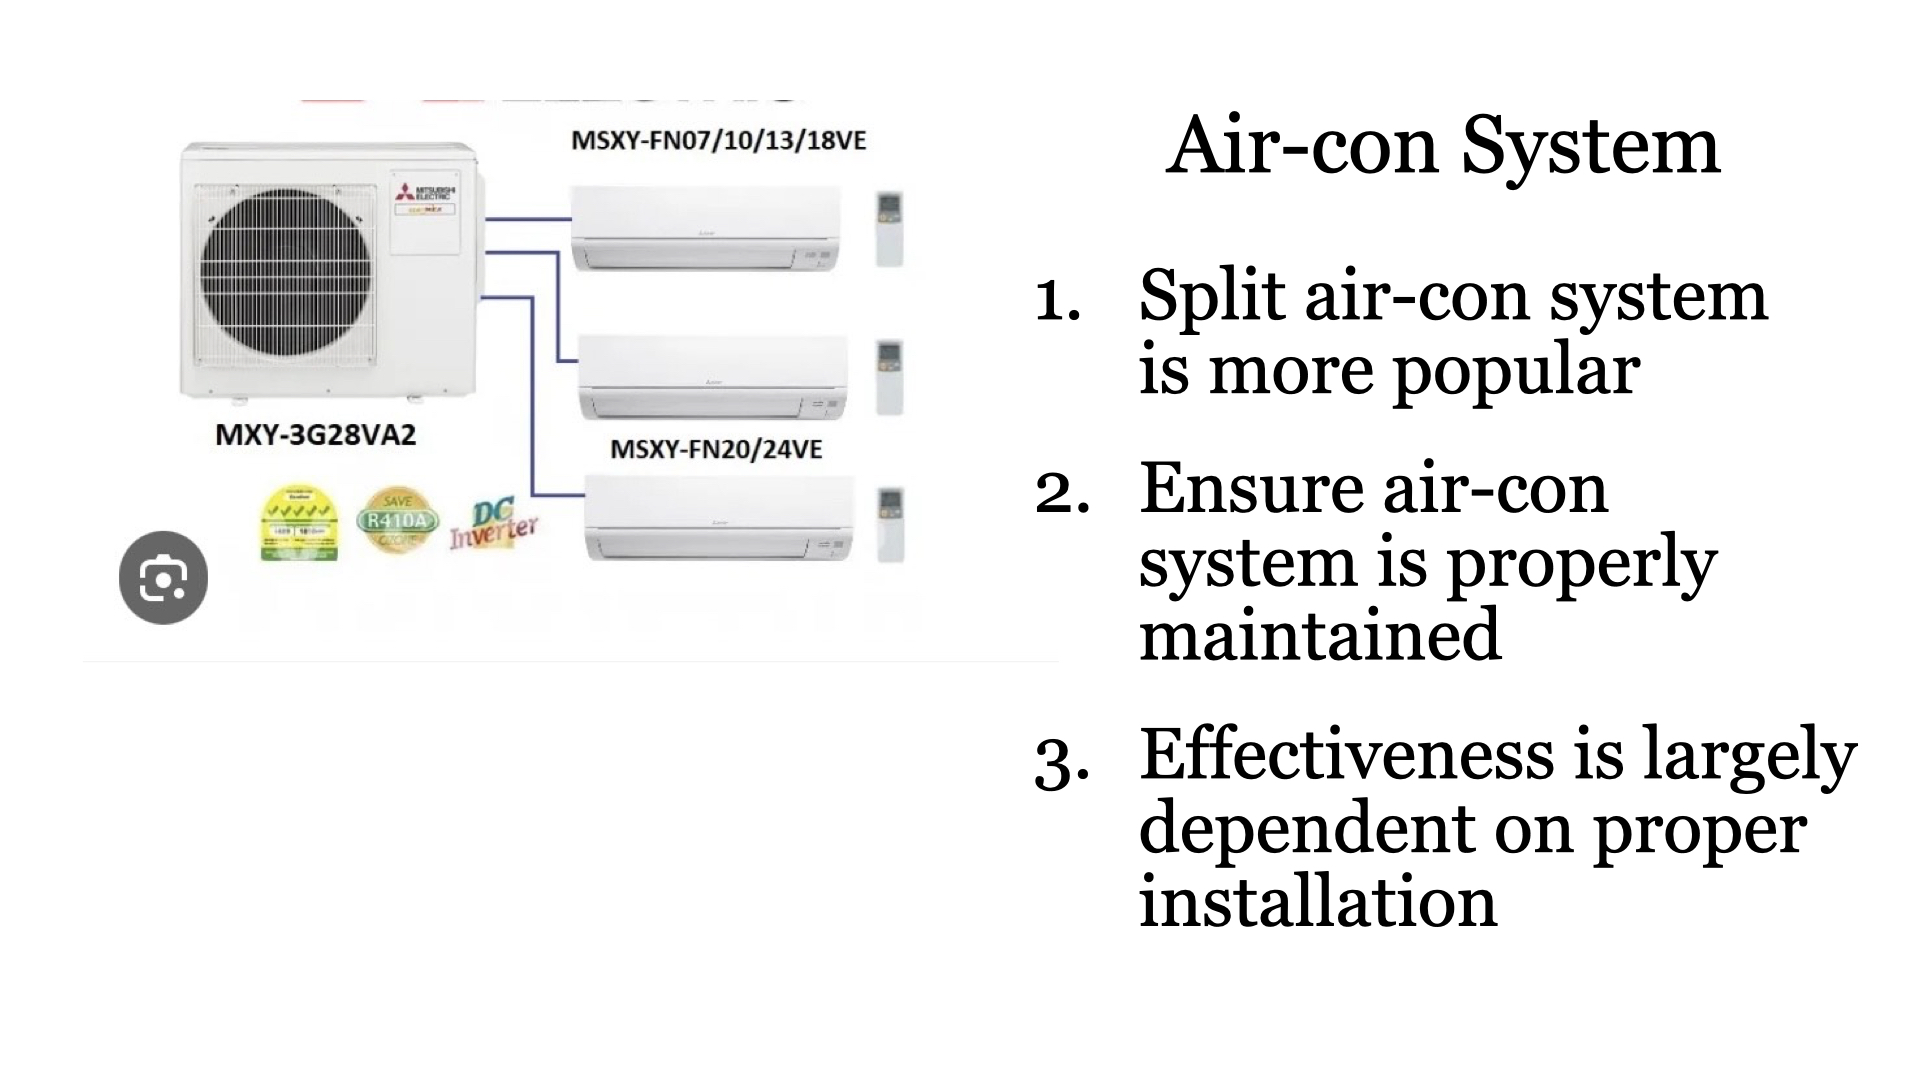
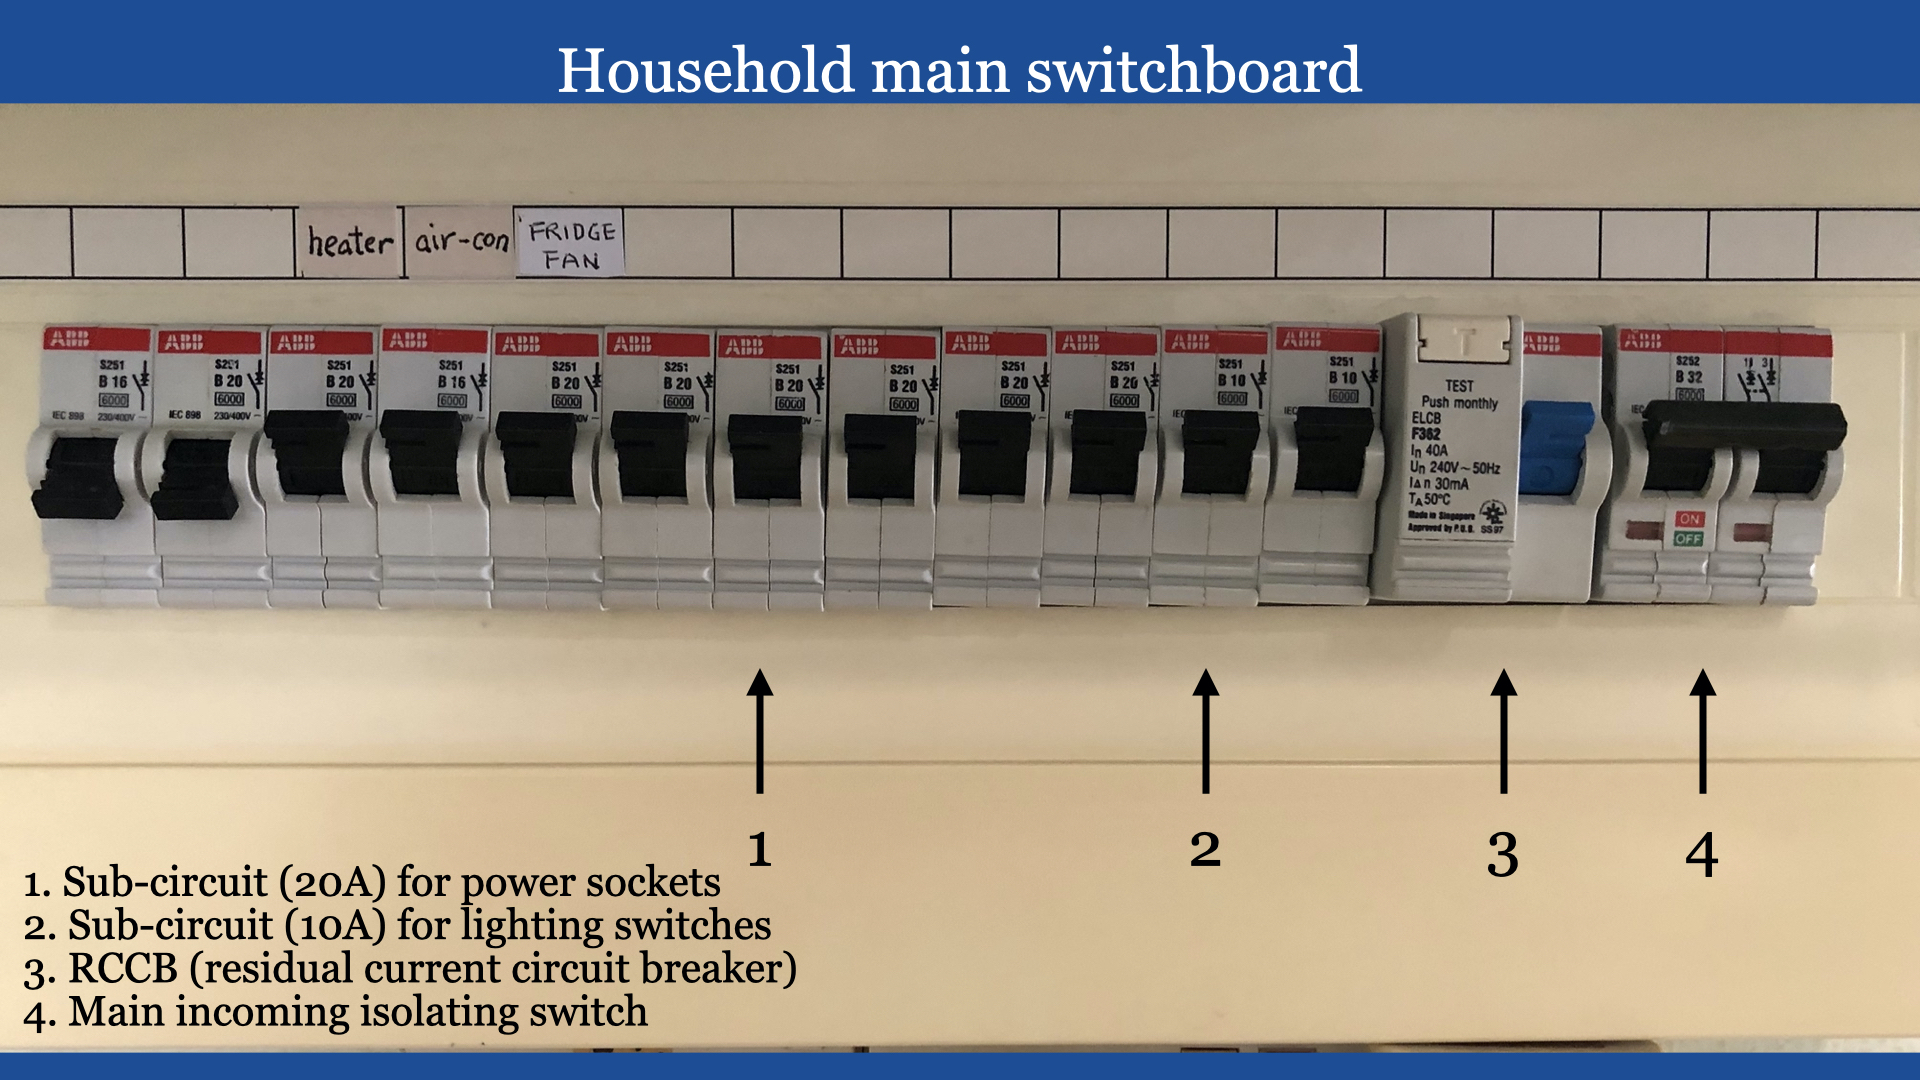
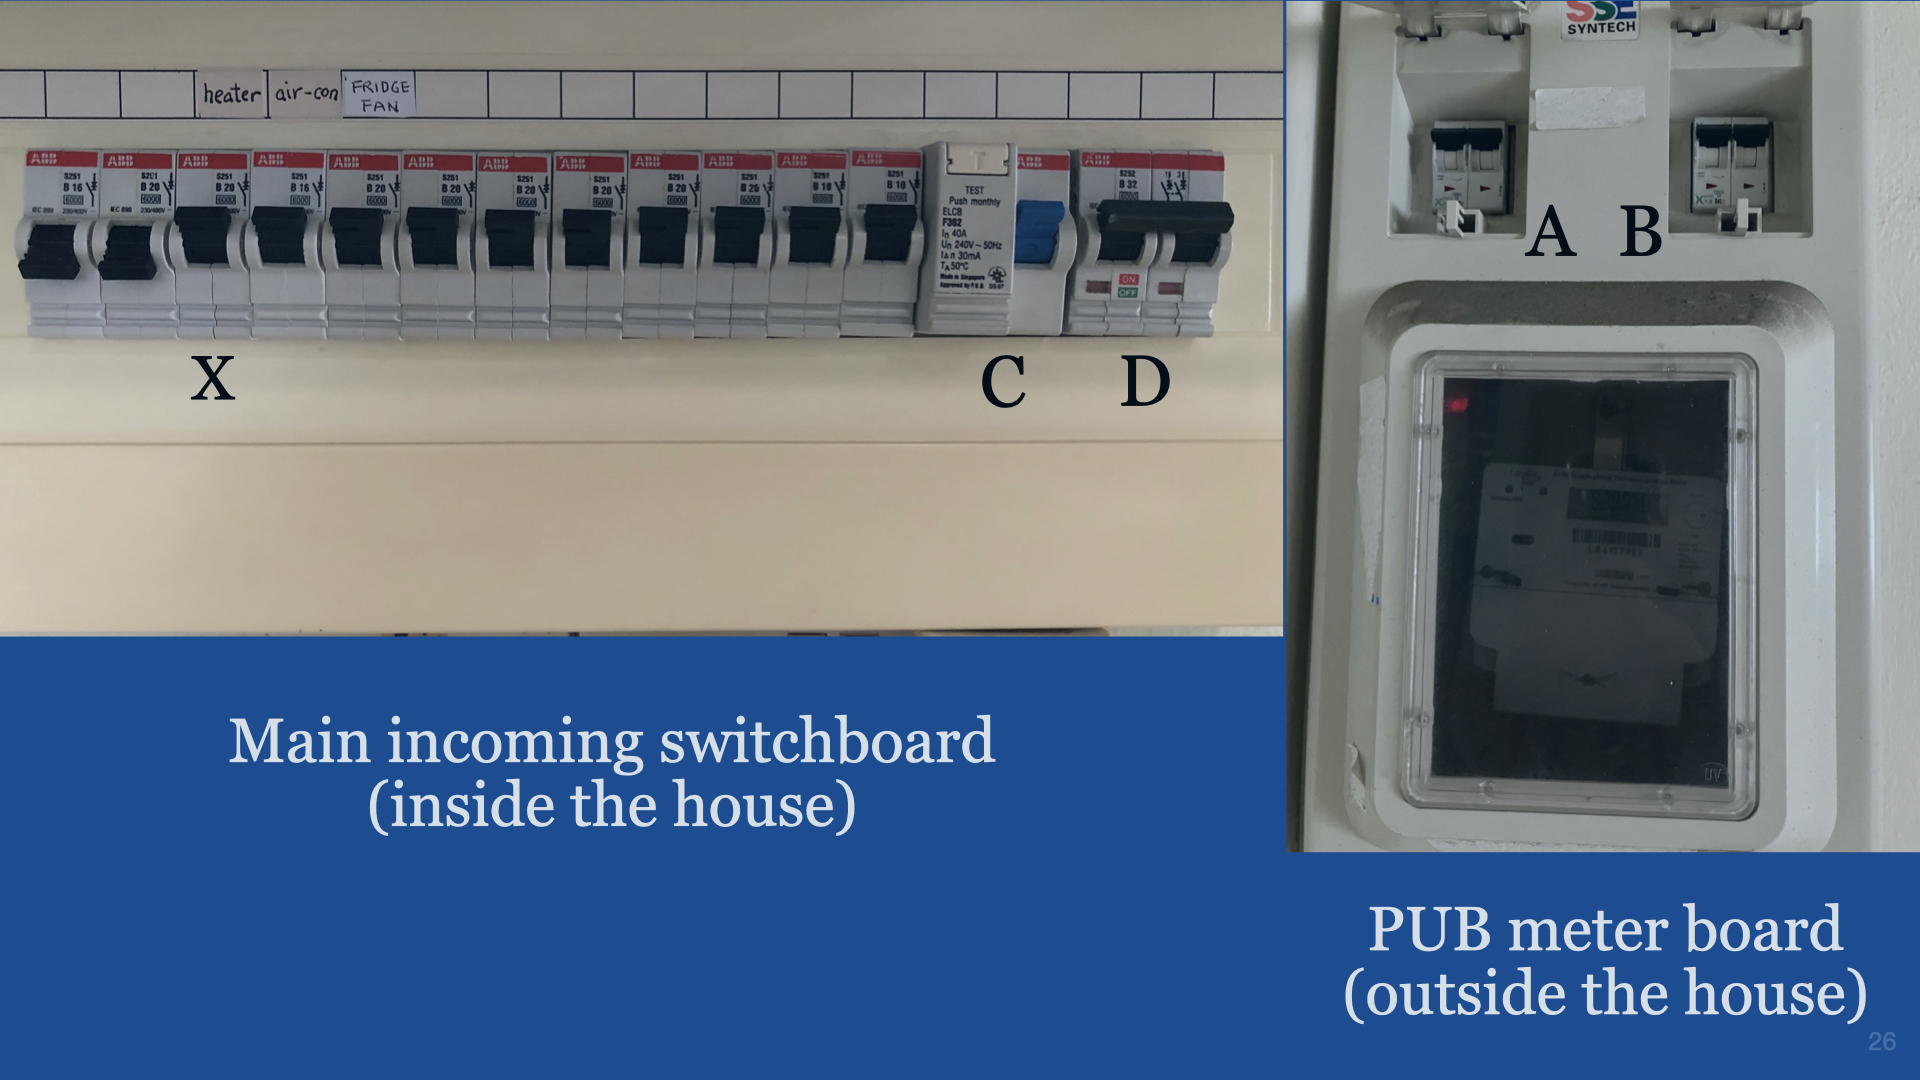
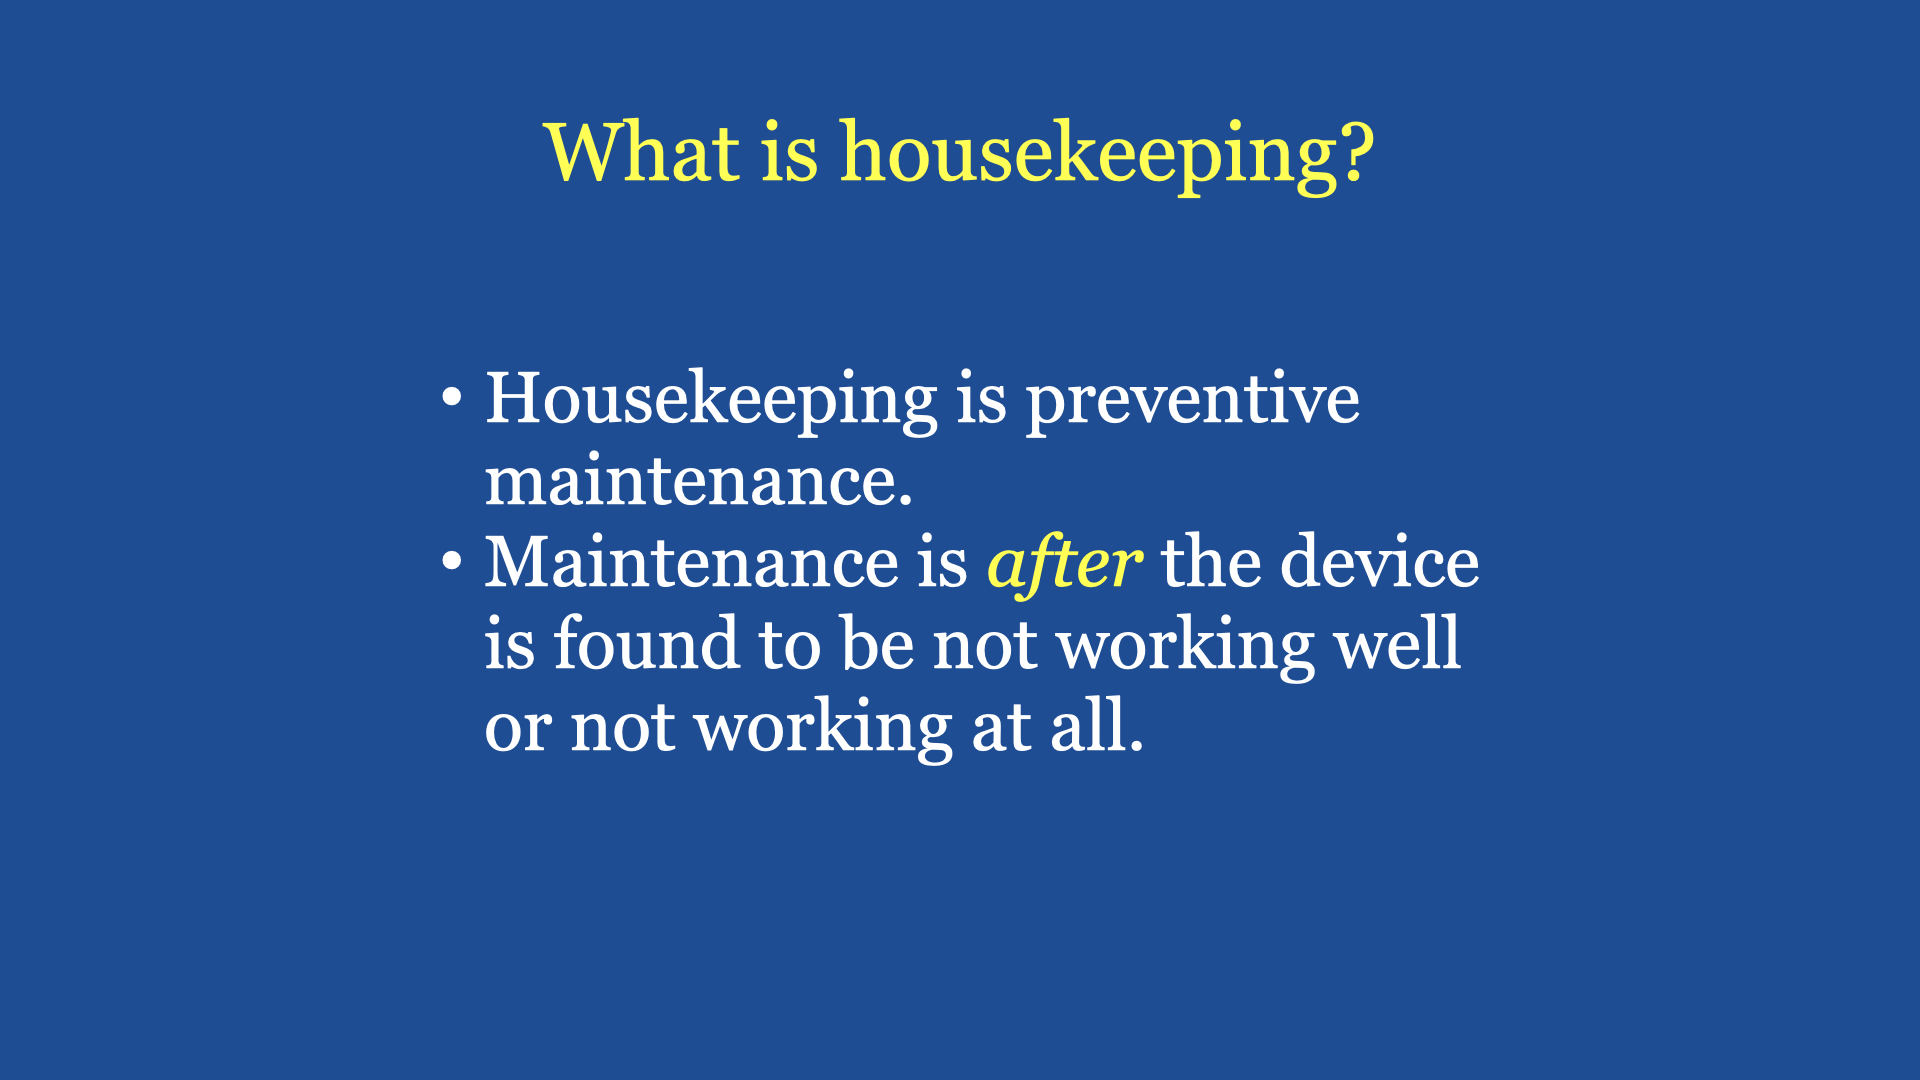
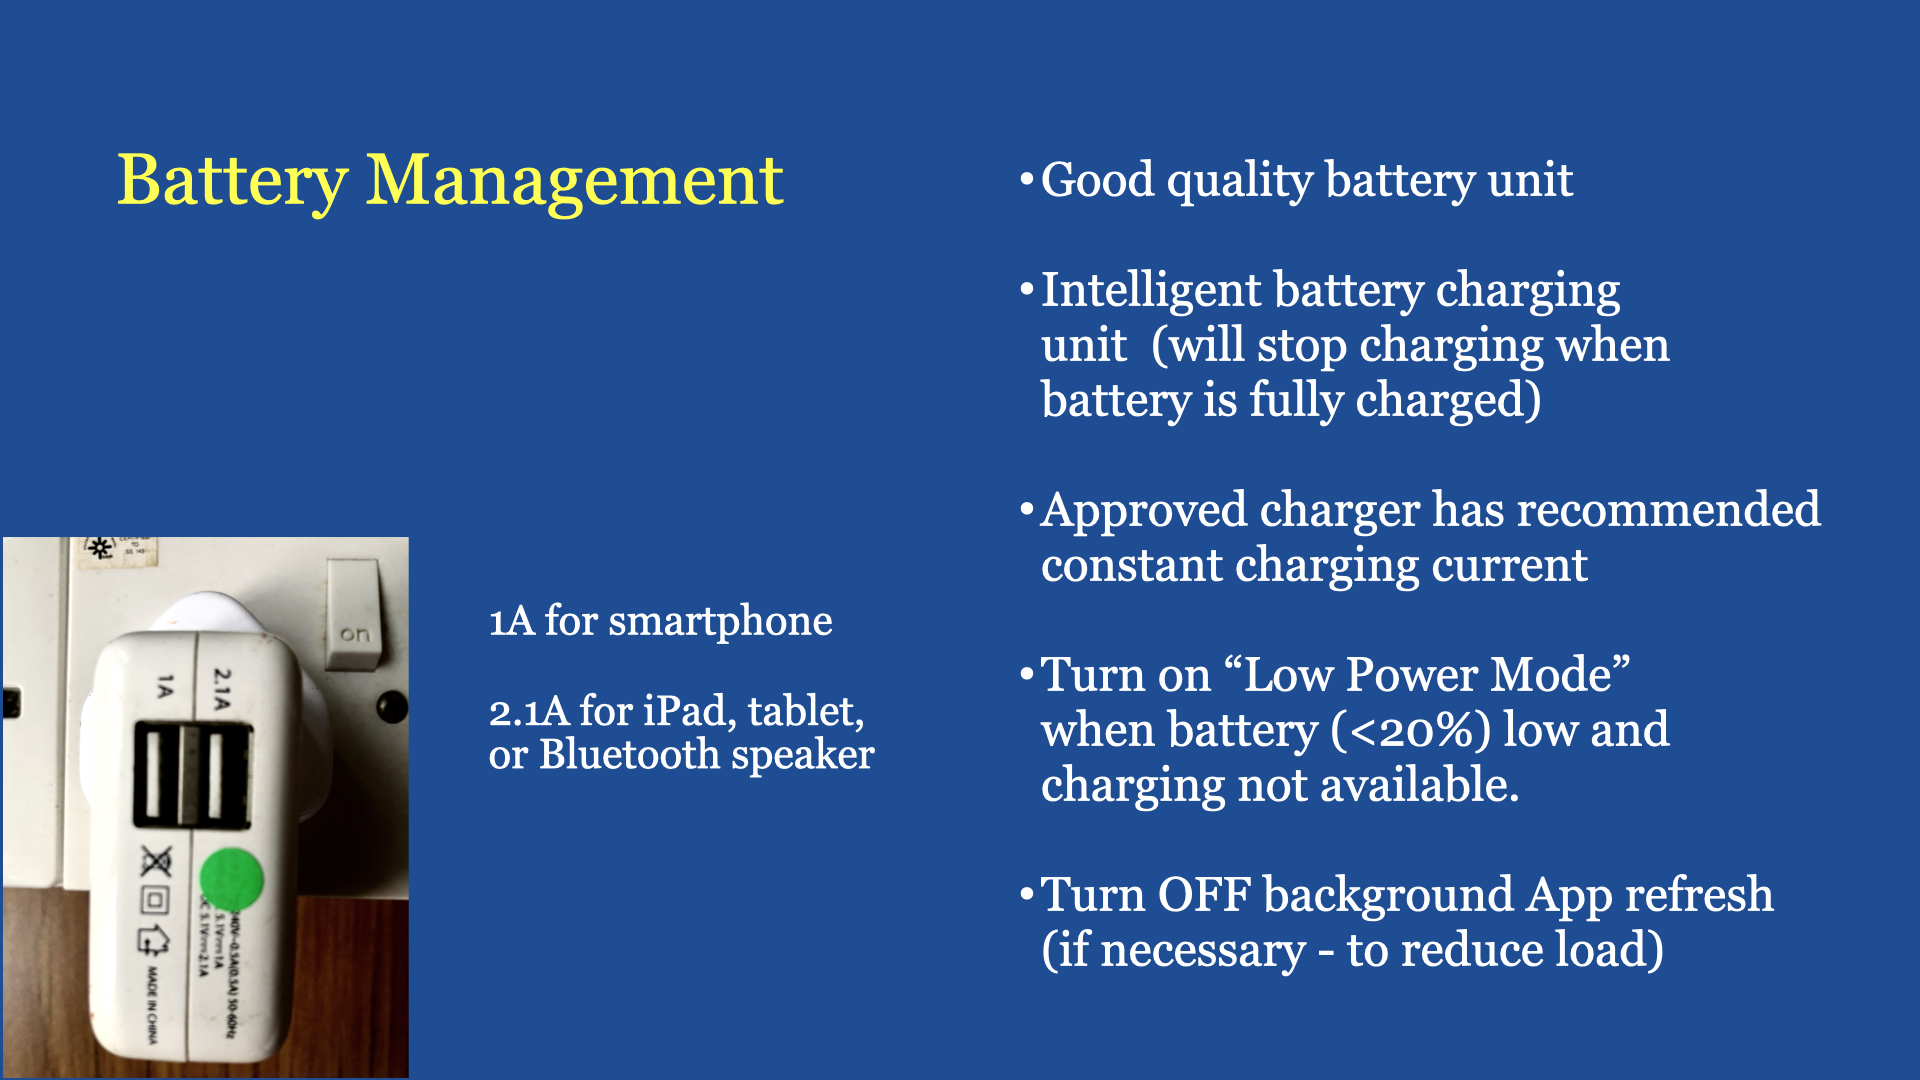
a) User understanding in climbing heights, like having as assistant in holding the ladder, personal mental capacity in managing oneself at heights, the skills of balancing oneself at heights with using the right tools required, etc. One must accept as we aged, our mental and physical capacity is reduced. Chances of making a mistake is higher (e.g. missing the last step on the ladder of nothing to hold on to during periods of unbalanced at heights). b) Climbing up a ladder is like riding a bicycle – we have to train our body and mind to coordinate and balance a) for cycling, to move with two wheels and b) to balance while working at heights with both hands. If when young have never change a ceiling lamp on ladder before, then don’t try when you are older (>50 years). It’s not worth to take such high risks. c) User understanding in electrical works. Do you know the meaning of properly earthed, double or total isolation and 240 volts (AC) ~ in your house can kill! d) Before complete failure, most devices or equipment do give alarms or signals that something is not right. Do you know how to observe these signals? e) Do you know the meaning of maintenance and preventive maintenance? Maintenance is repairing a device/equipment “after” it is not working. Preventive maintenance is having a discipline to use the device or equipment properly and implemented steps to avoid a device or equipment getting into trouble. For example charging our smartphone batteries with the 80/20 rule or putting a filter (in the bathtub) to “trap” and dispose of all the hairs after each bath. This discipline also applies to all drainage systems. f) Understand all moving parts create friction, heat and also fatigue. Understand when and where these parts can be oiled. g) If you are a DIY person, after sometime you will know the strength and weakness of mostbrands (of device & equipment) in the market. Sometimes is good to pay a bit more for the right device or equipment. This will help to save money later in the need to service the device or equipment in its expected life span. (for electrical equipment, it may save lives). Please note, sometimes the design of the equipment is good, but the company you selected has lousy or inexperienced workers who installed the system or equipment badly for you. Good example is the air-con system. This is also valid for renovation contractors whose workers installed your equipment or kitchen cabinets and kitchen basin/sink badly. h) Have the right tools for the right job. Always remember, tightening any screw or nut or a water tap, it is always turning “clockwise”. Un-tightening any screw or nut or a water tap, it is always turning “anti-clockwise”. This also applies to any electric (screw) bulb. i) Get a ladder that is properly designed for the job. Has some means to hold at the top and the right height that suits the job at hand.
Common household problems:
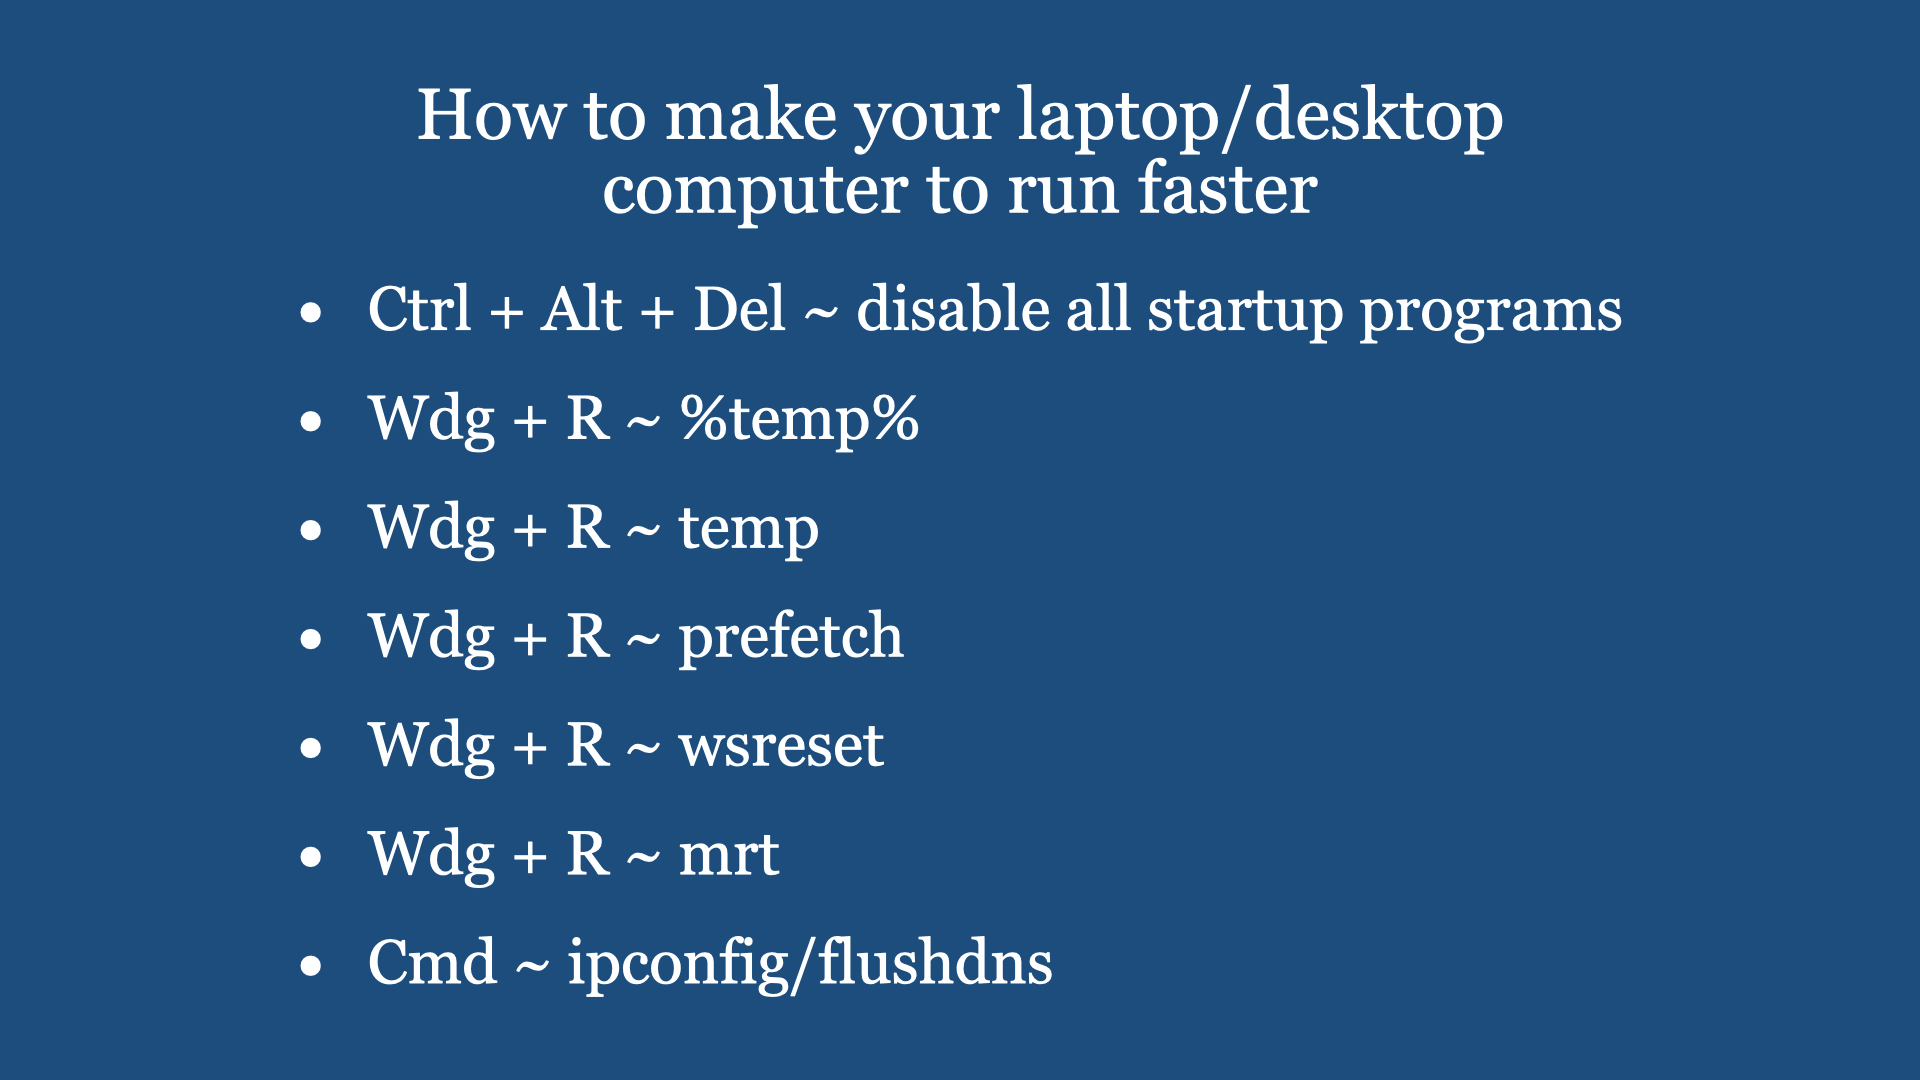
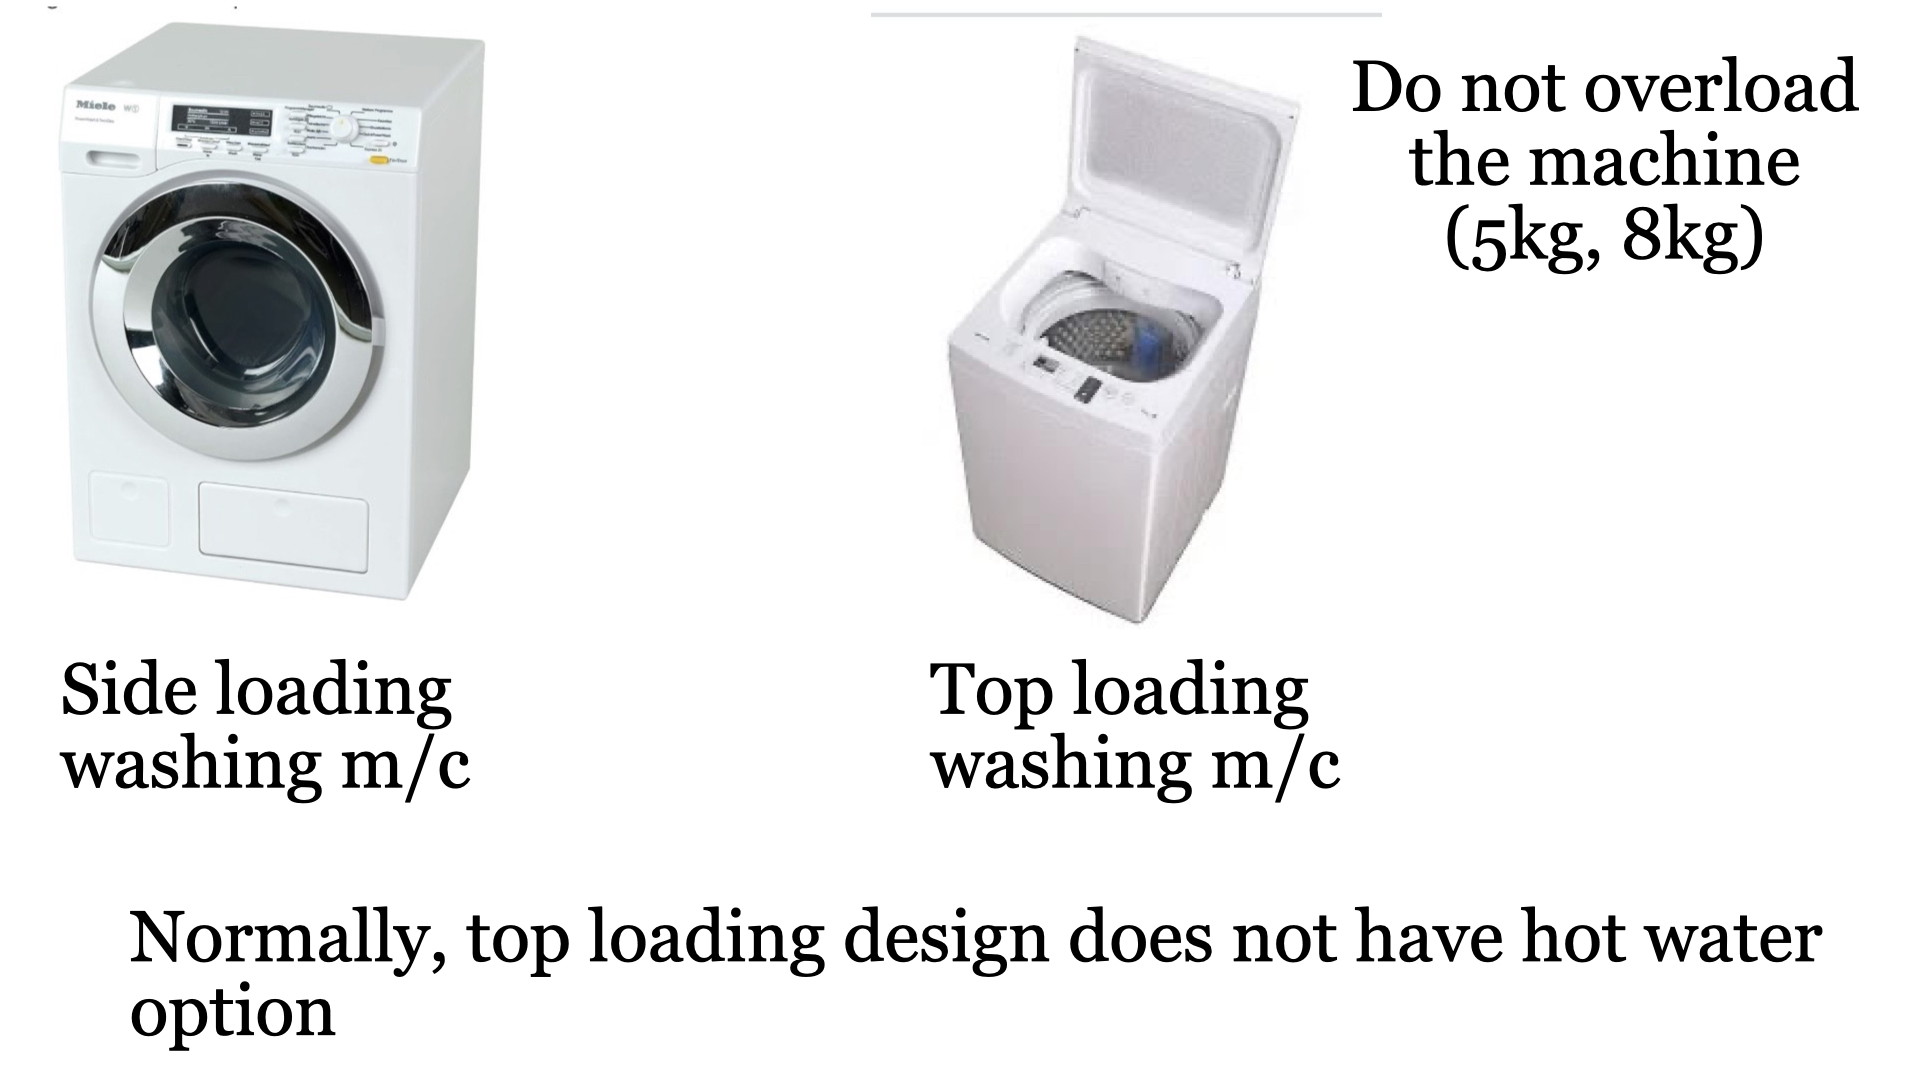
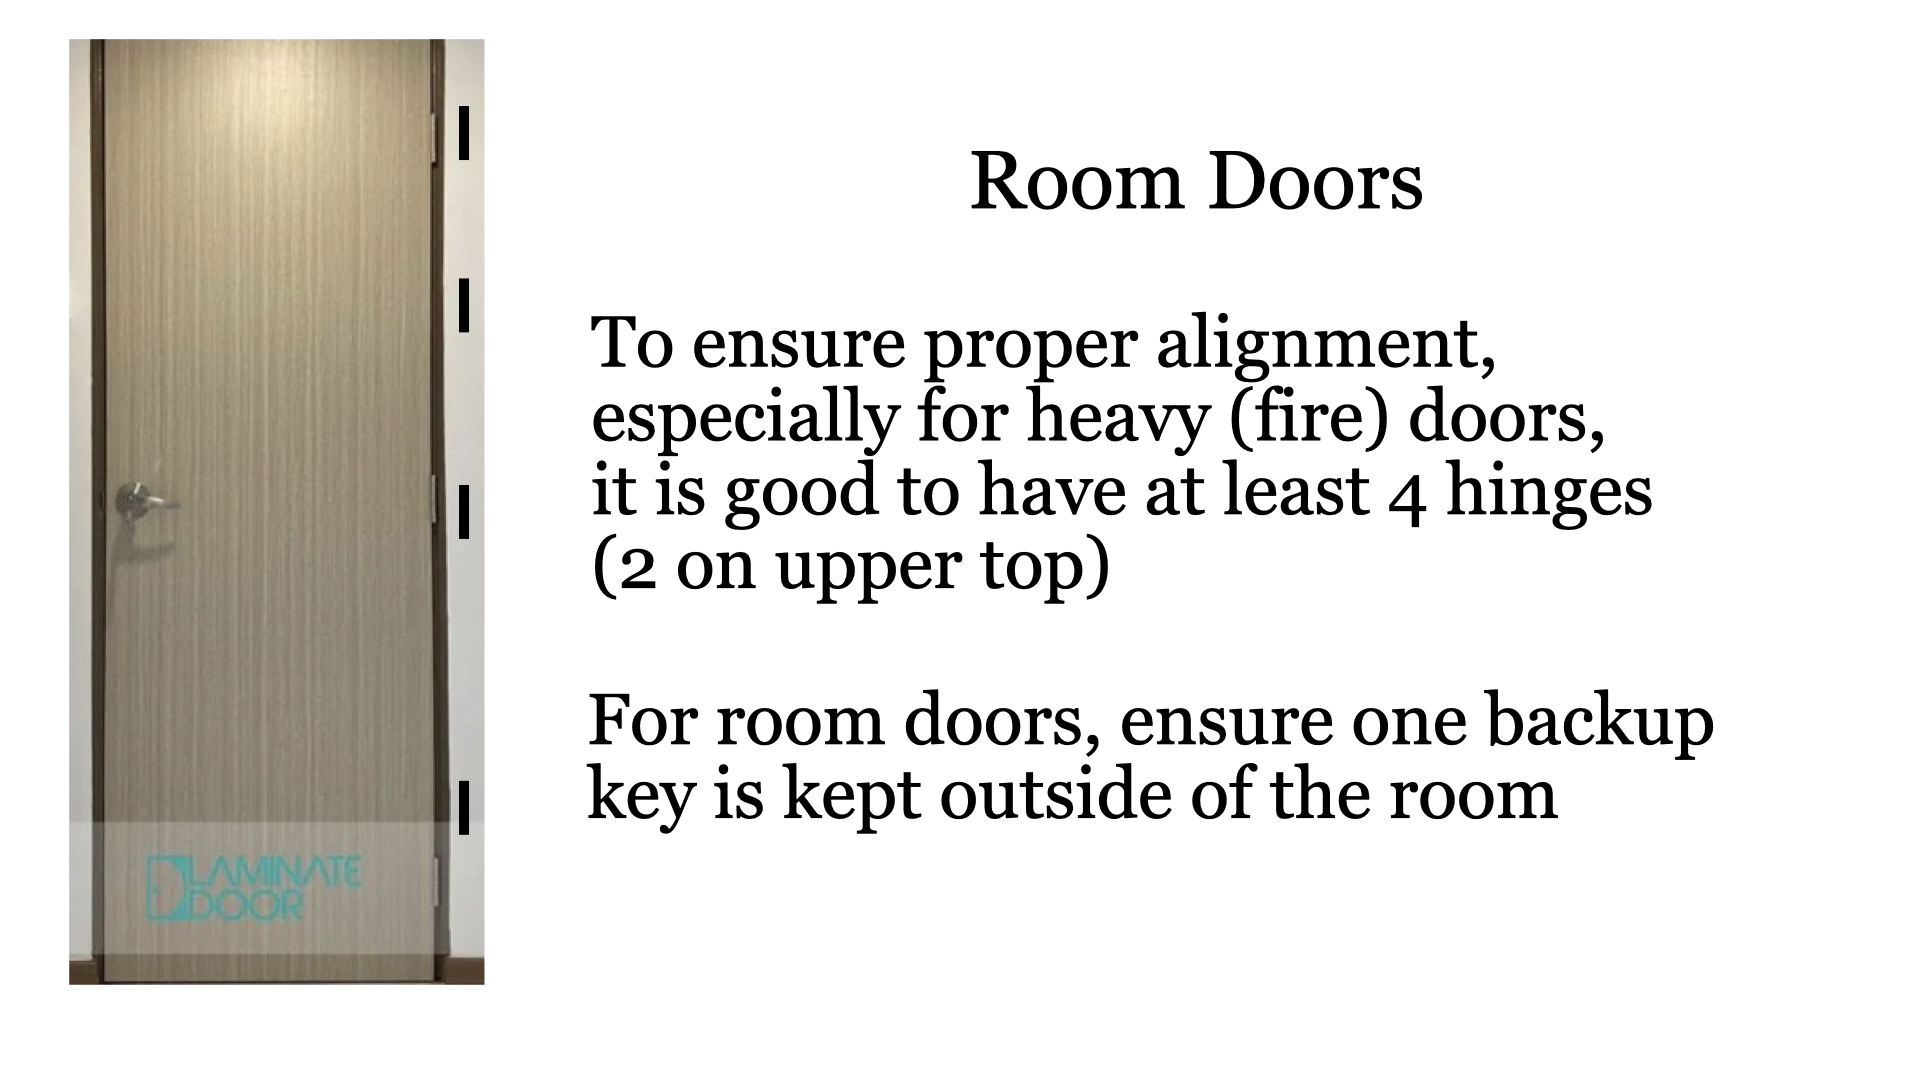
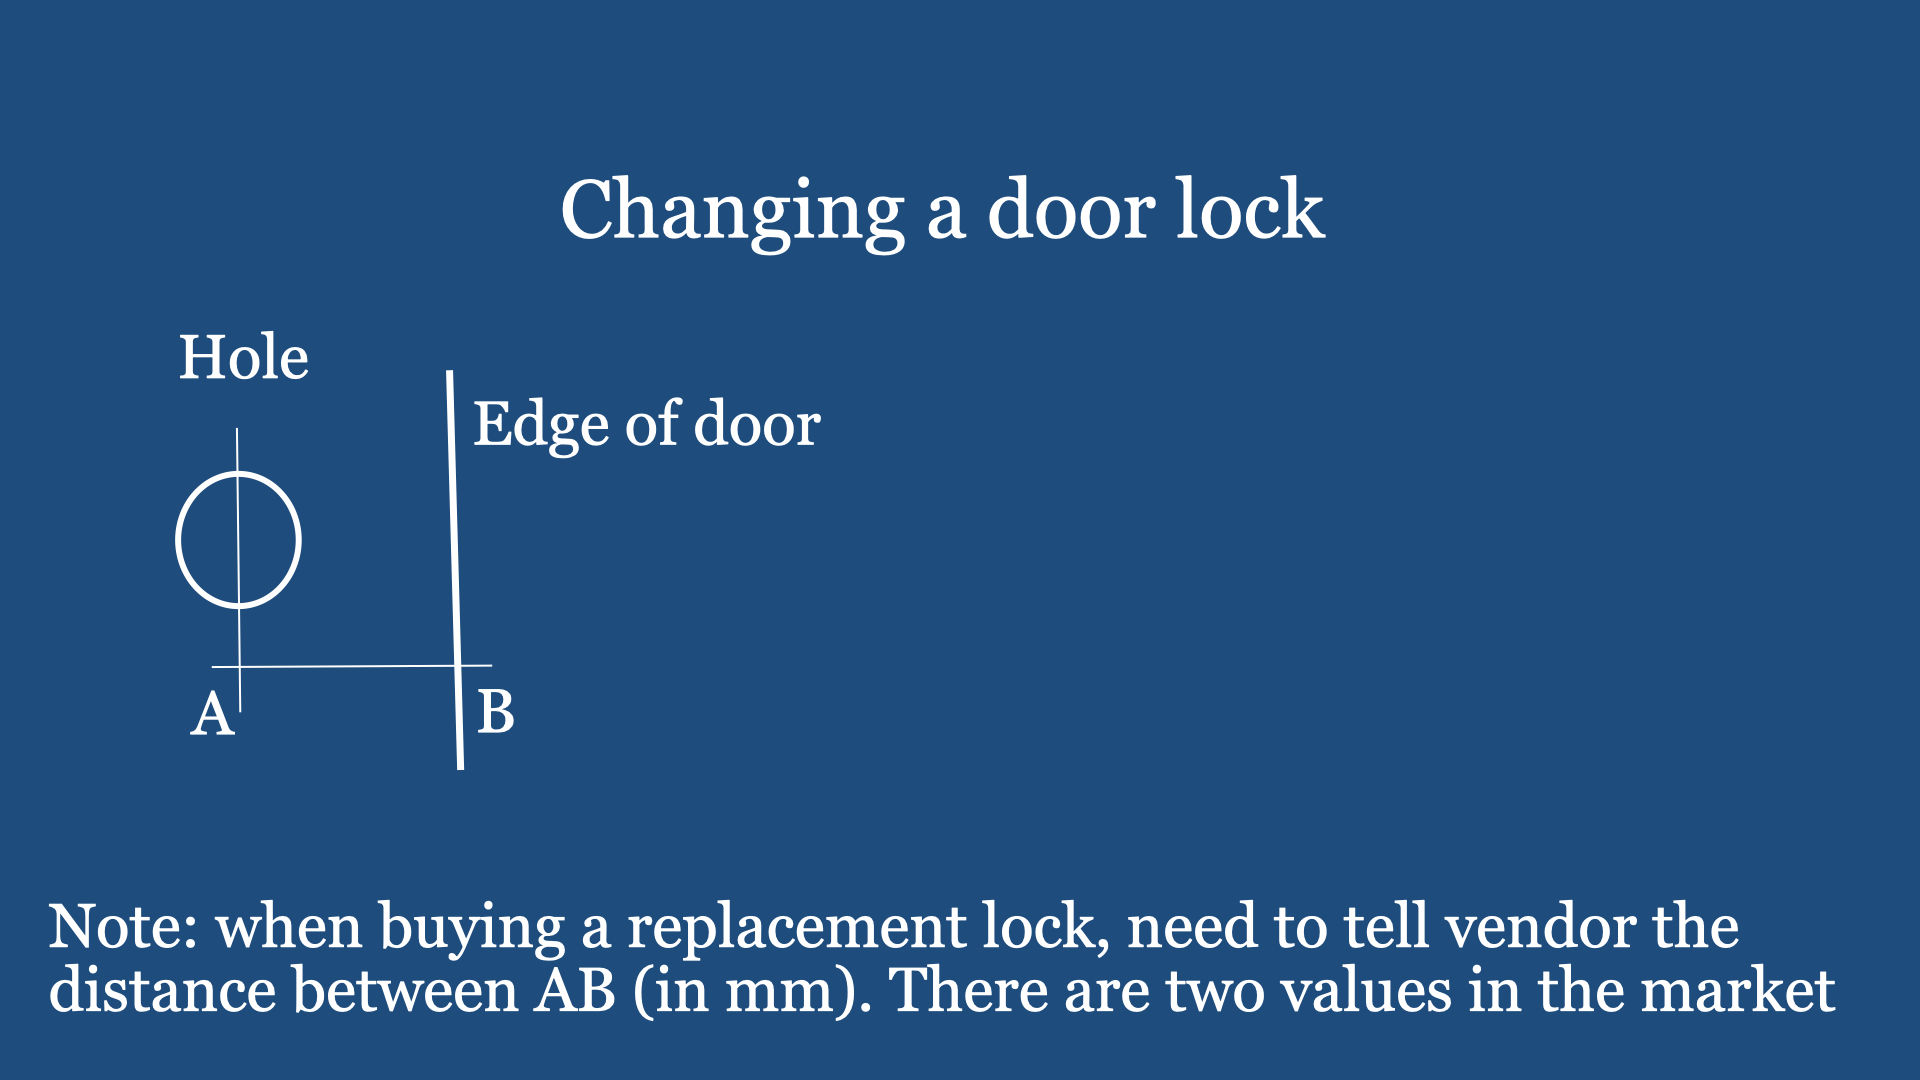
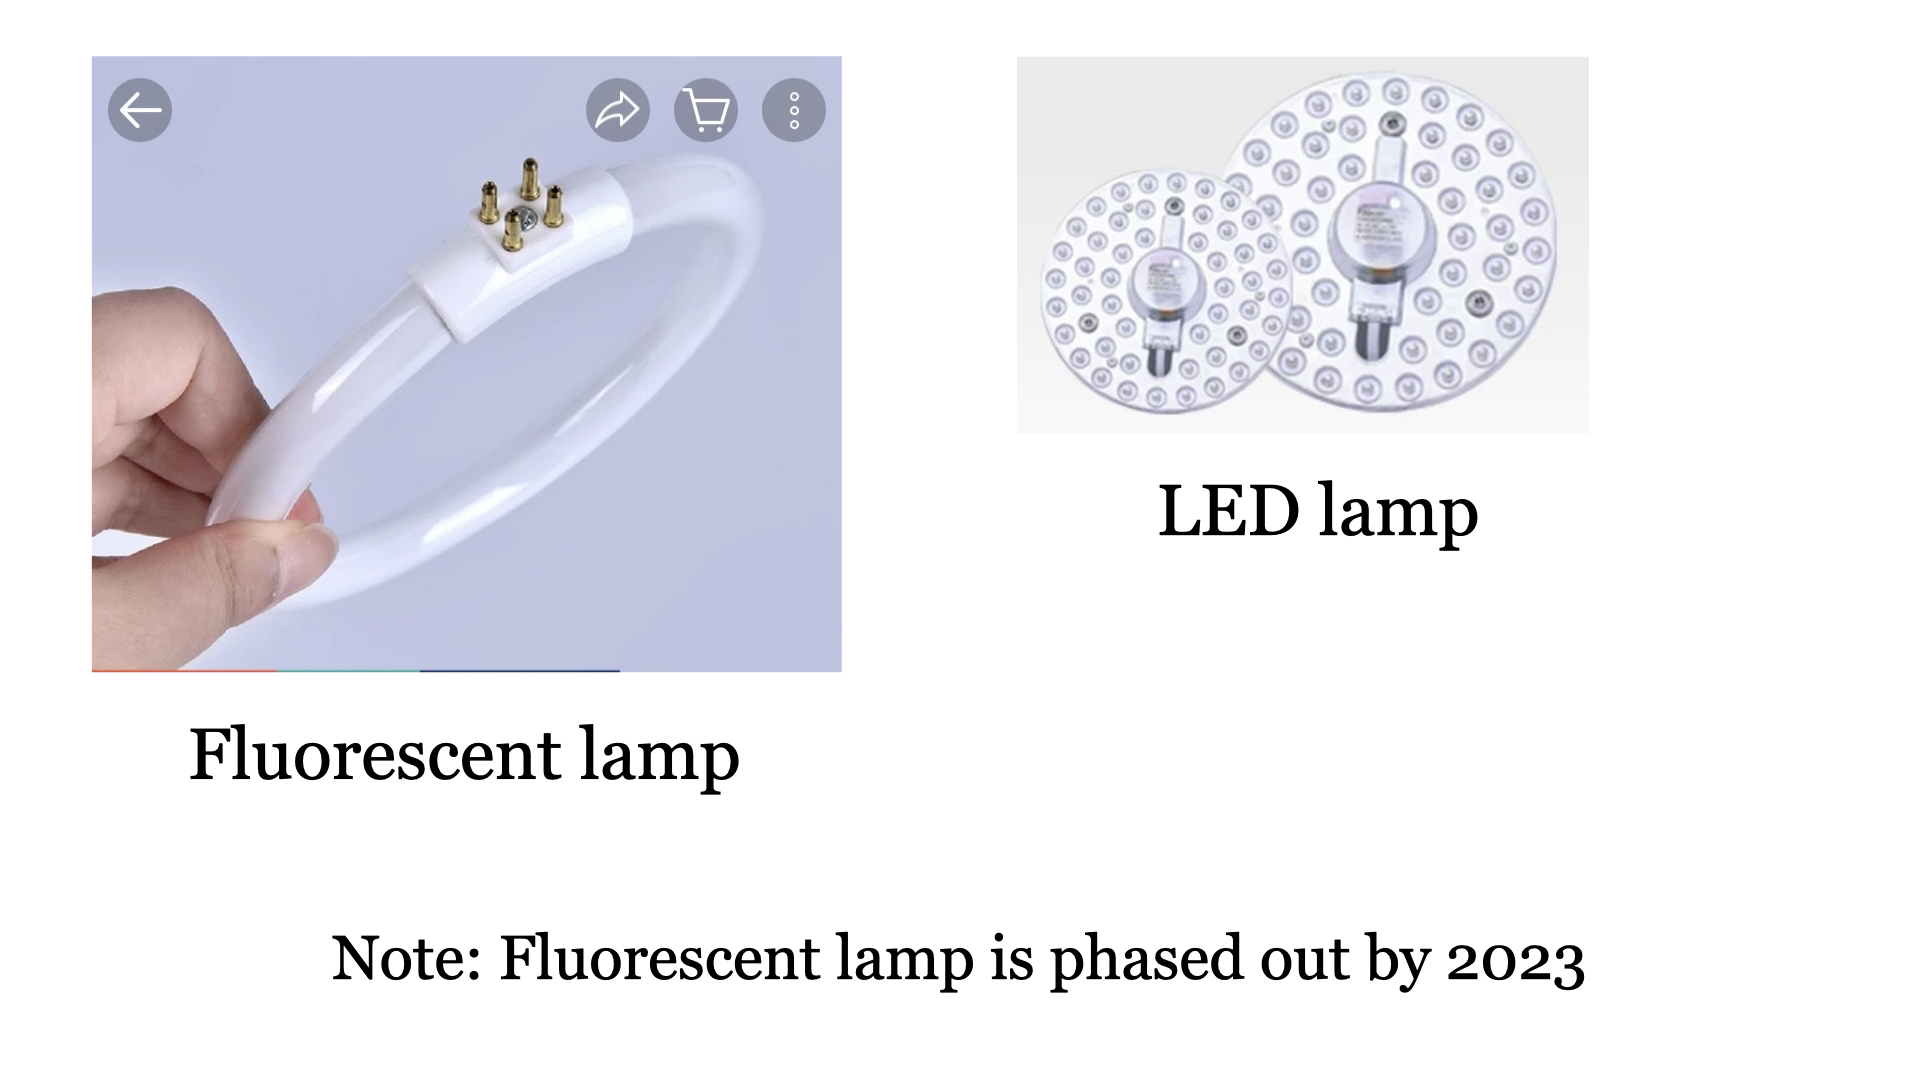
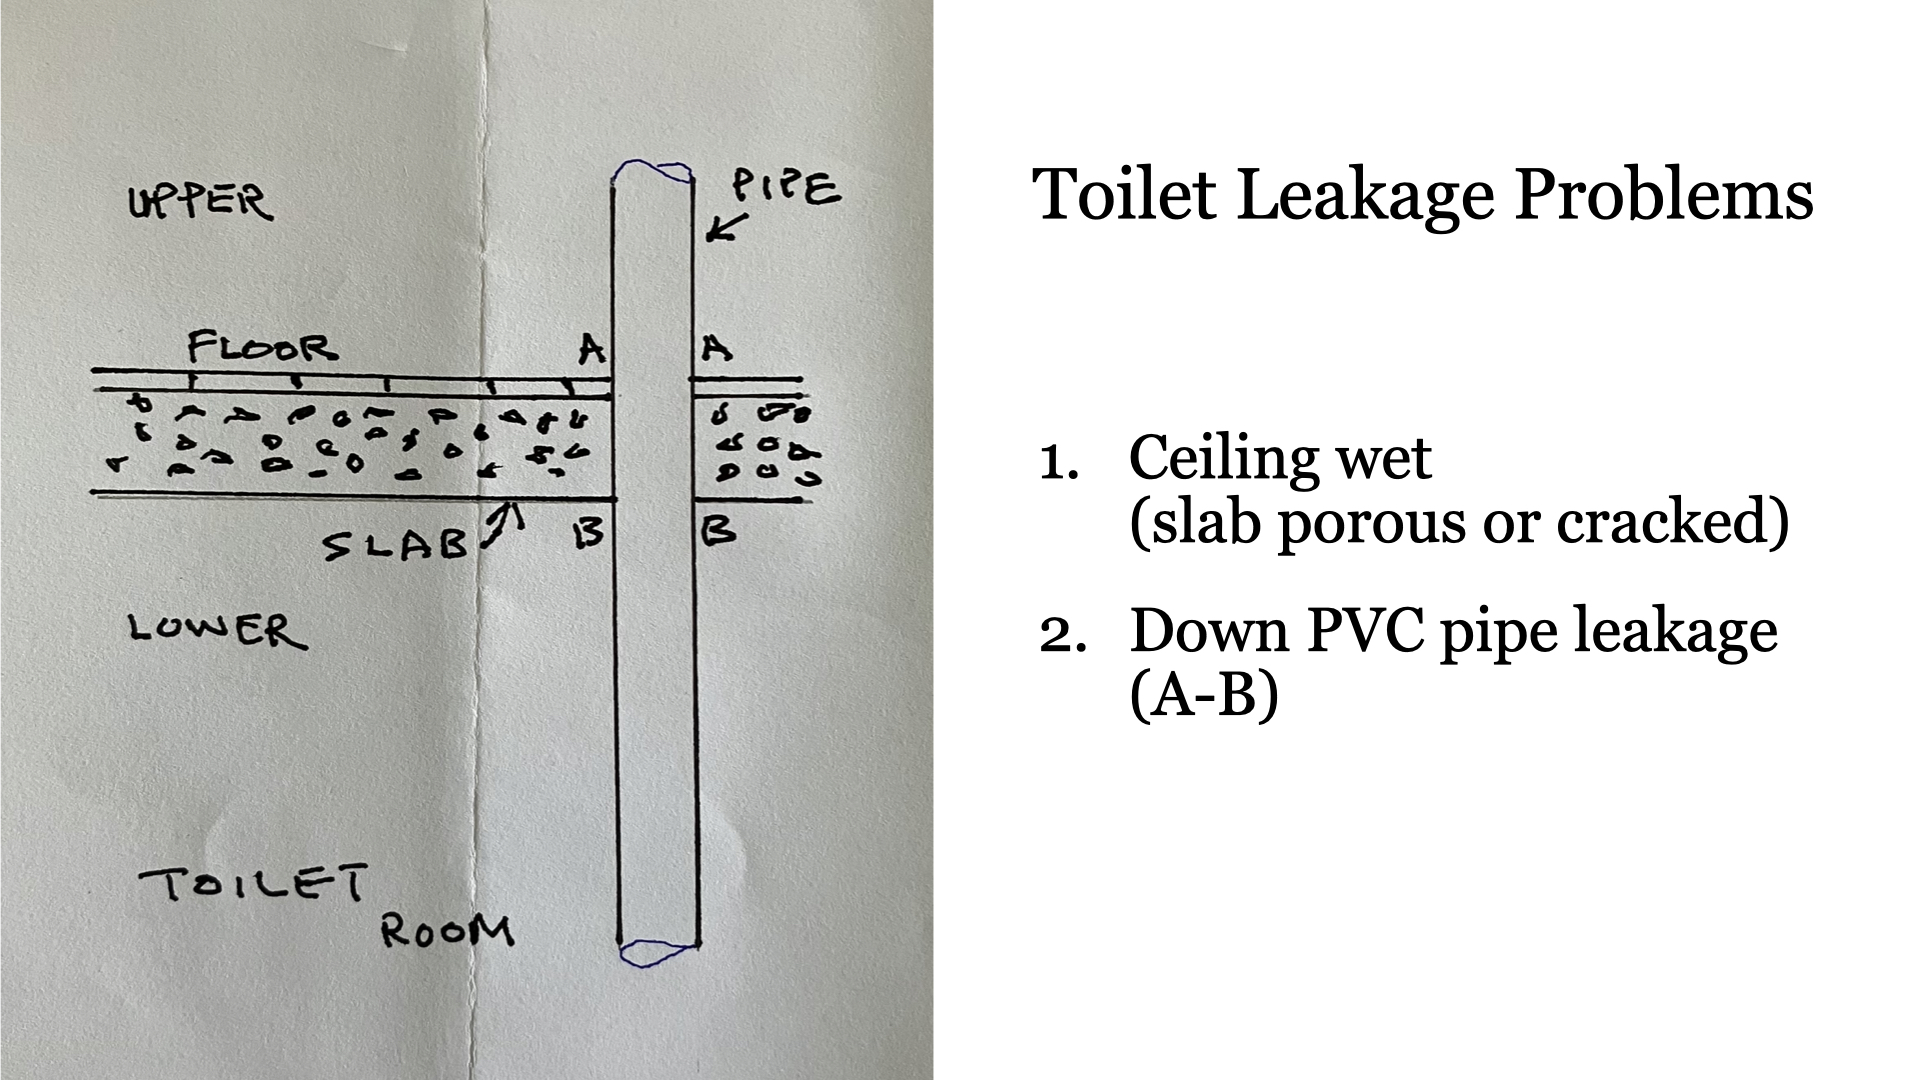
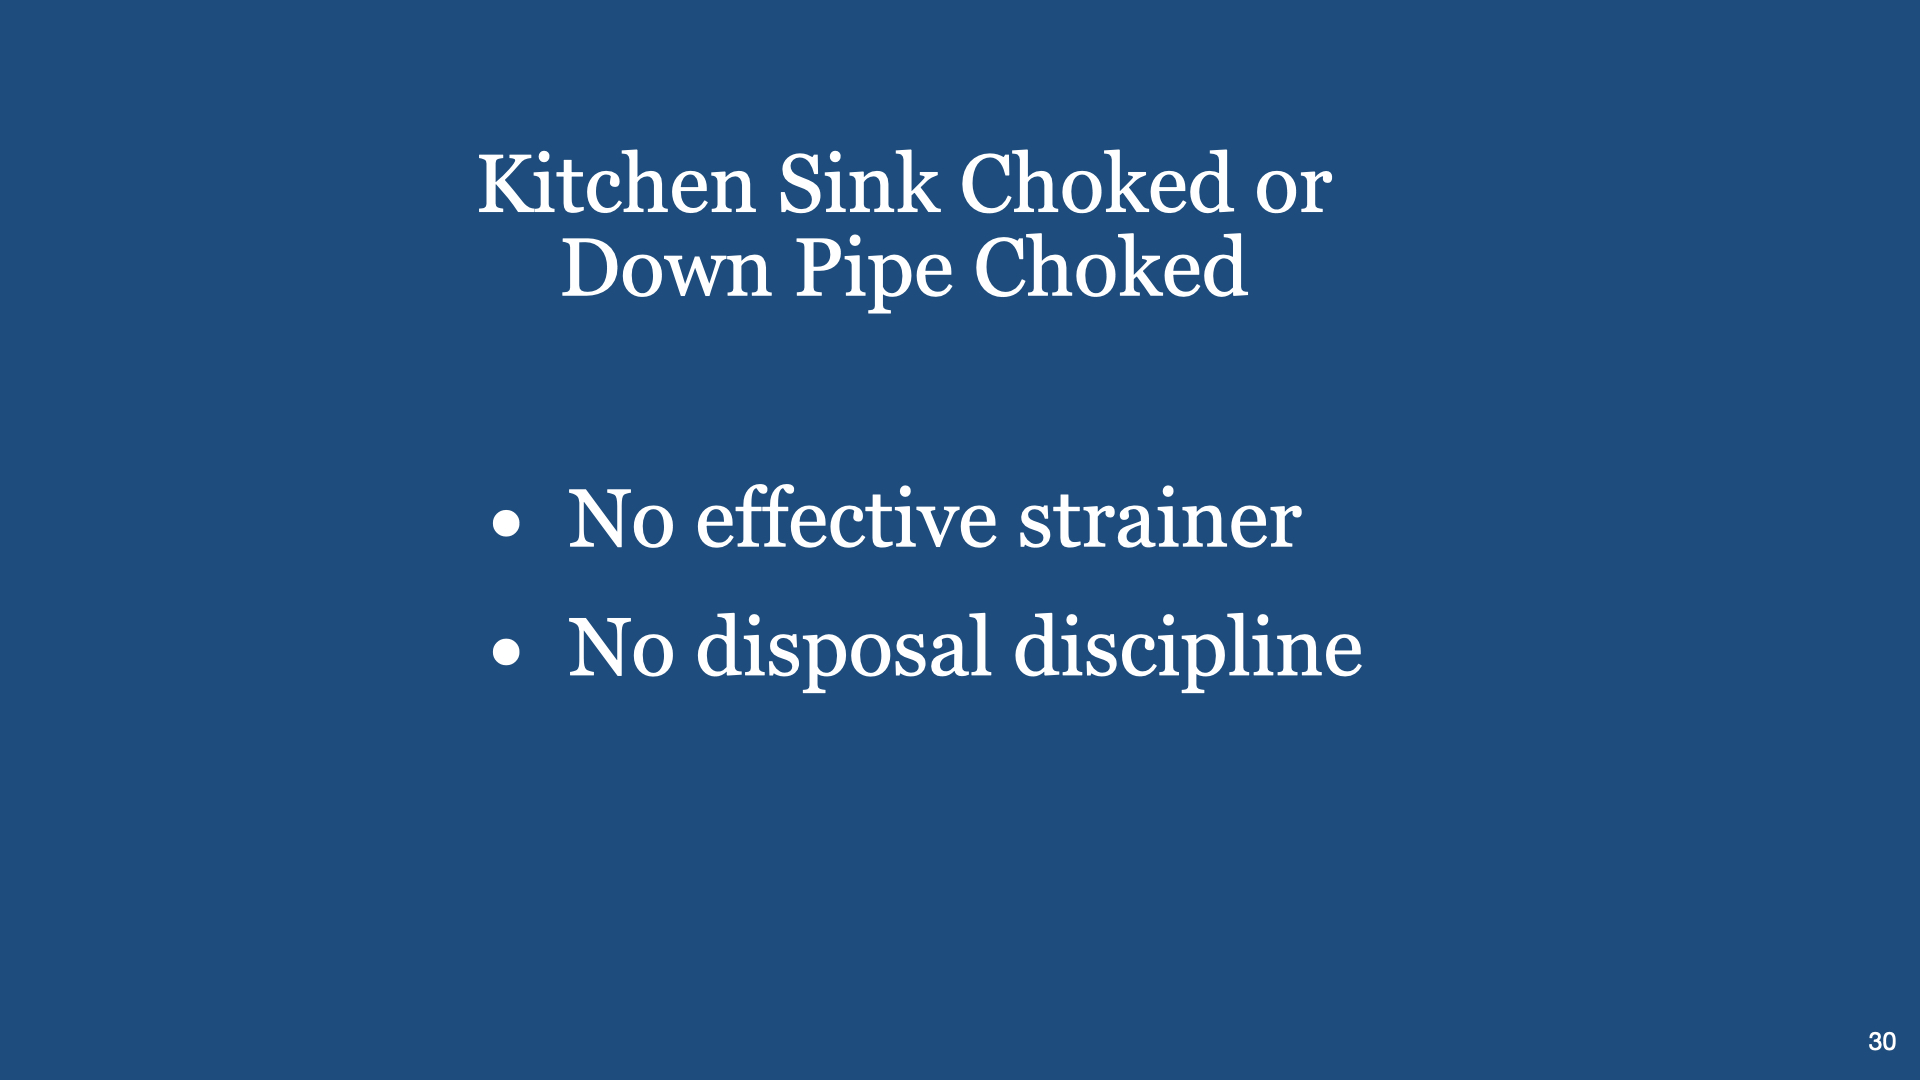
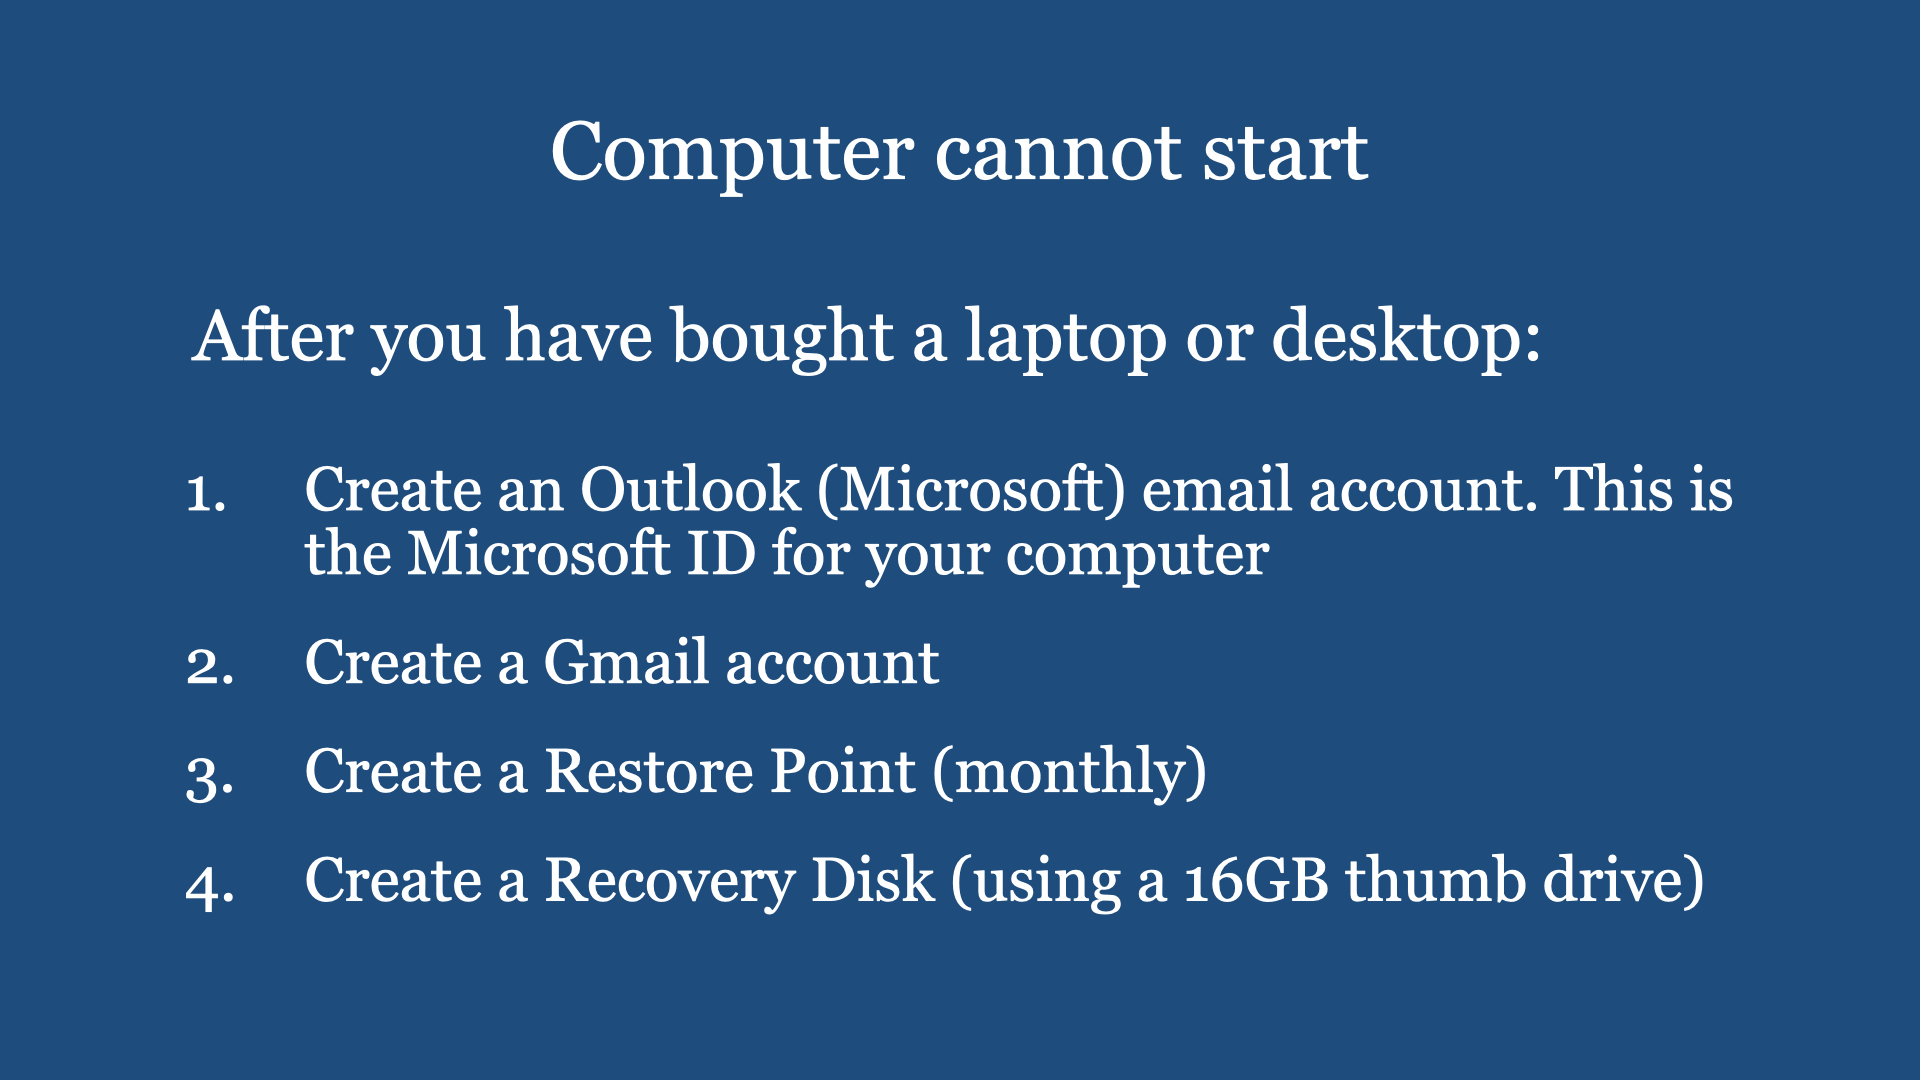
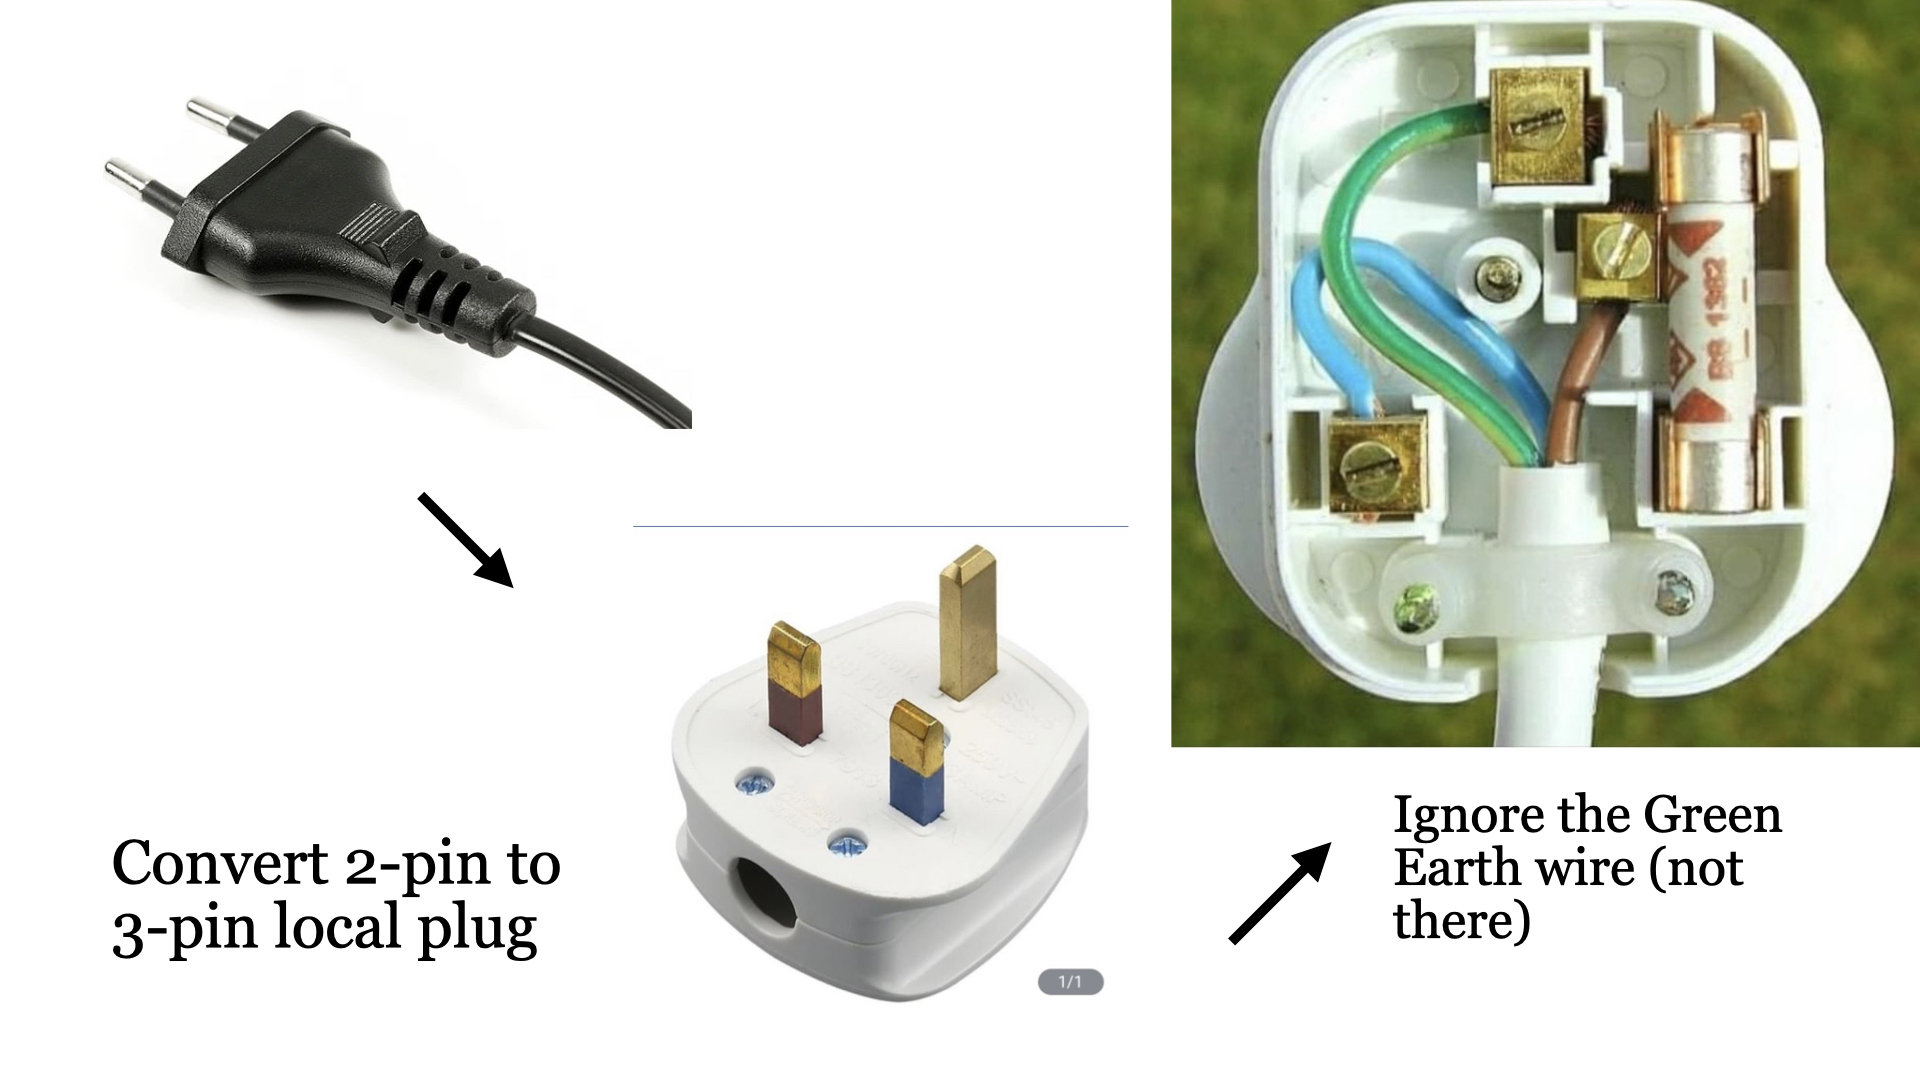
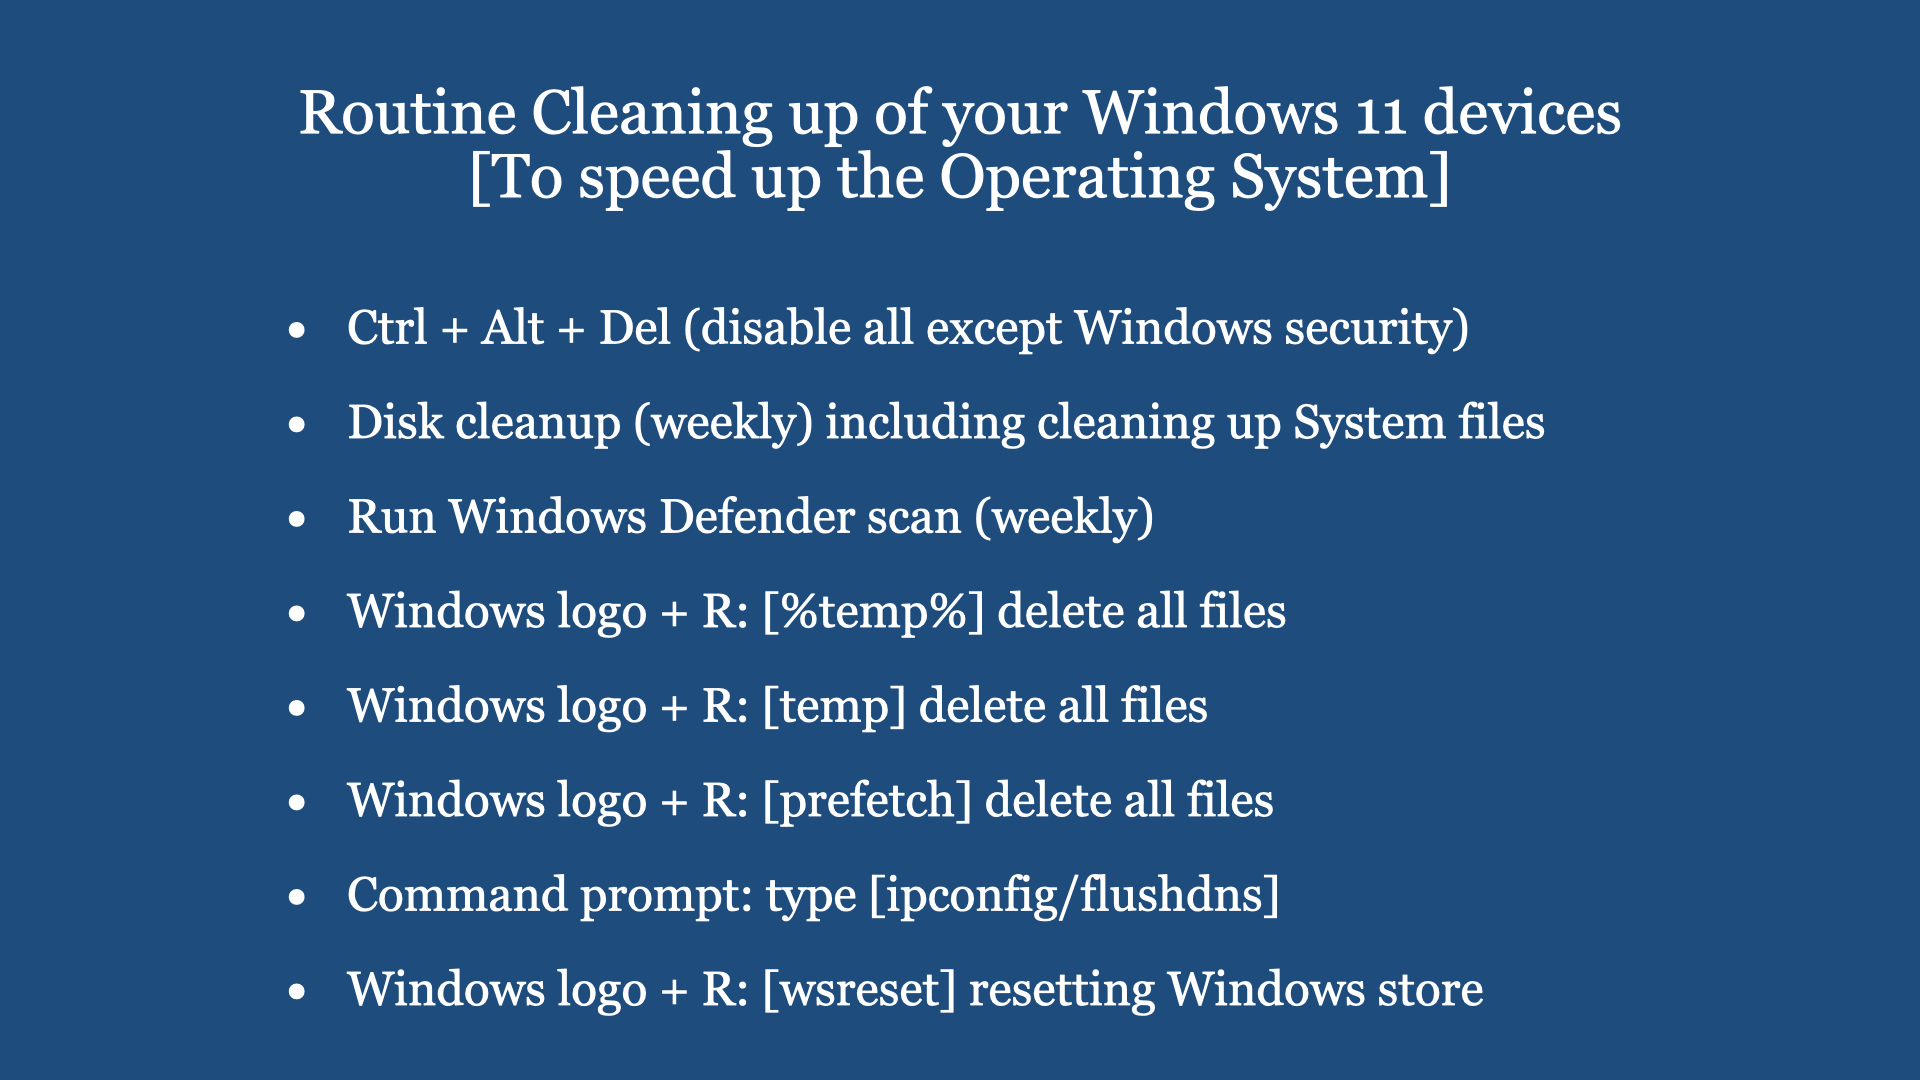
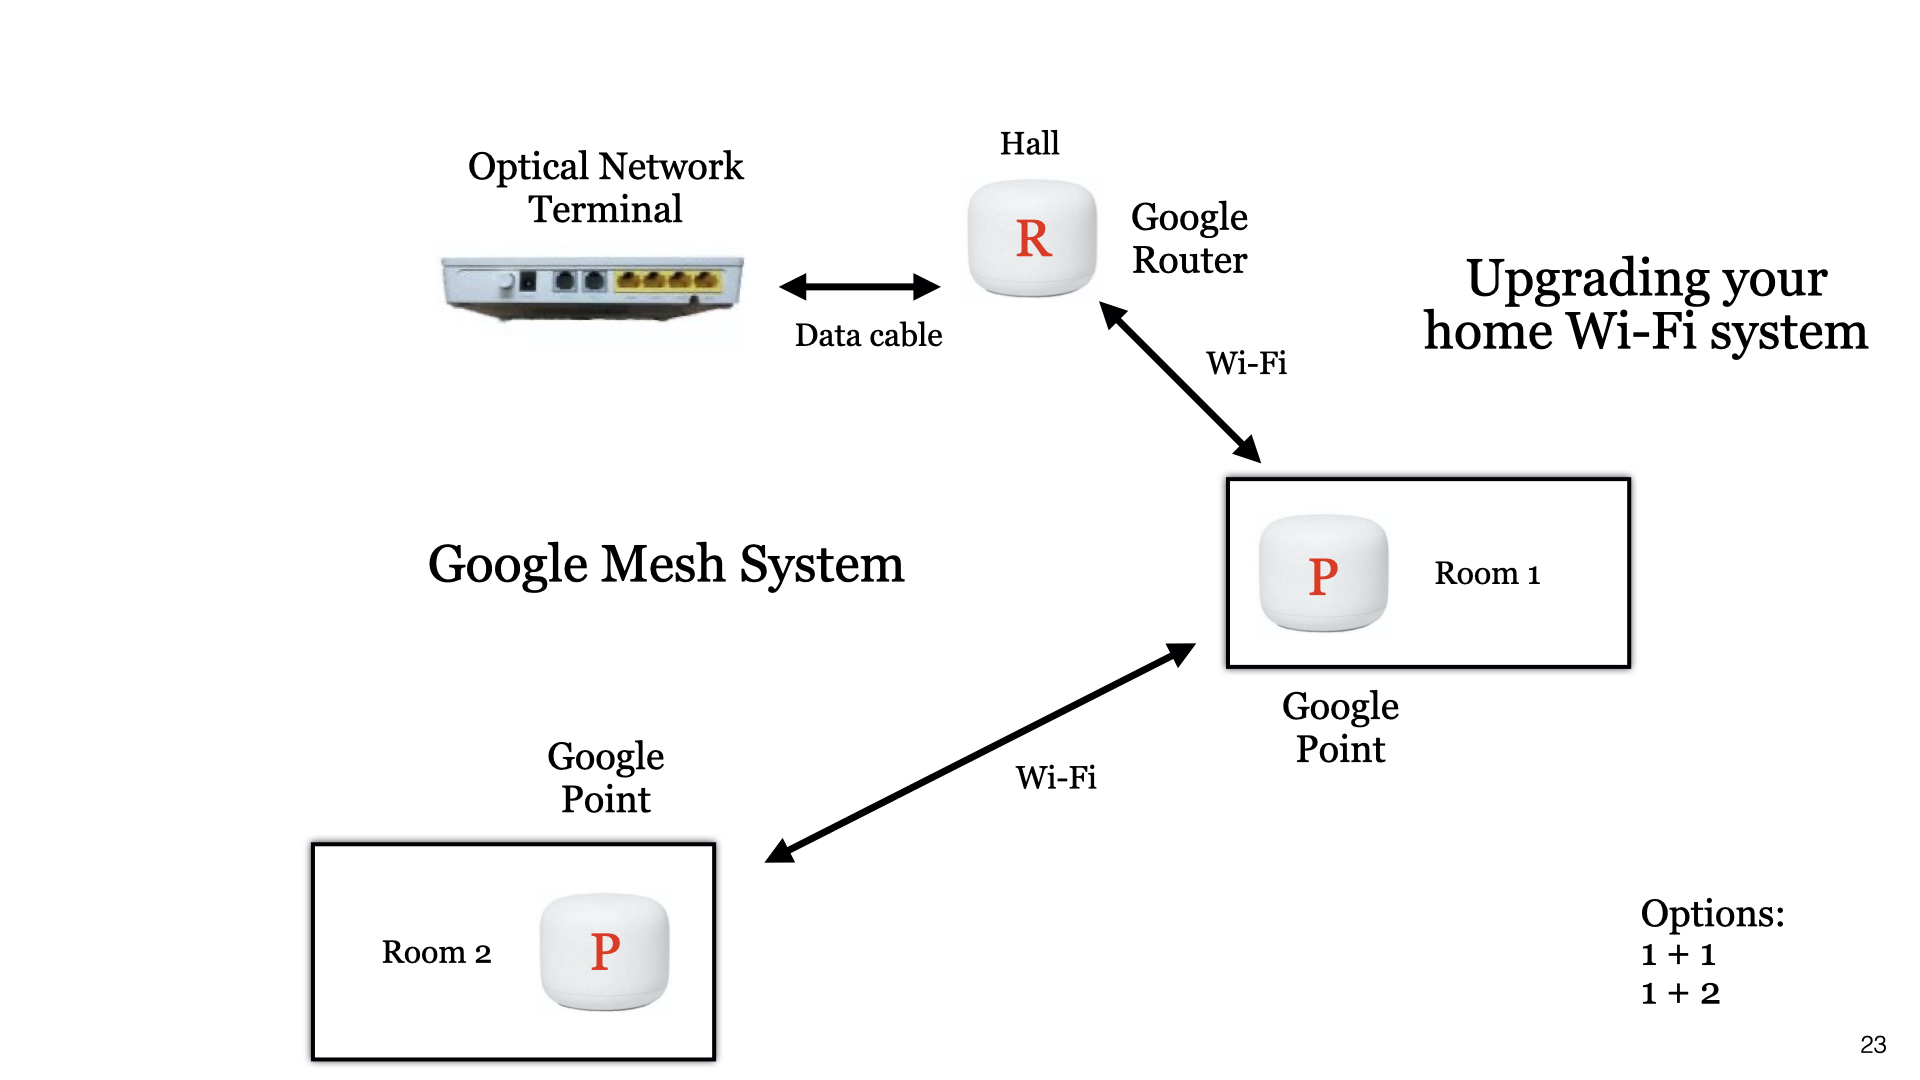
a) Tap leaks (wash basin, kitchen tap) b) Forget to bring main door key when going out. c) Room door locked, cannot open. Can’t find the key d) Bought an electrical appliance with two pins. Difficult to put in to existing 3-pin socket. e) Sliding windows difficult to open f) Standing table fan very dirty, don’t know how to open up to clean g) Kitchen sink or wash basin choked h) Ceiling lamp not working i) Refrigerator can’t form ice overnight j) Air-con not cold k) Wi-Fi signal very weak in bedroom l) Smartphone battery can’t last a day m) Microsoft base computer (laptop/desktop) running very slow. Can do some Windows 10/11 preventive maintenance n) Microsoft base computer (laptop/desktop) not starting. Do a recovery o) When boiling water on electric kettle, the kettle plug is very hot p) Toilet water tank makes noise after every flushing
Digital Cafe@Harbourfront Discussion:Smartphone feature “Accessibility” and Siri Date: 3rd Feb (Saturday) Time: 2PM to 4.30PM Venue: library@harbourfront (Vivo city) Facilitator: Hewlee Ho Registration: https://go.gov.sg/toyl (scroll down to date to register. NLB membership is required). Admission: Free Interested, please register with link given below …
Introduction: If you are or have loved ones that are visually impaired or have difficulty using a smartphone or have difficulty reading any printed text, this February LearnX Community Gathering may be useful to you.
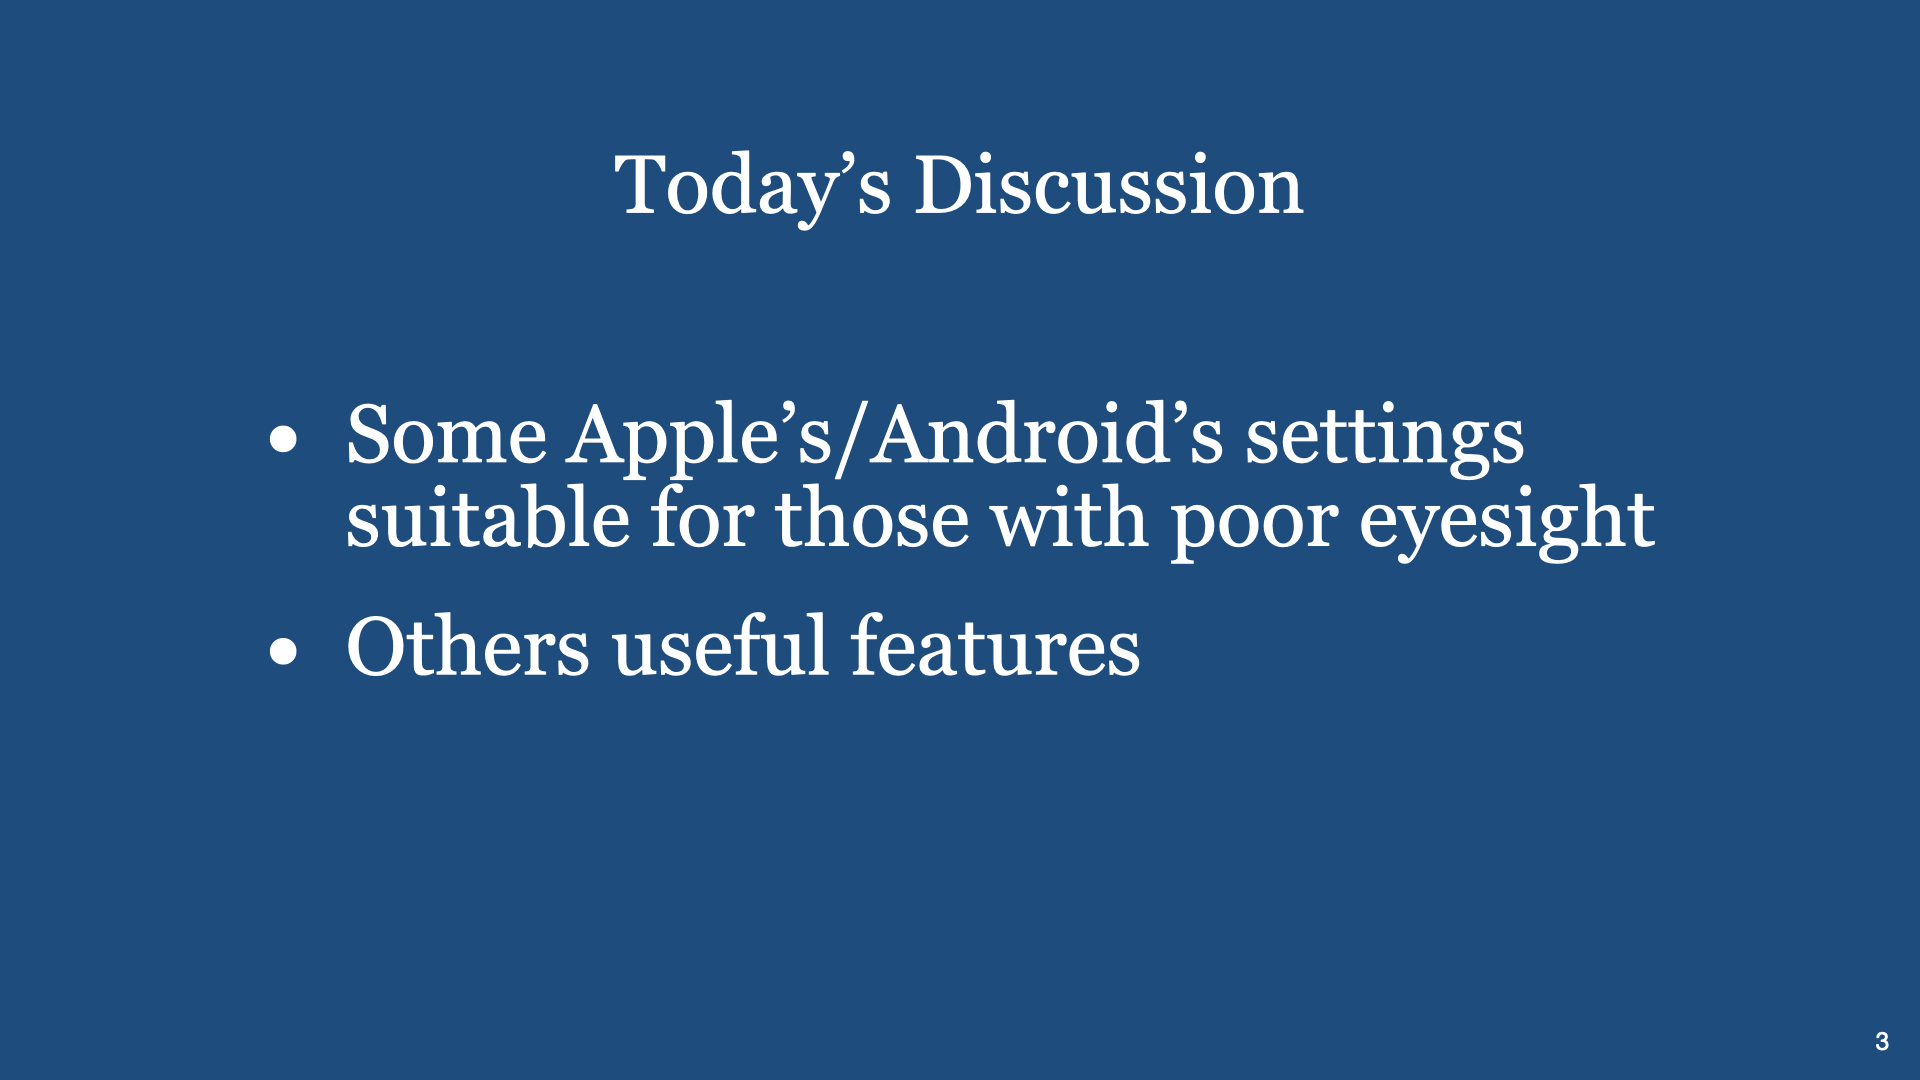
During this session, we will demonstrate to you …
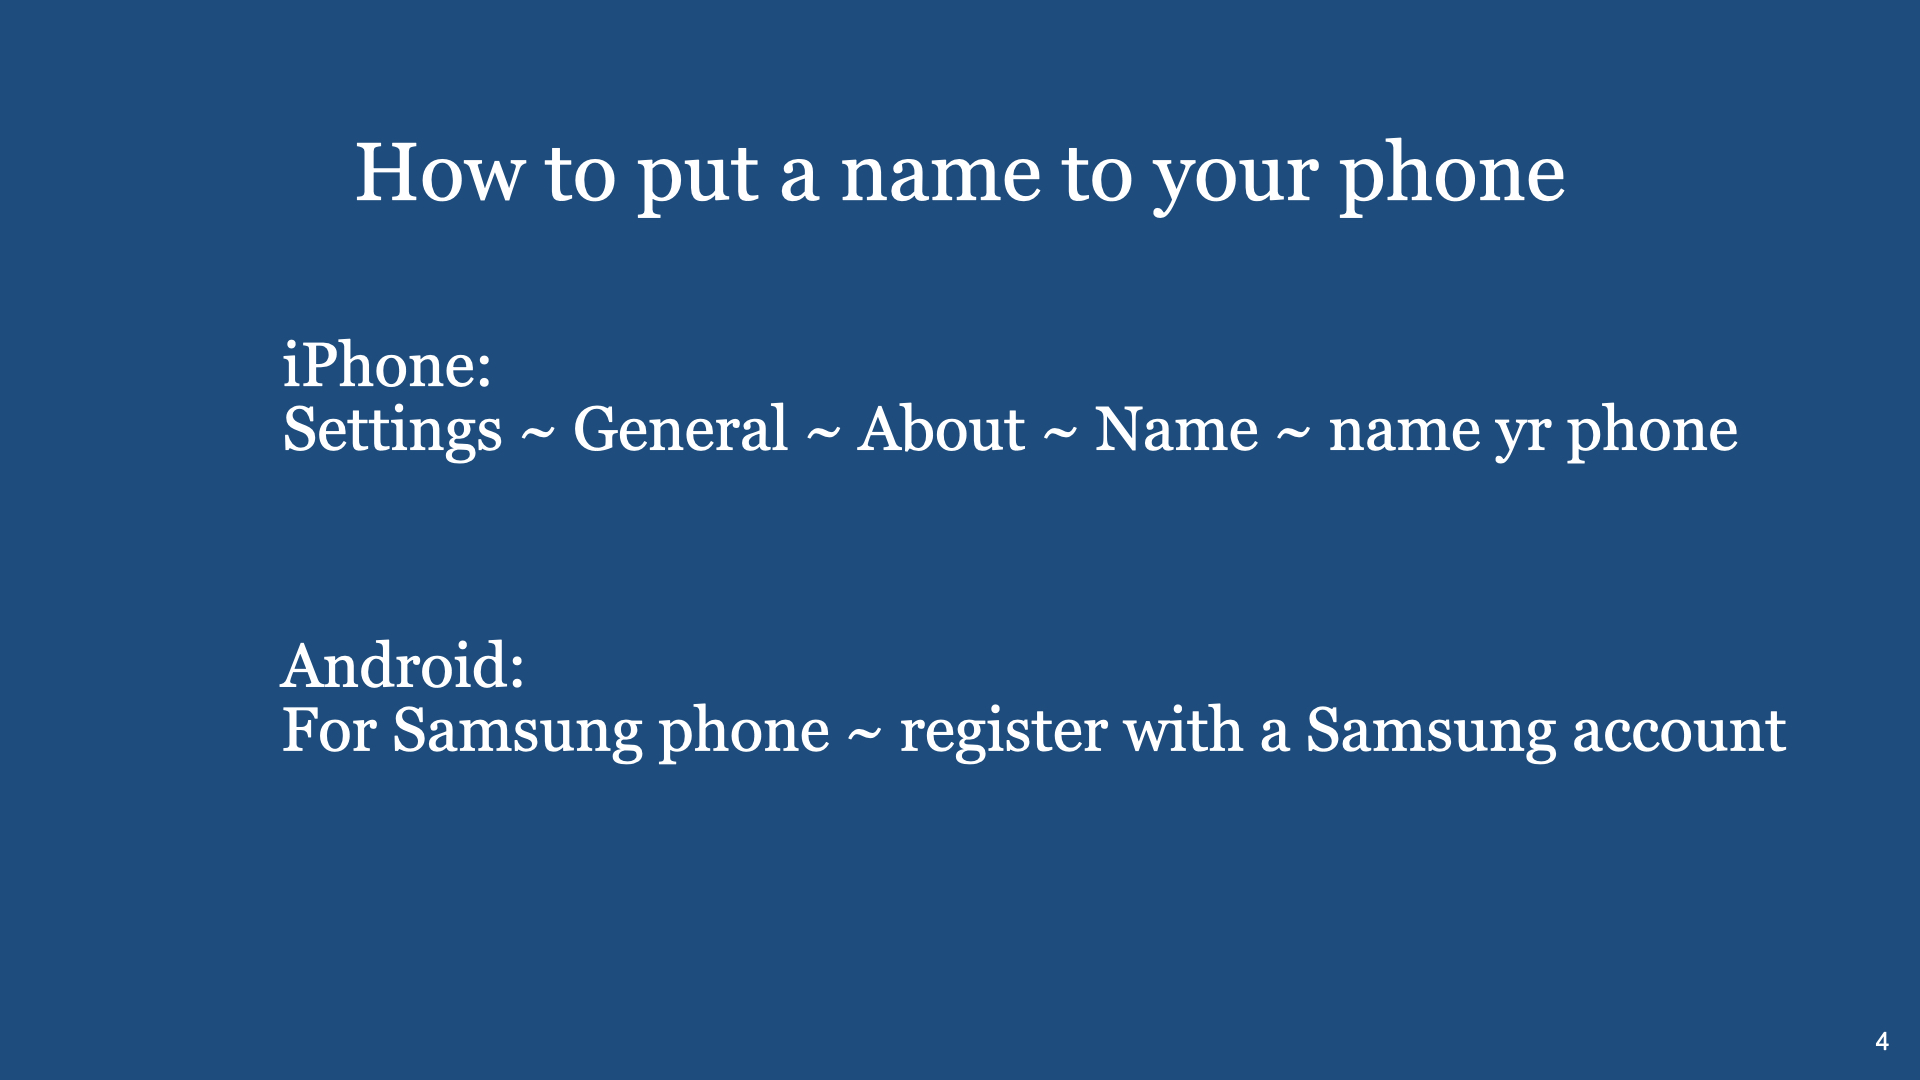
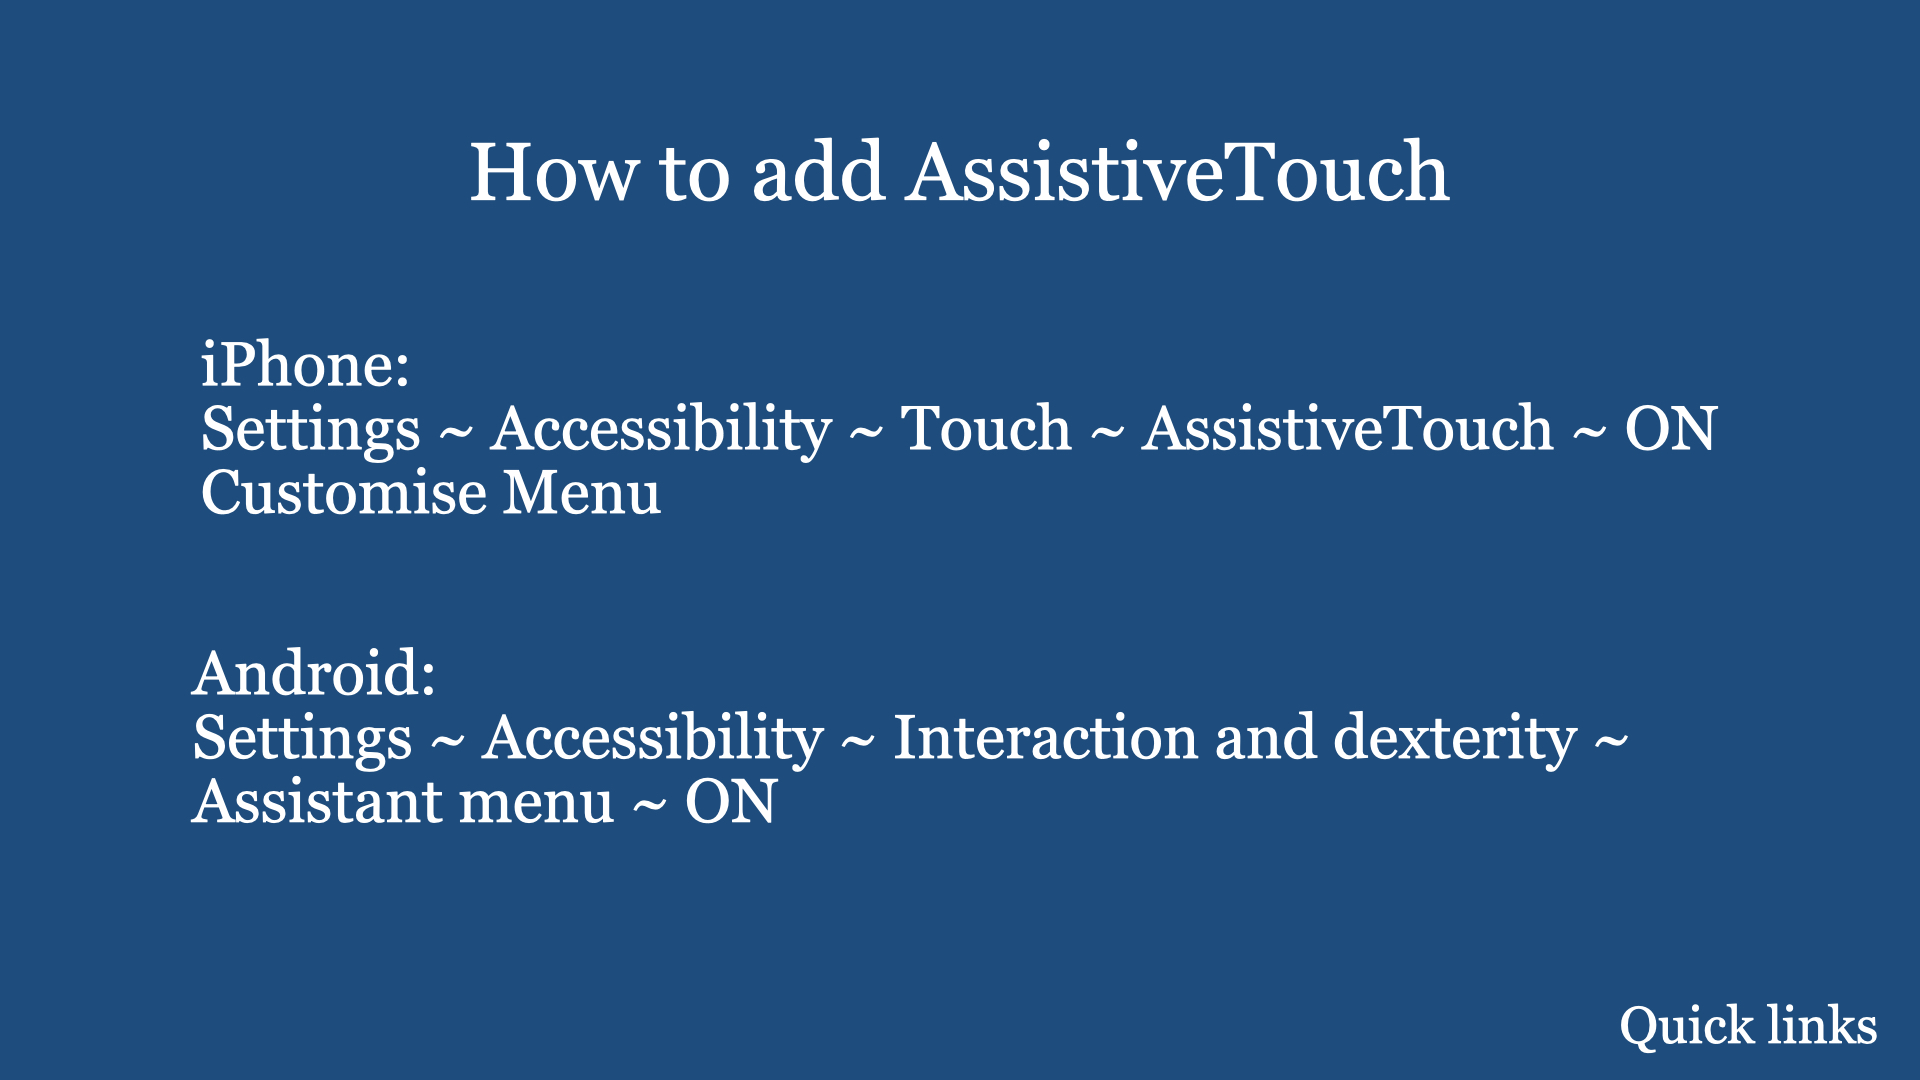
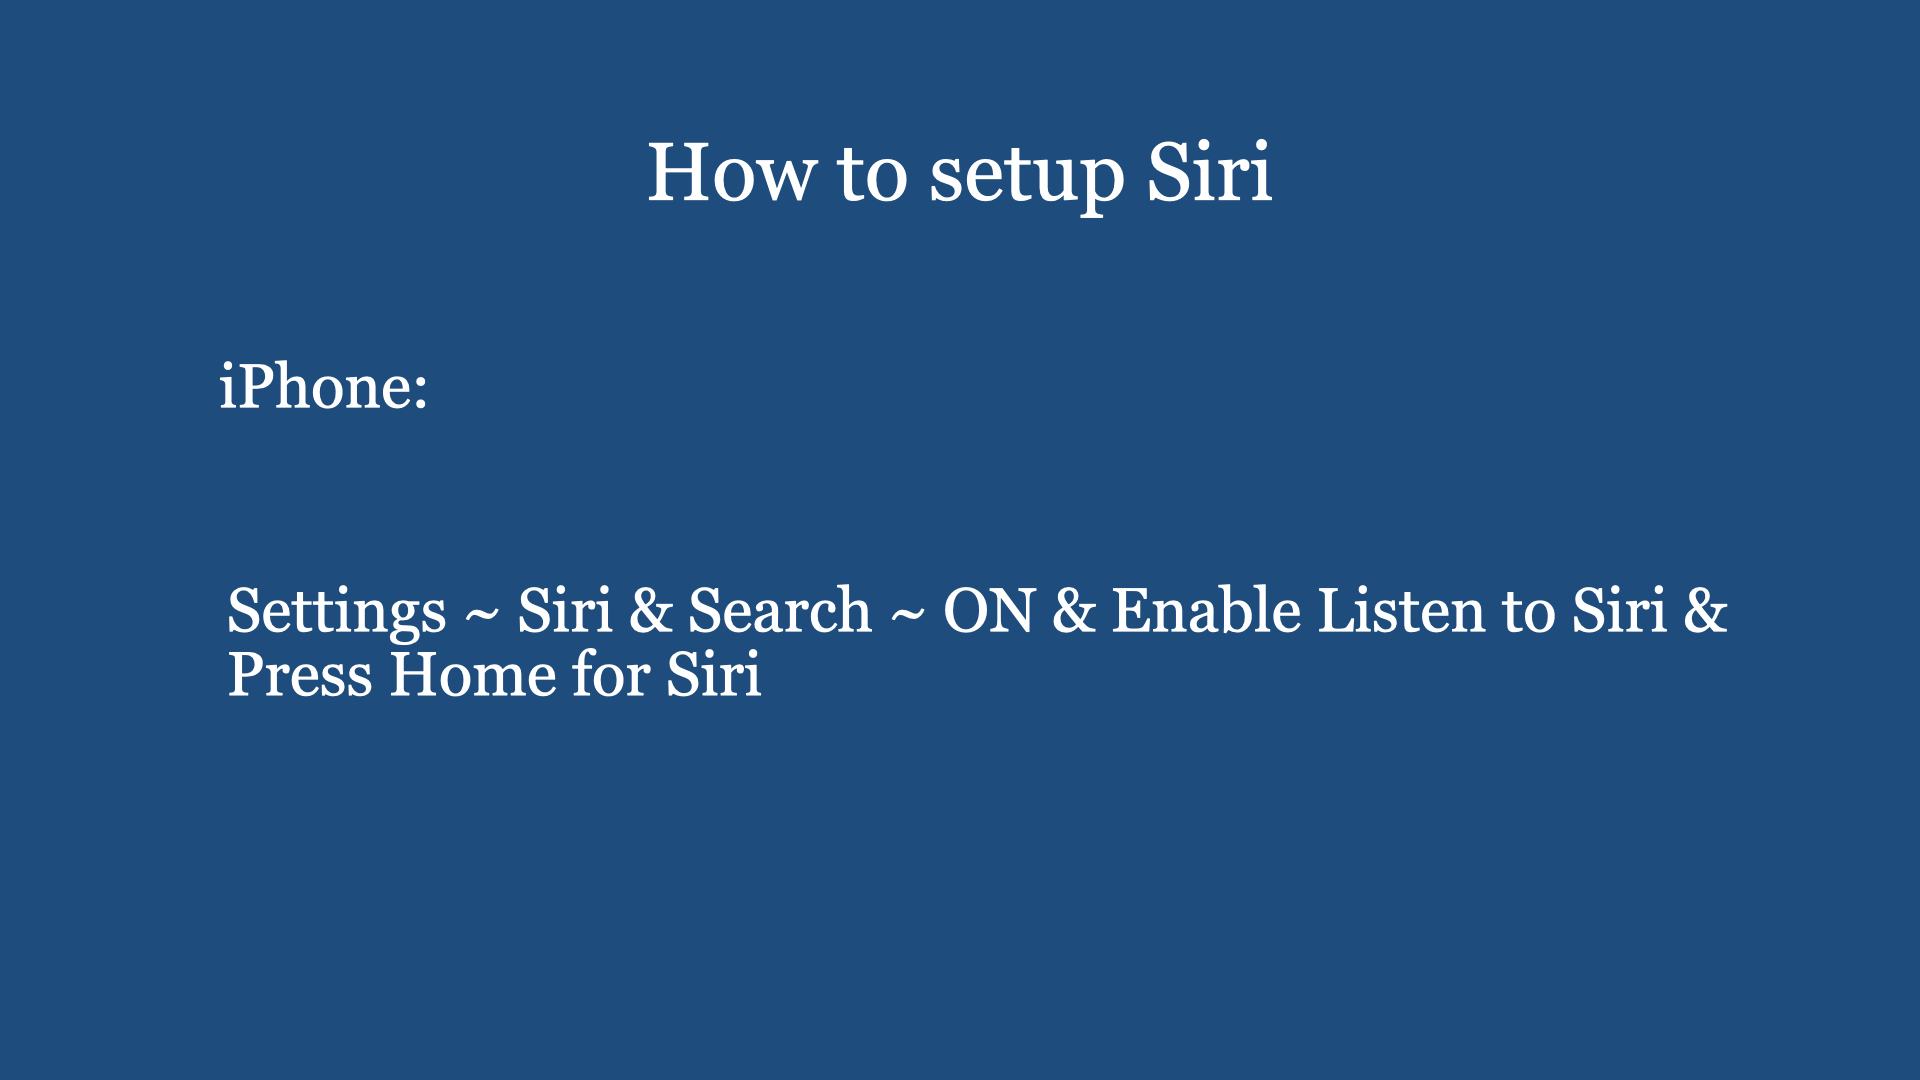
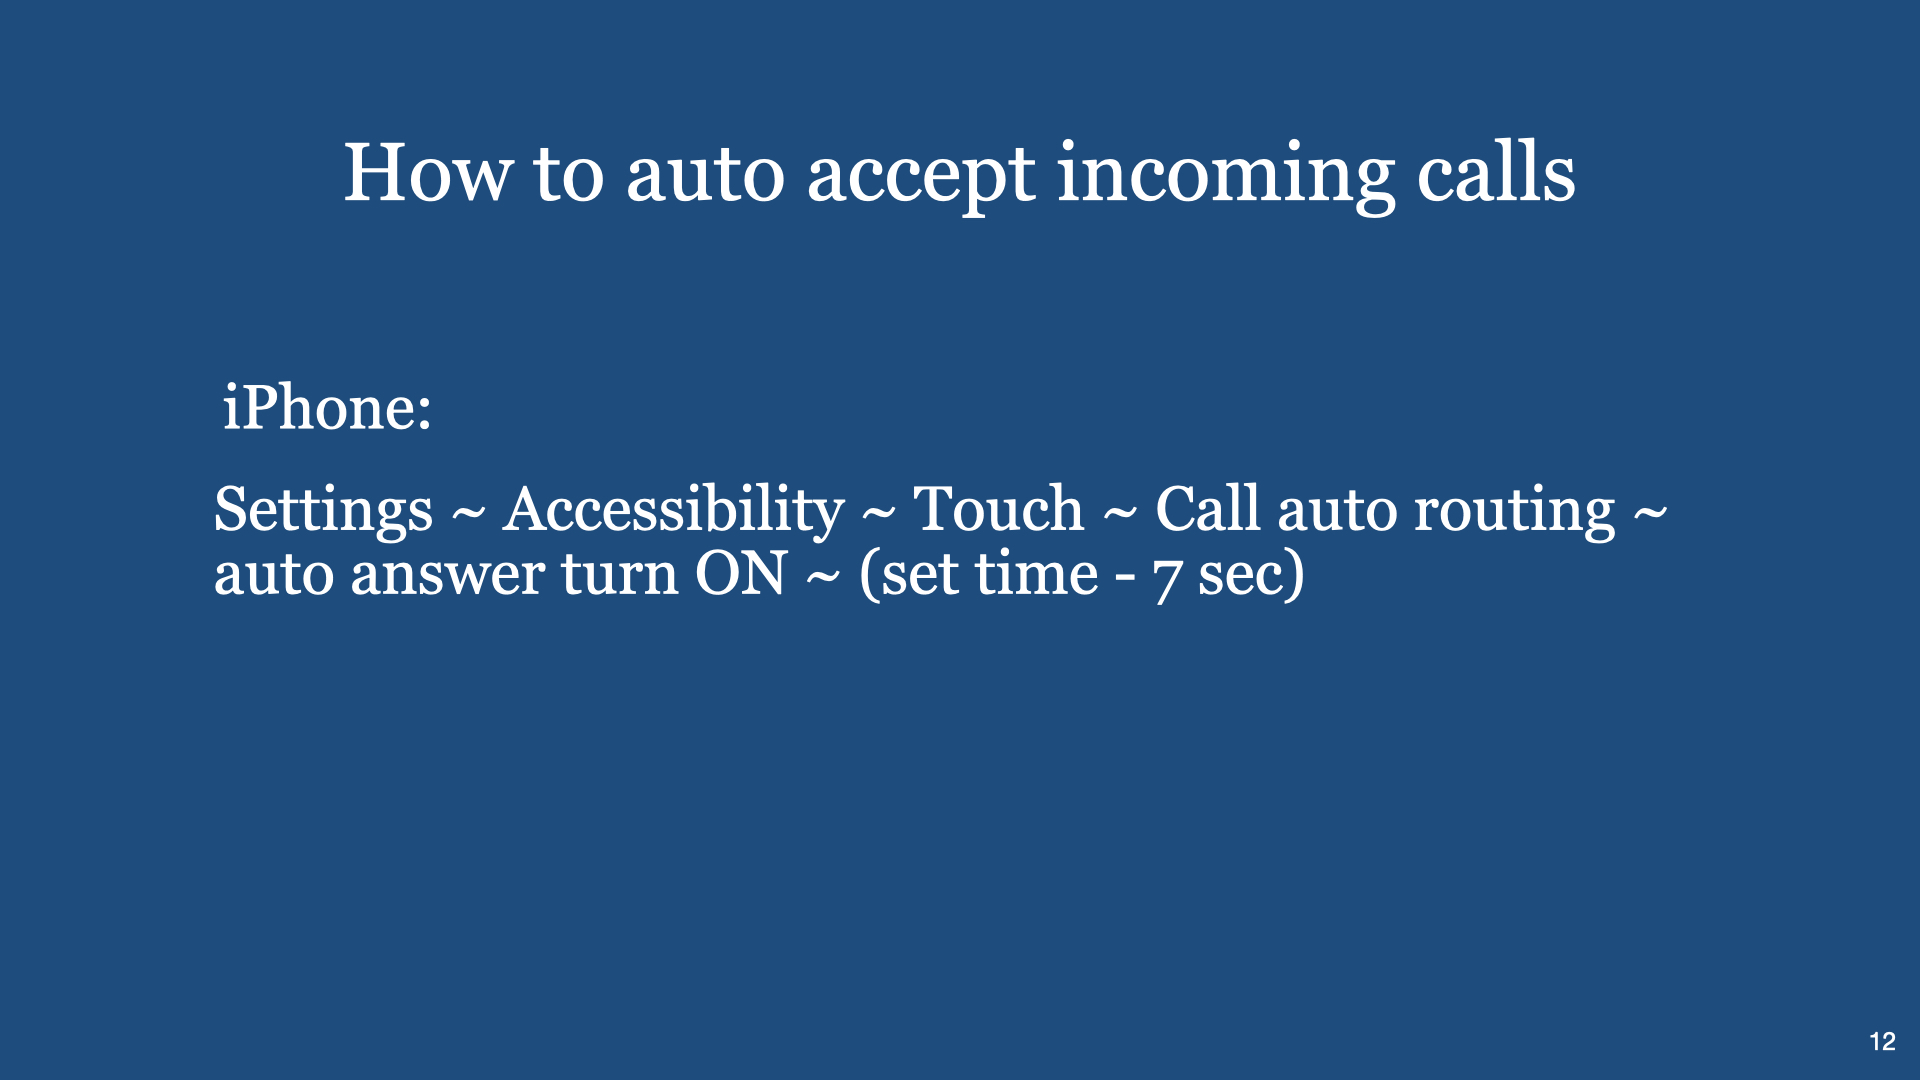
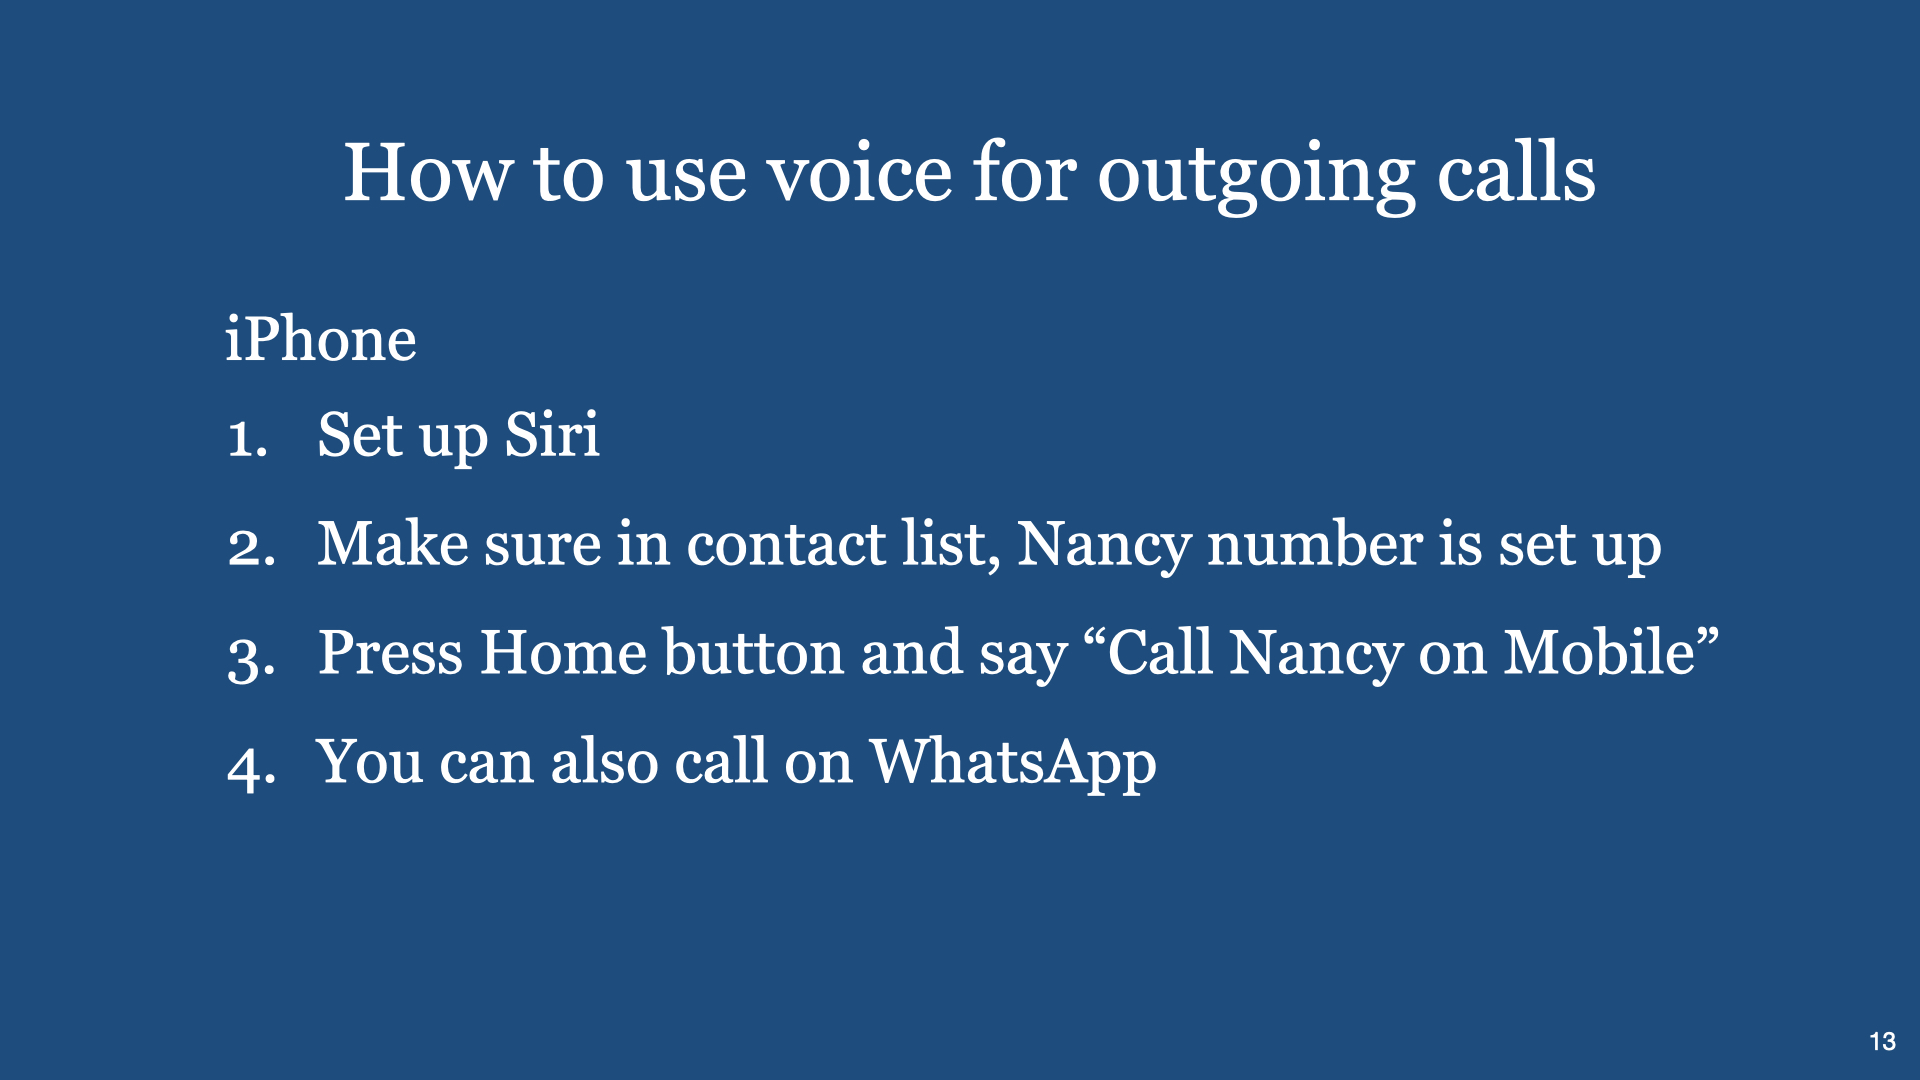
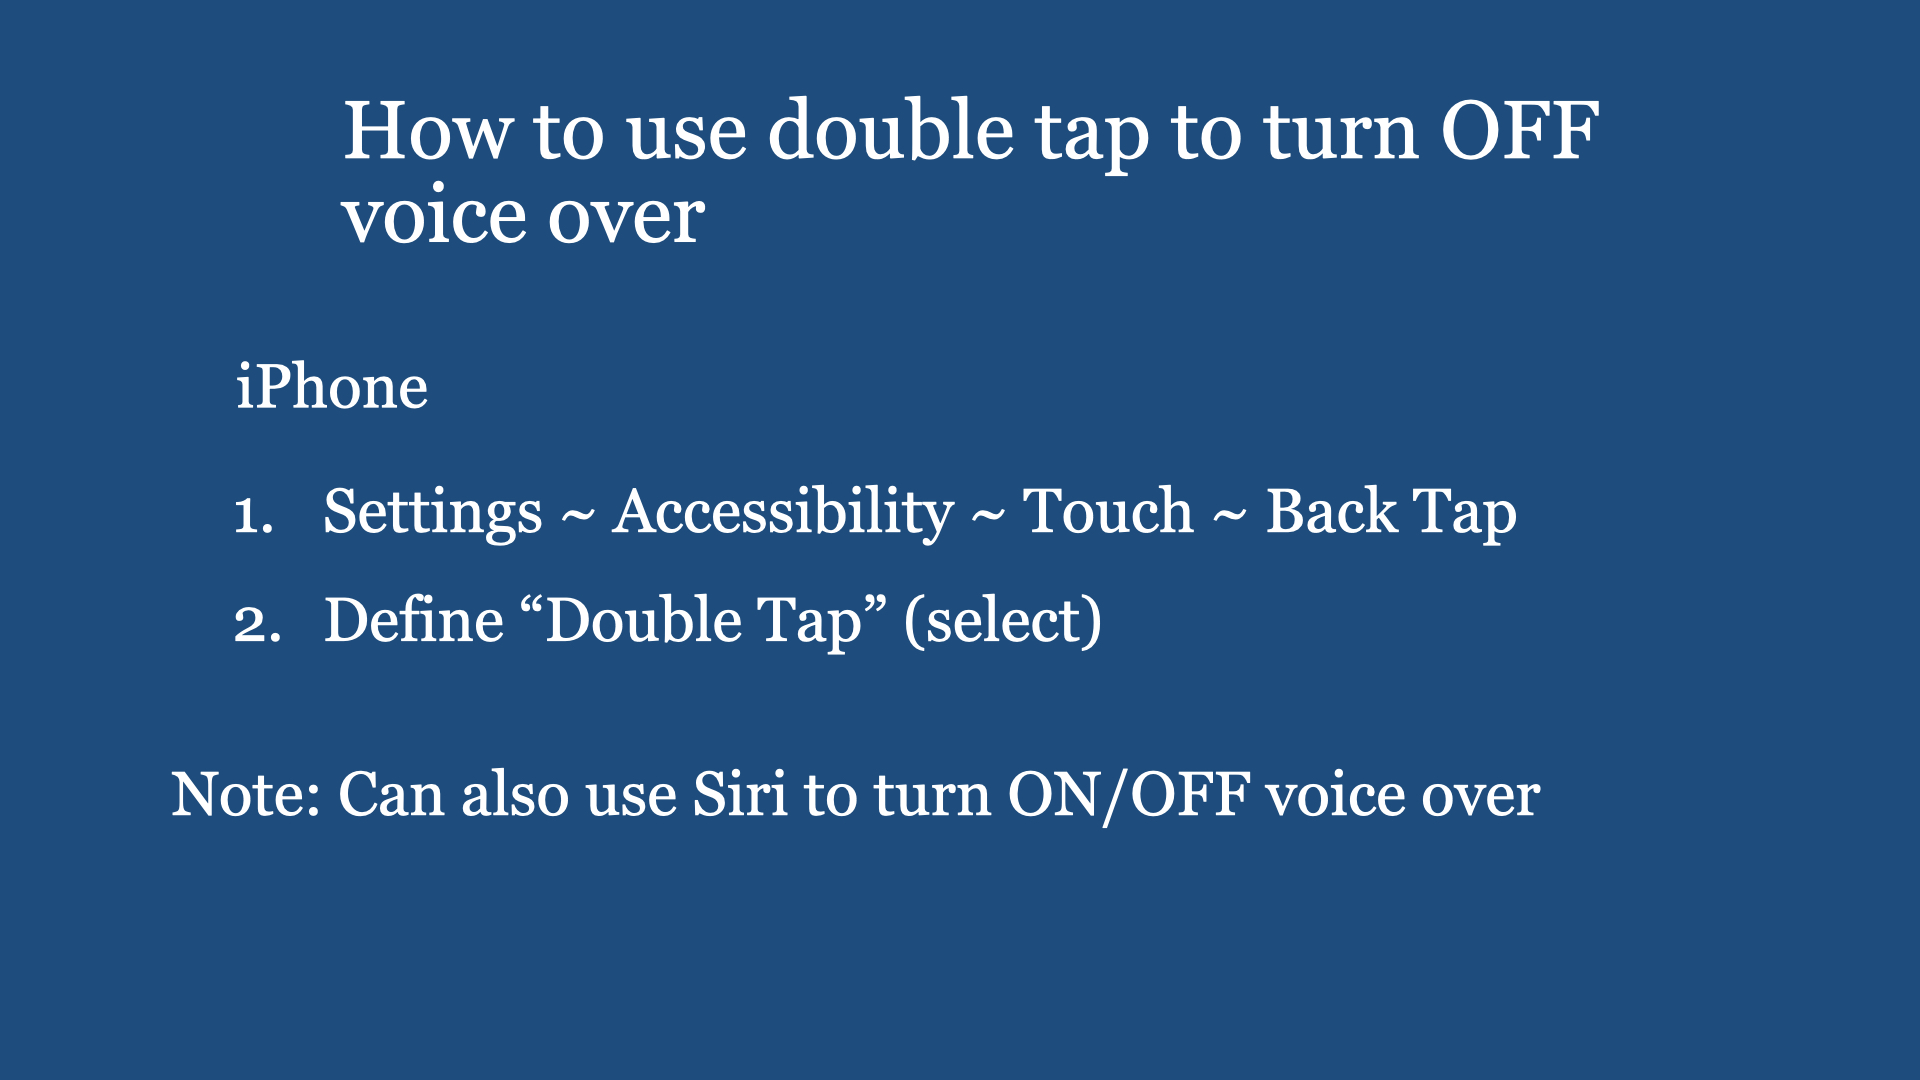
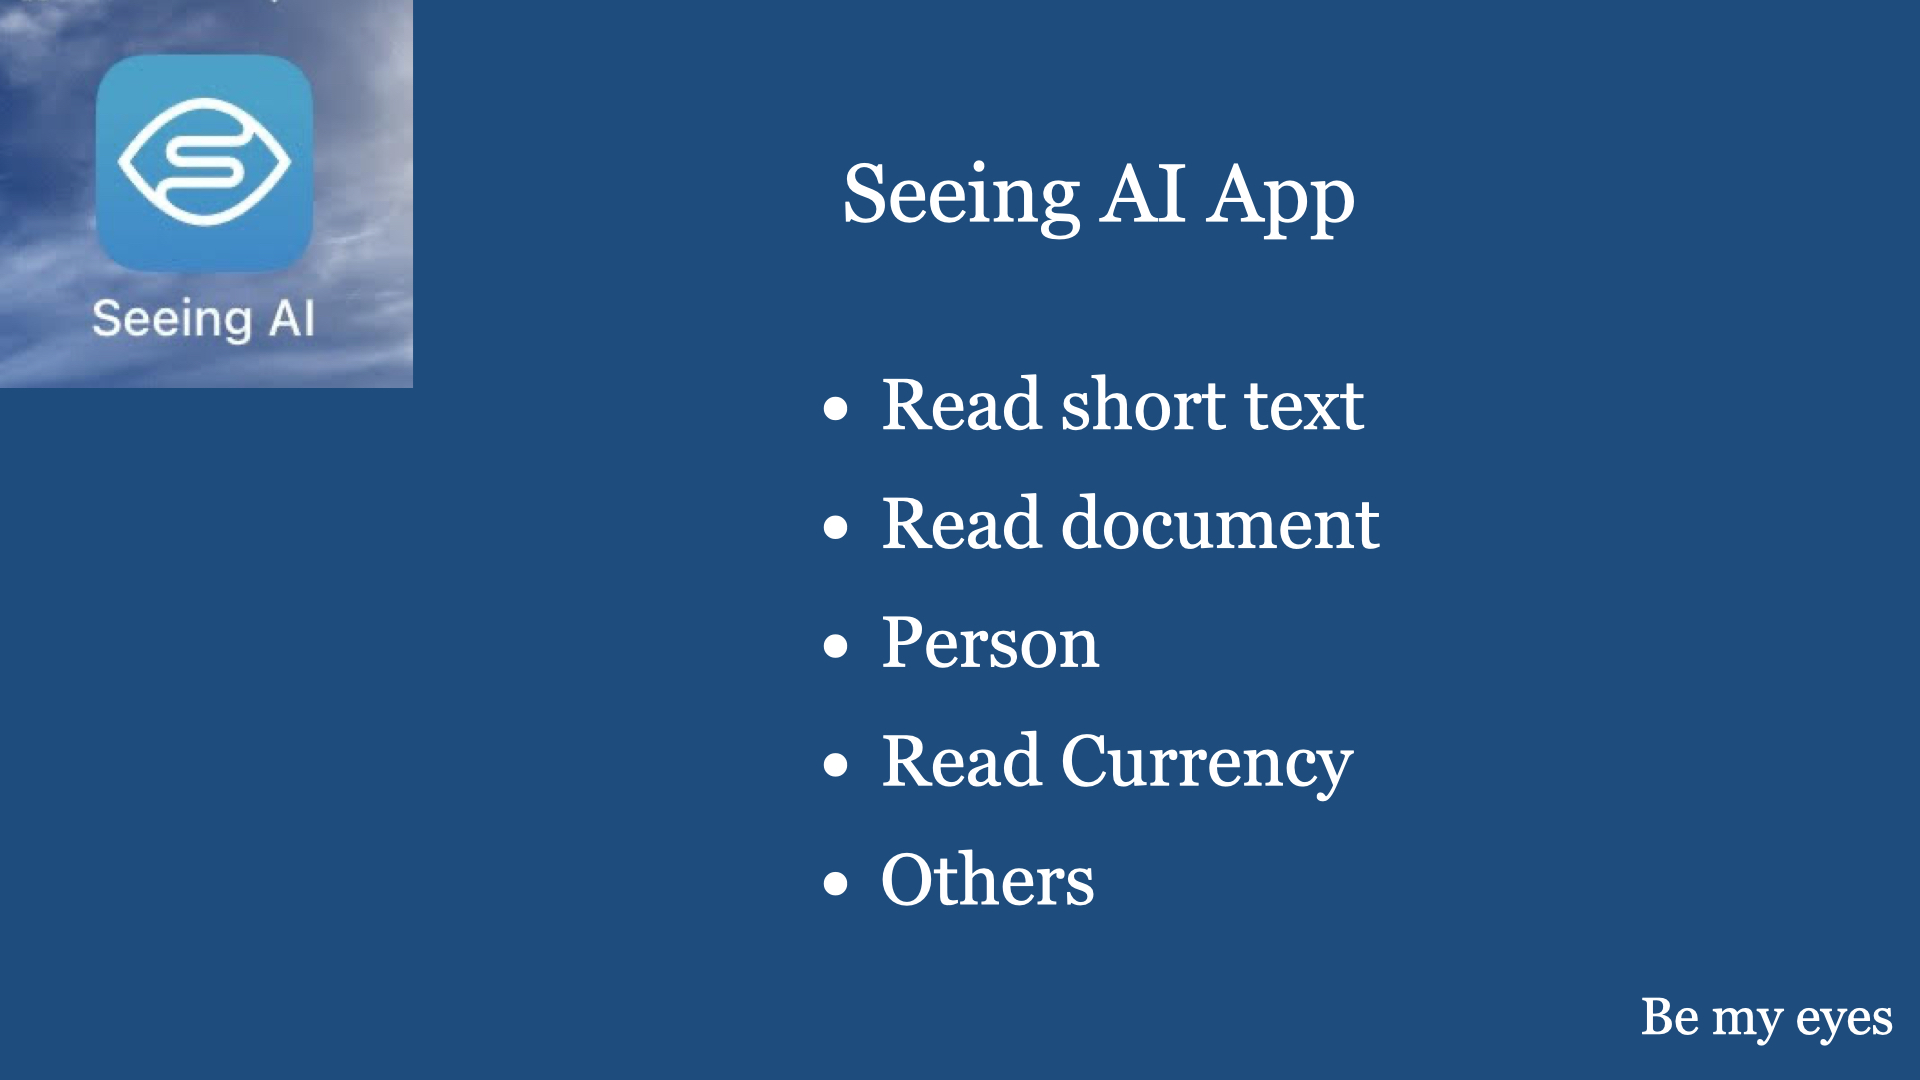
a) how to use voice input (to your smartphone) to make a call, to ask for information, to navigate all the Apps you have installed (in your smartphone). b) how to automatically receive a call (time out method) c) how to check weather, how to check information, how to connect to any local radio station, how to check WhatsApp messages, and the like. d) how to make smartphone to read aloud any printed text e) and more.
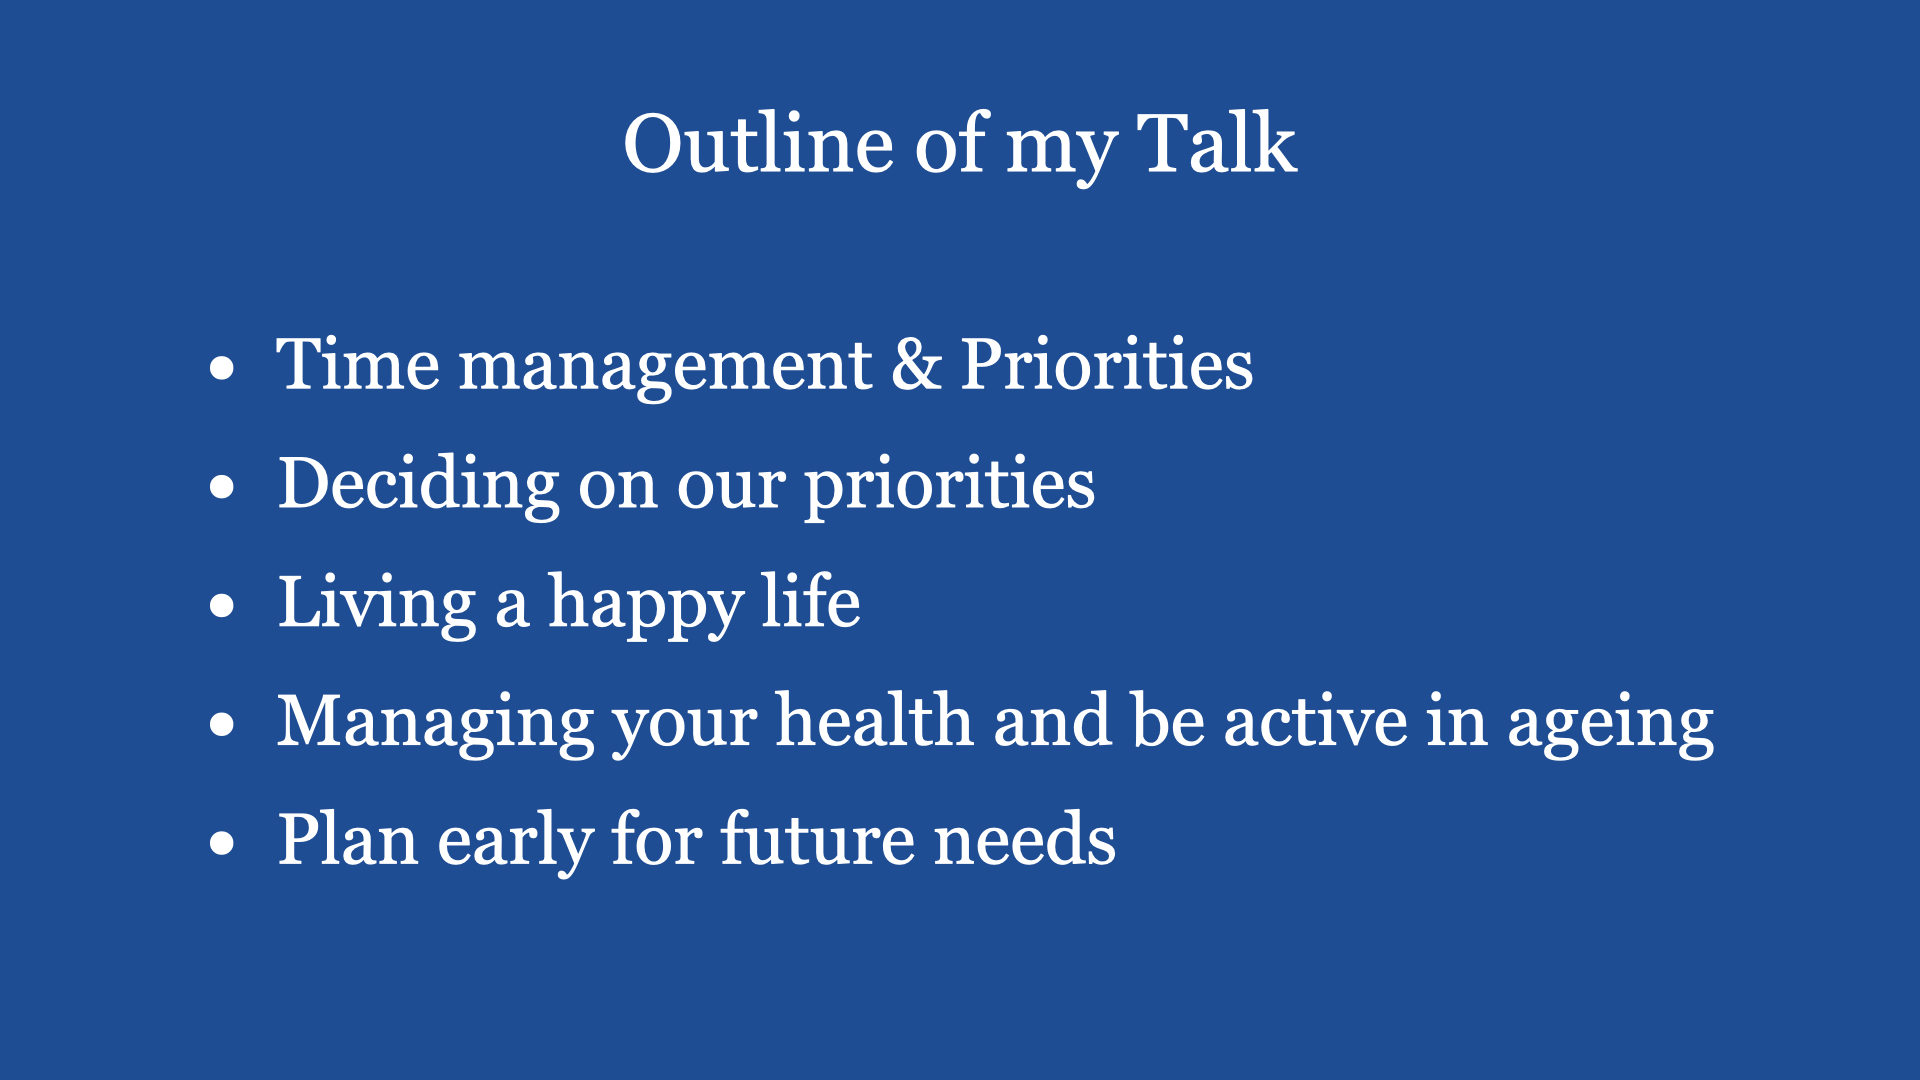
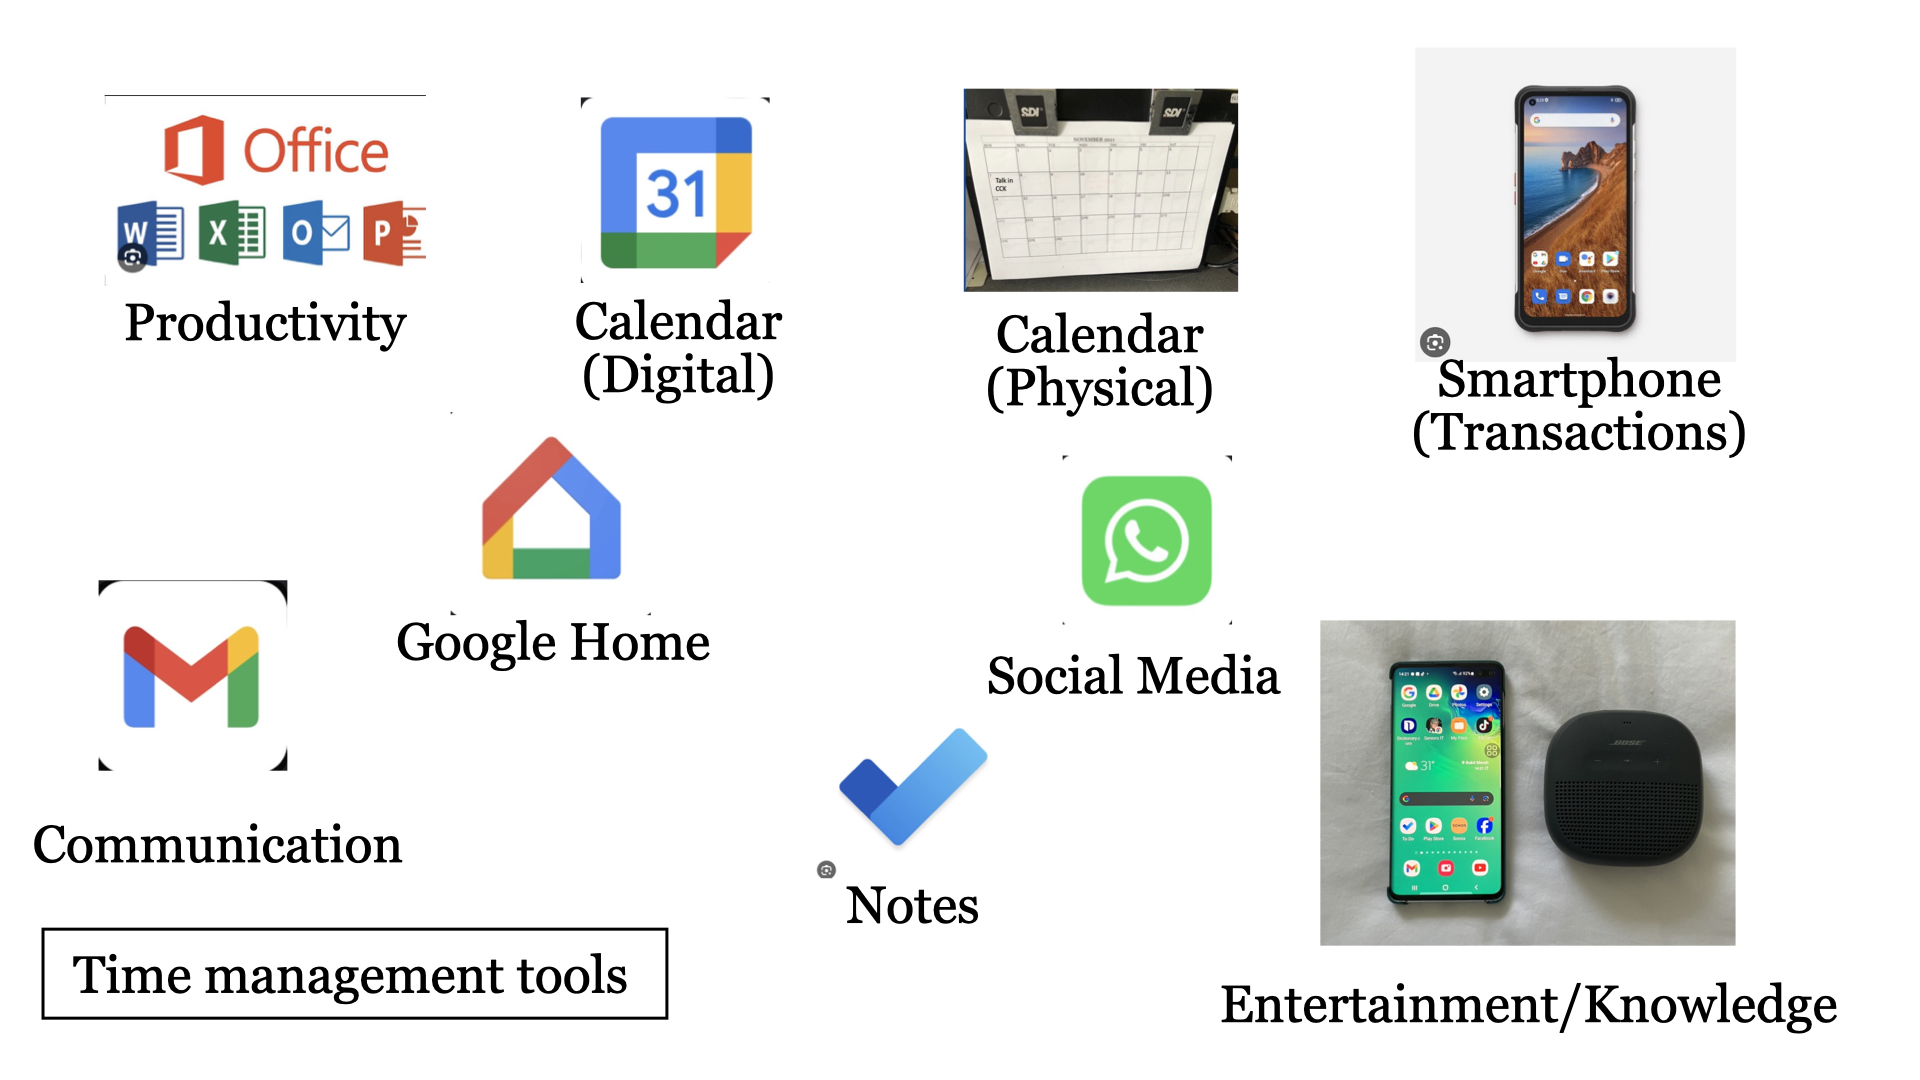
From the Internet … Time Management involves efficiently organising and prioritising tasks to make the most of one’s available time. It’s a skill that helps individuals achieve goals, enhance productivity and reduce stress by allocating time effectively. (Ref: chatGPT)
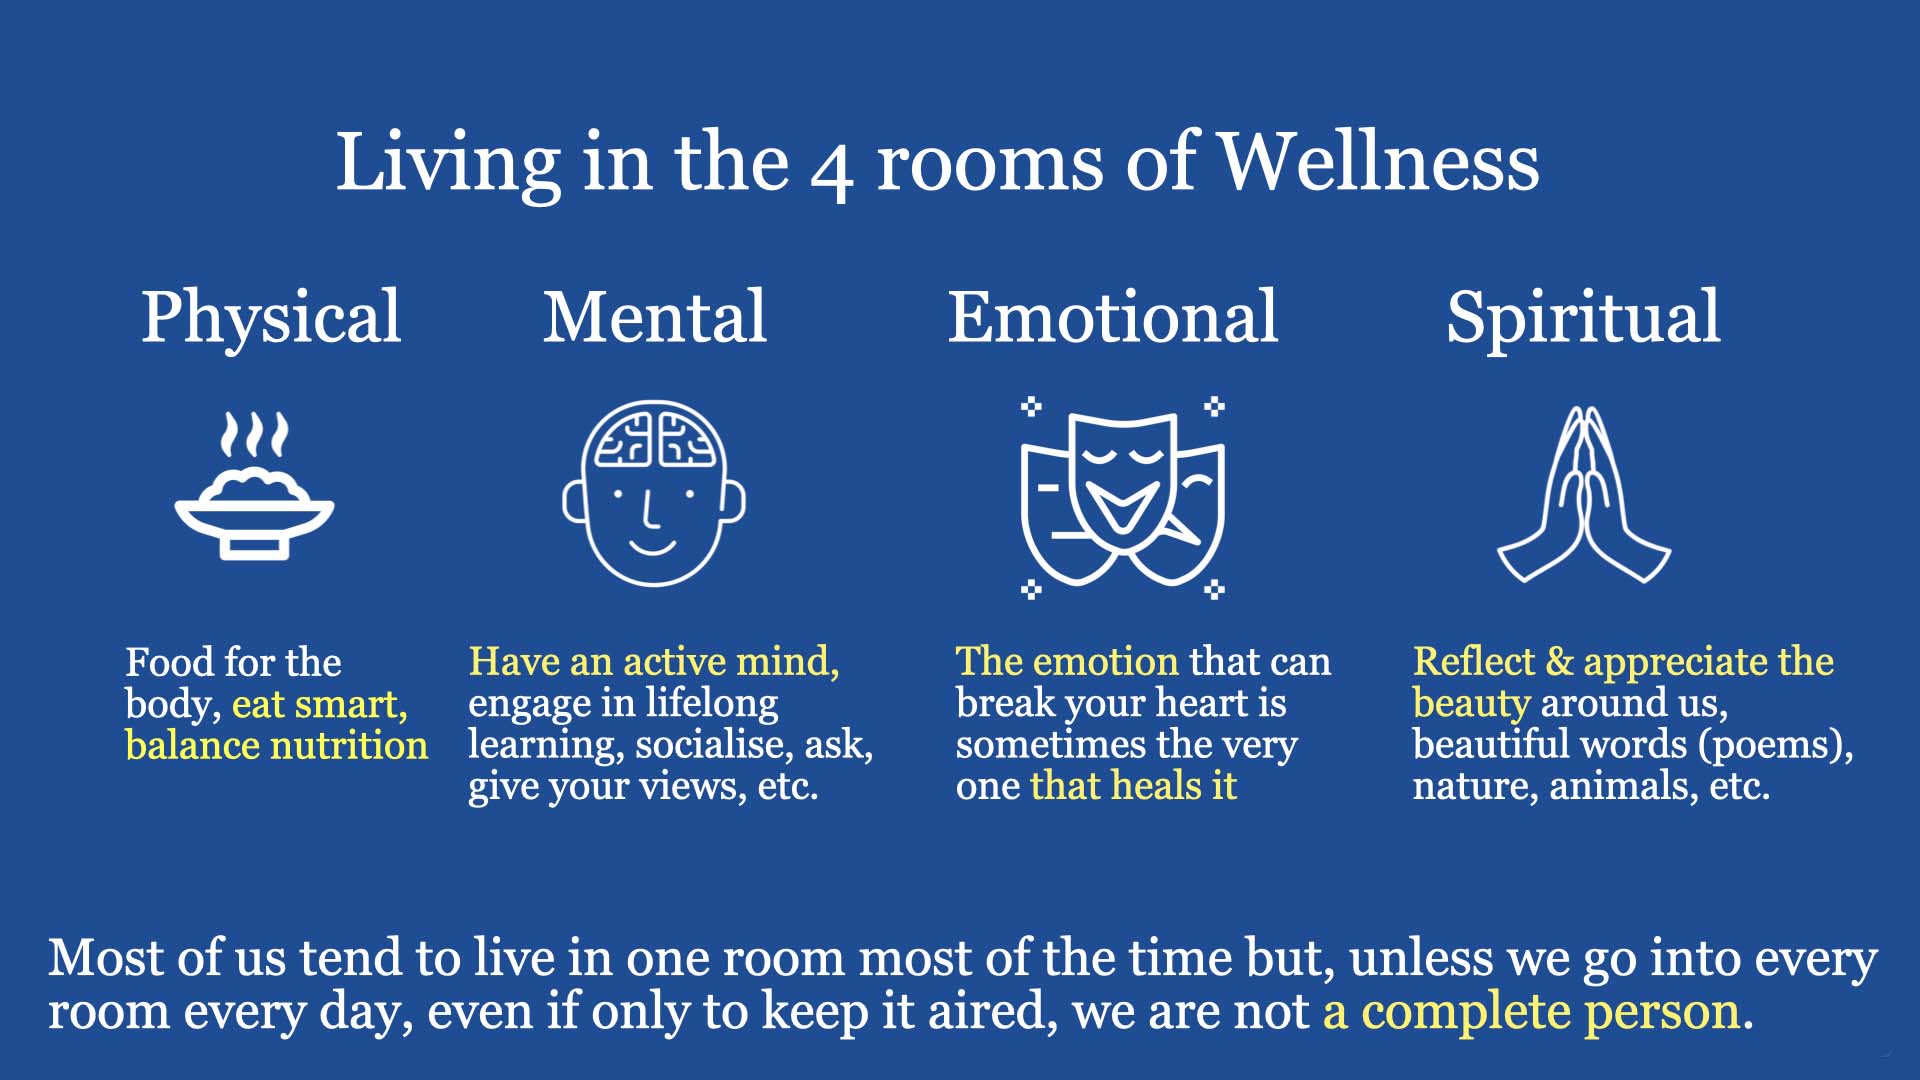
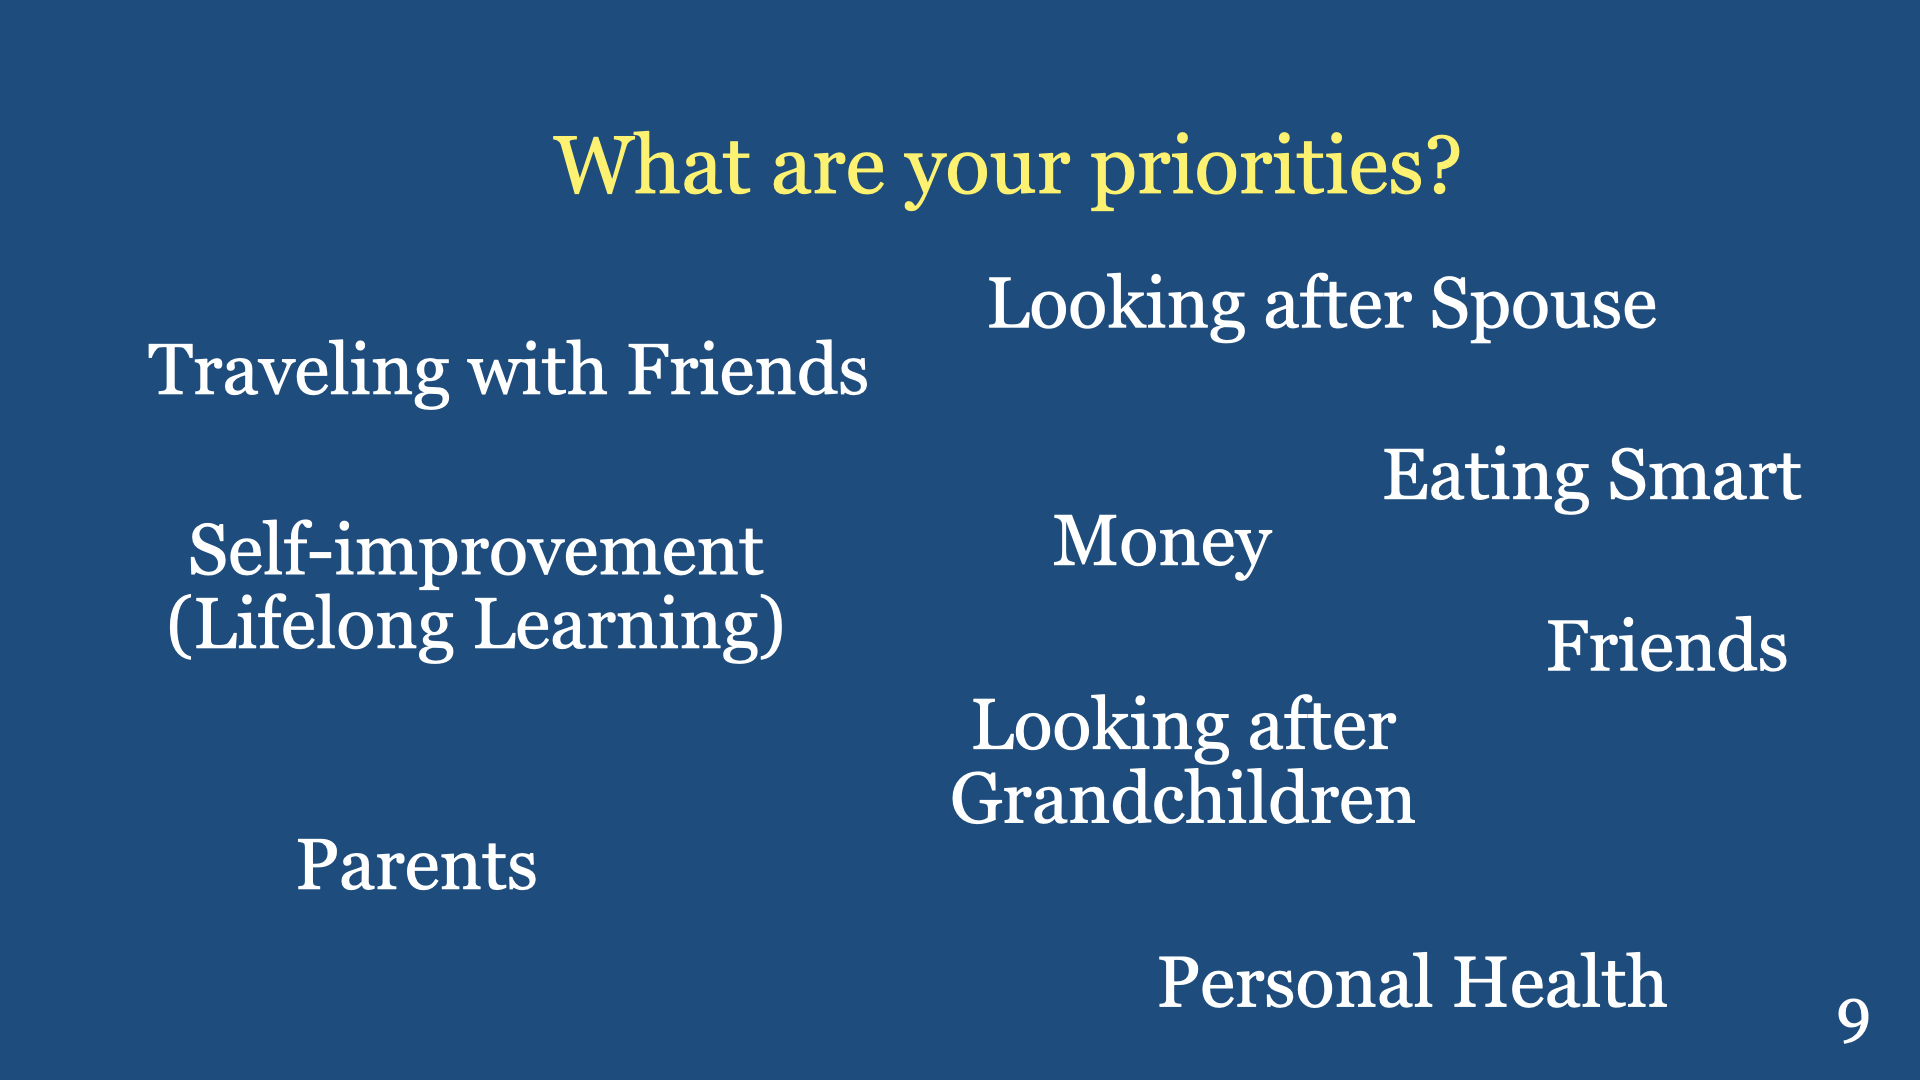
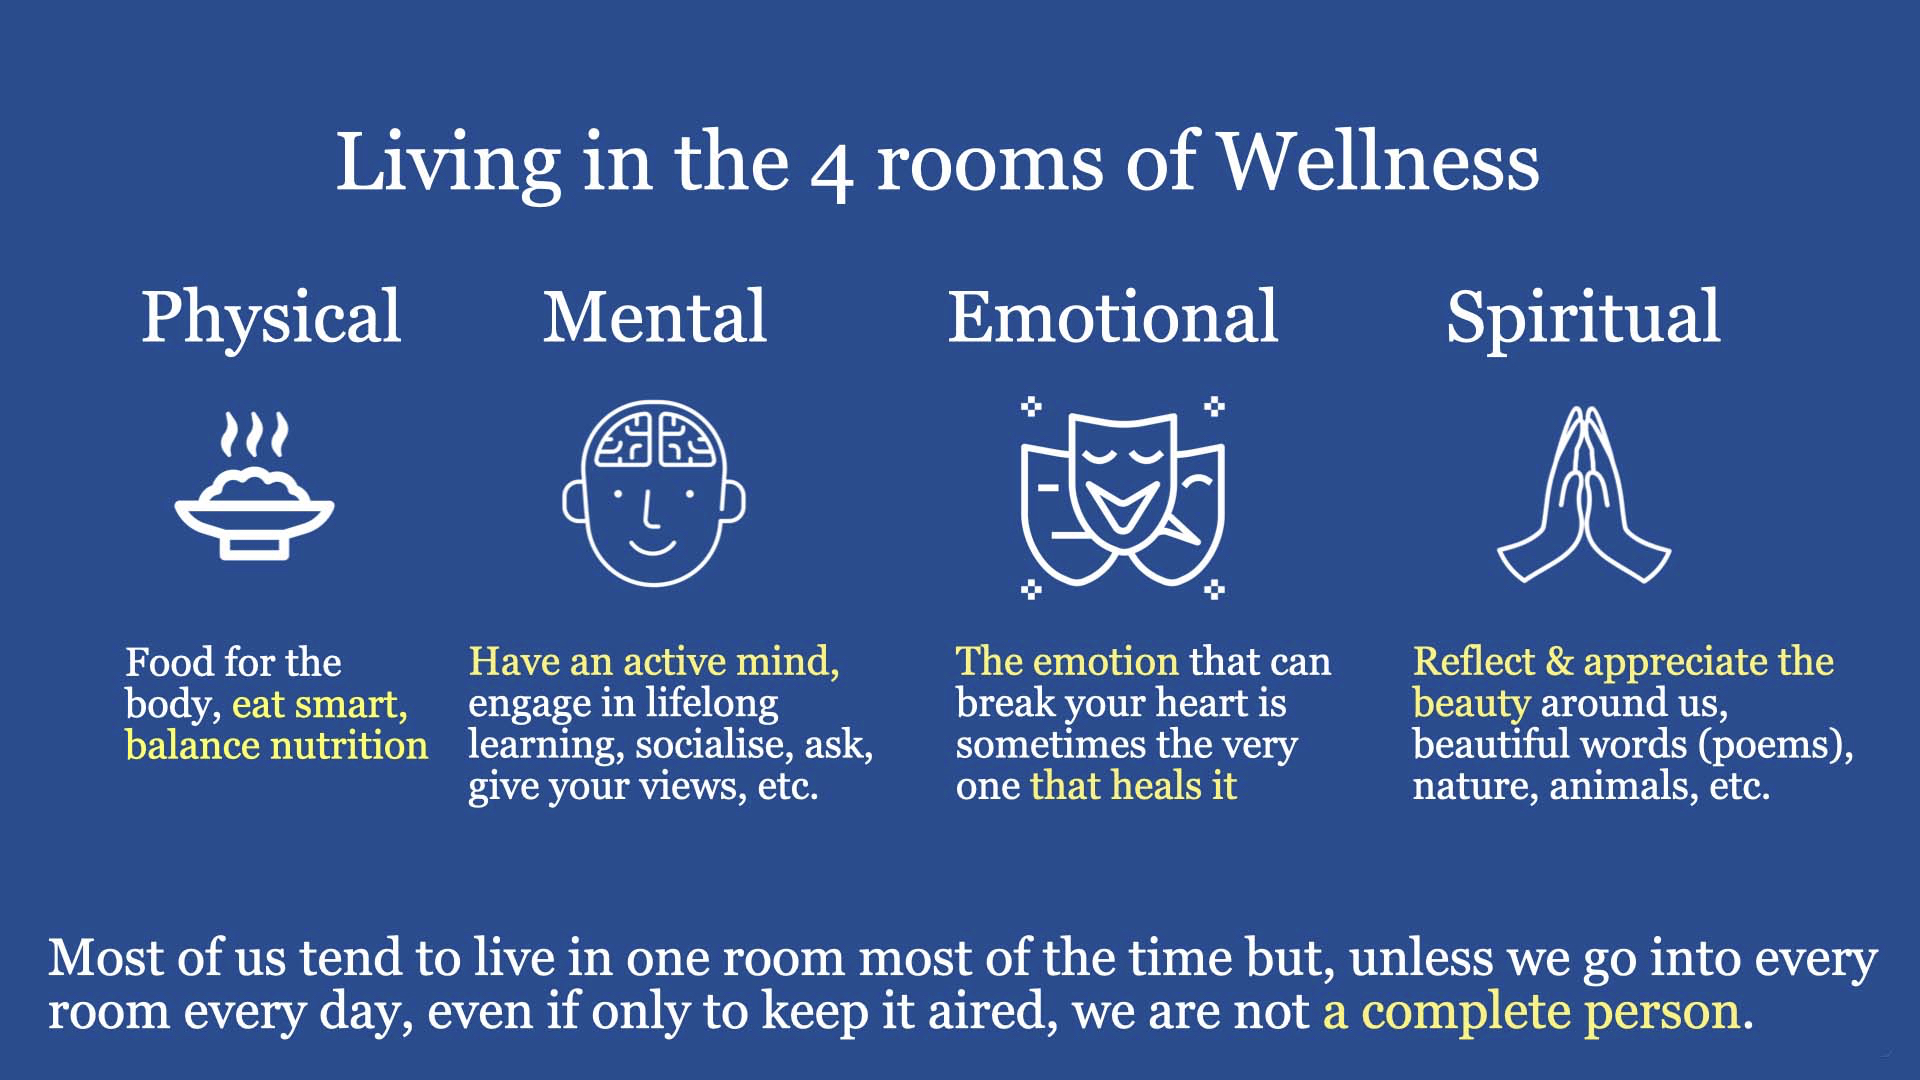
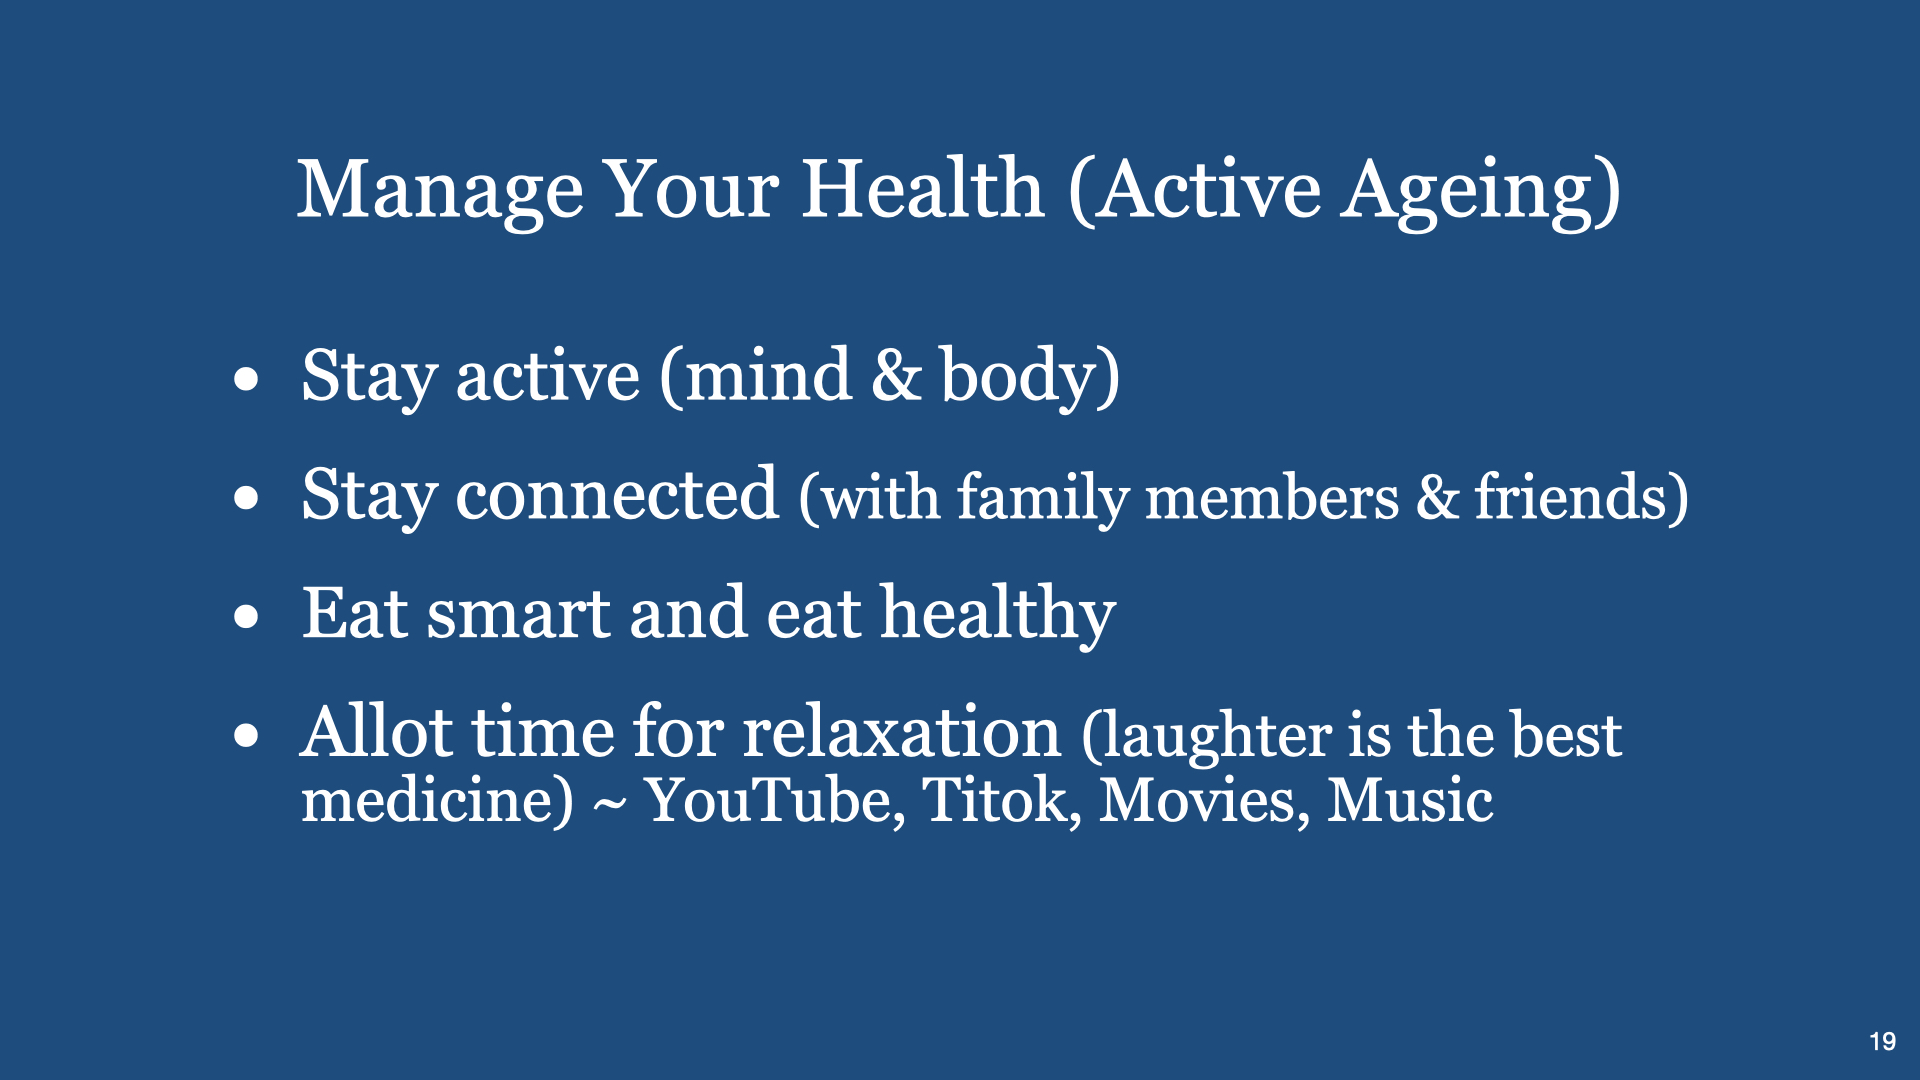
Time management & Priority skills are also required to manage our Personal Wellness. Generally we need to pay attention to our body’s (1) Physical, (2) Mental, (3) Emotional, and (4) Spiritual aspects daily. Happiness can be affected if one or more of the four areas in our body is/are not performing well.
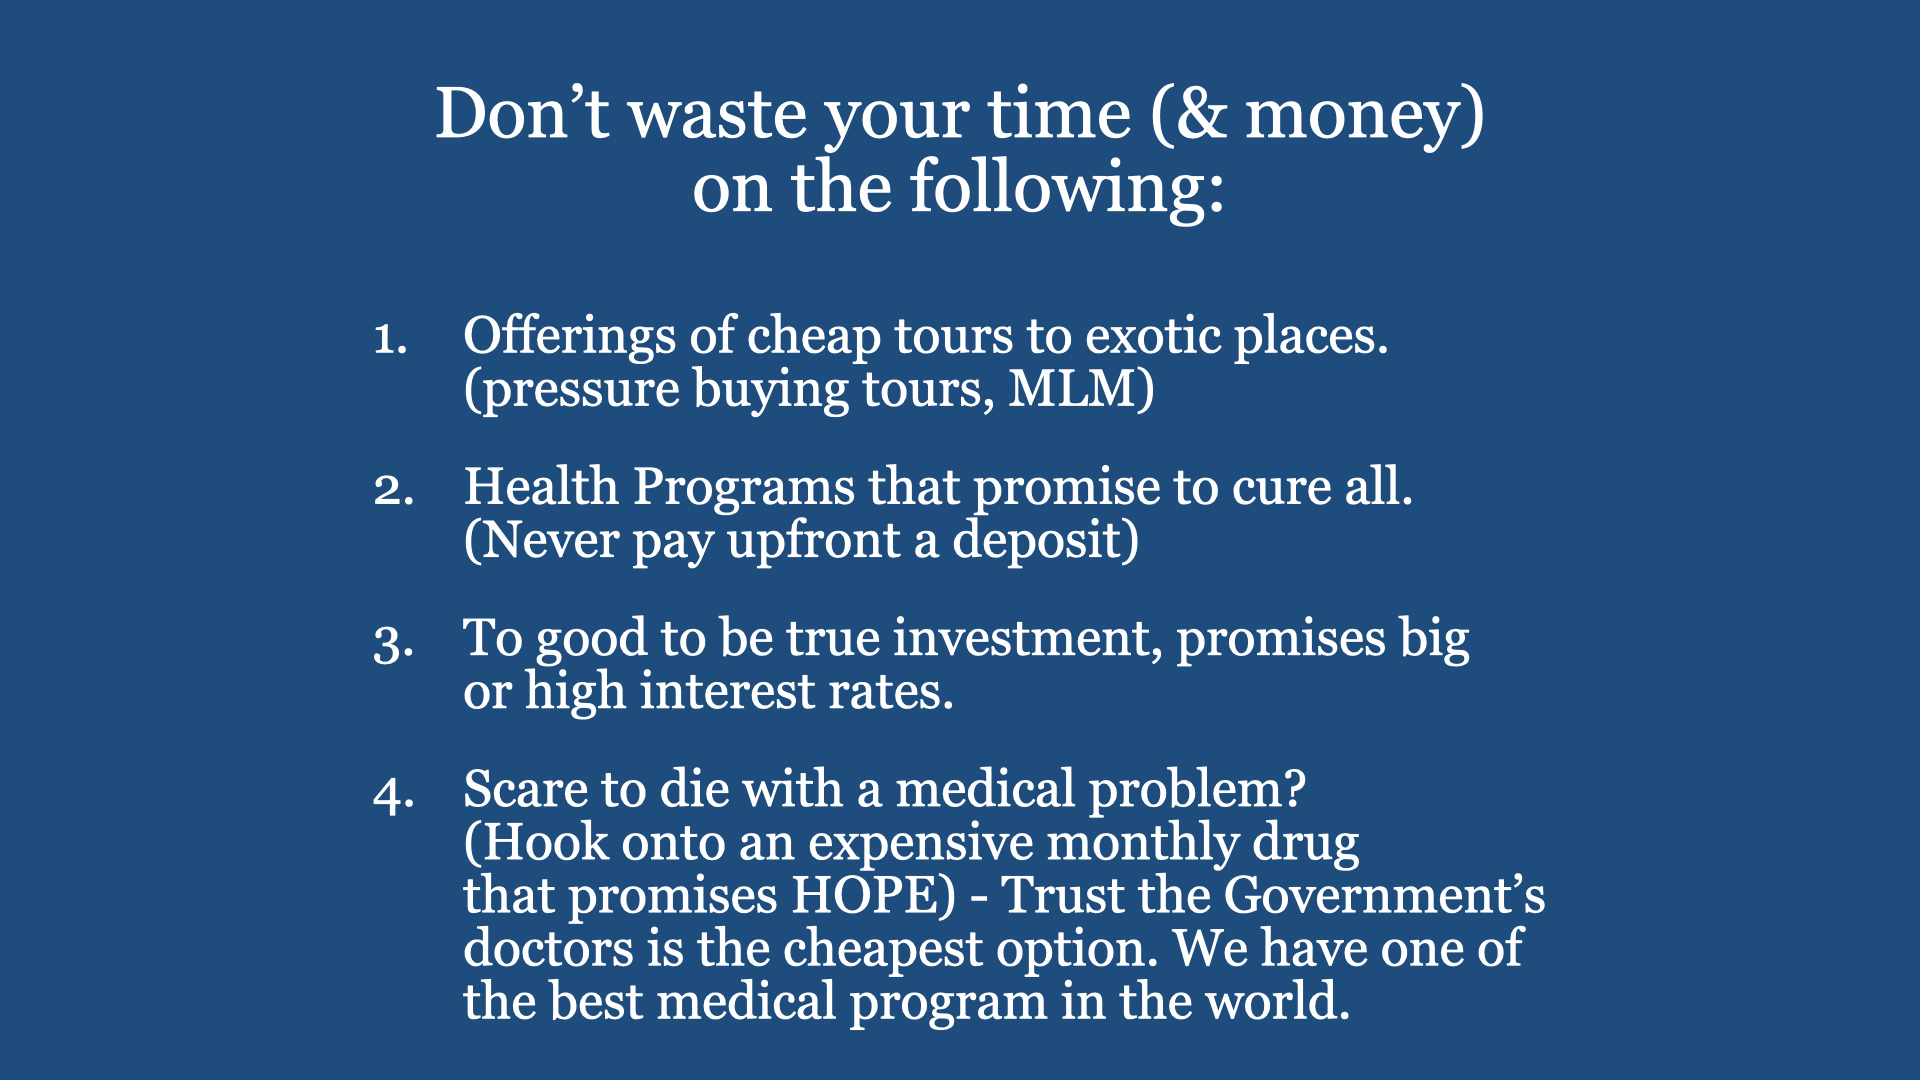
Happiness is a choice. So, are you happy? Are you living in fear – fear of being scammed, fear of getting critically ill or something else.
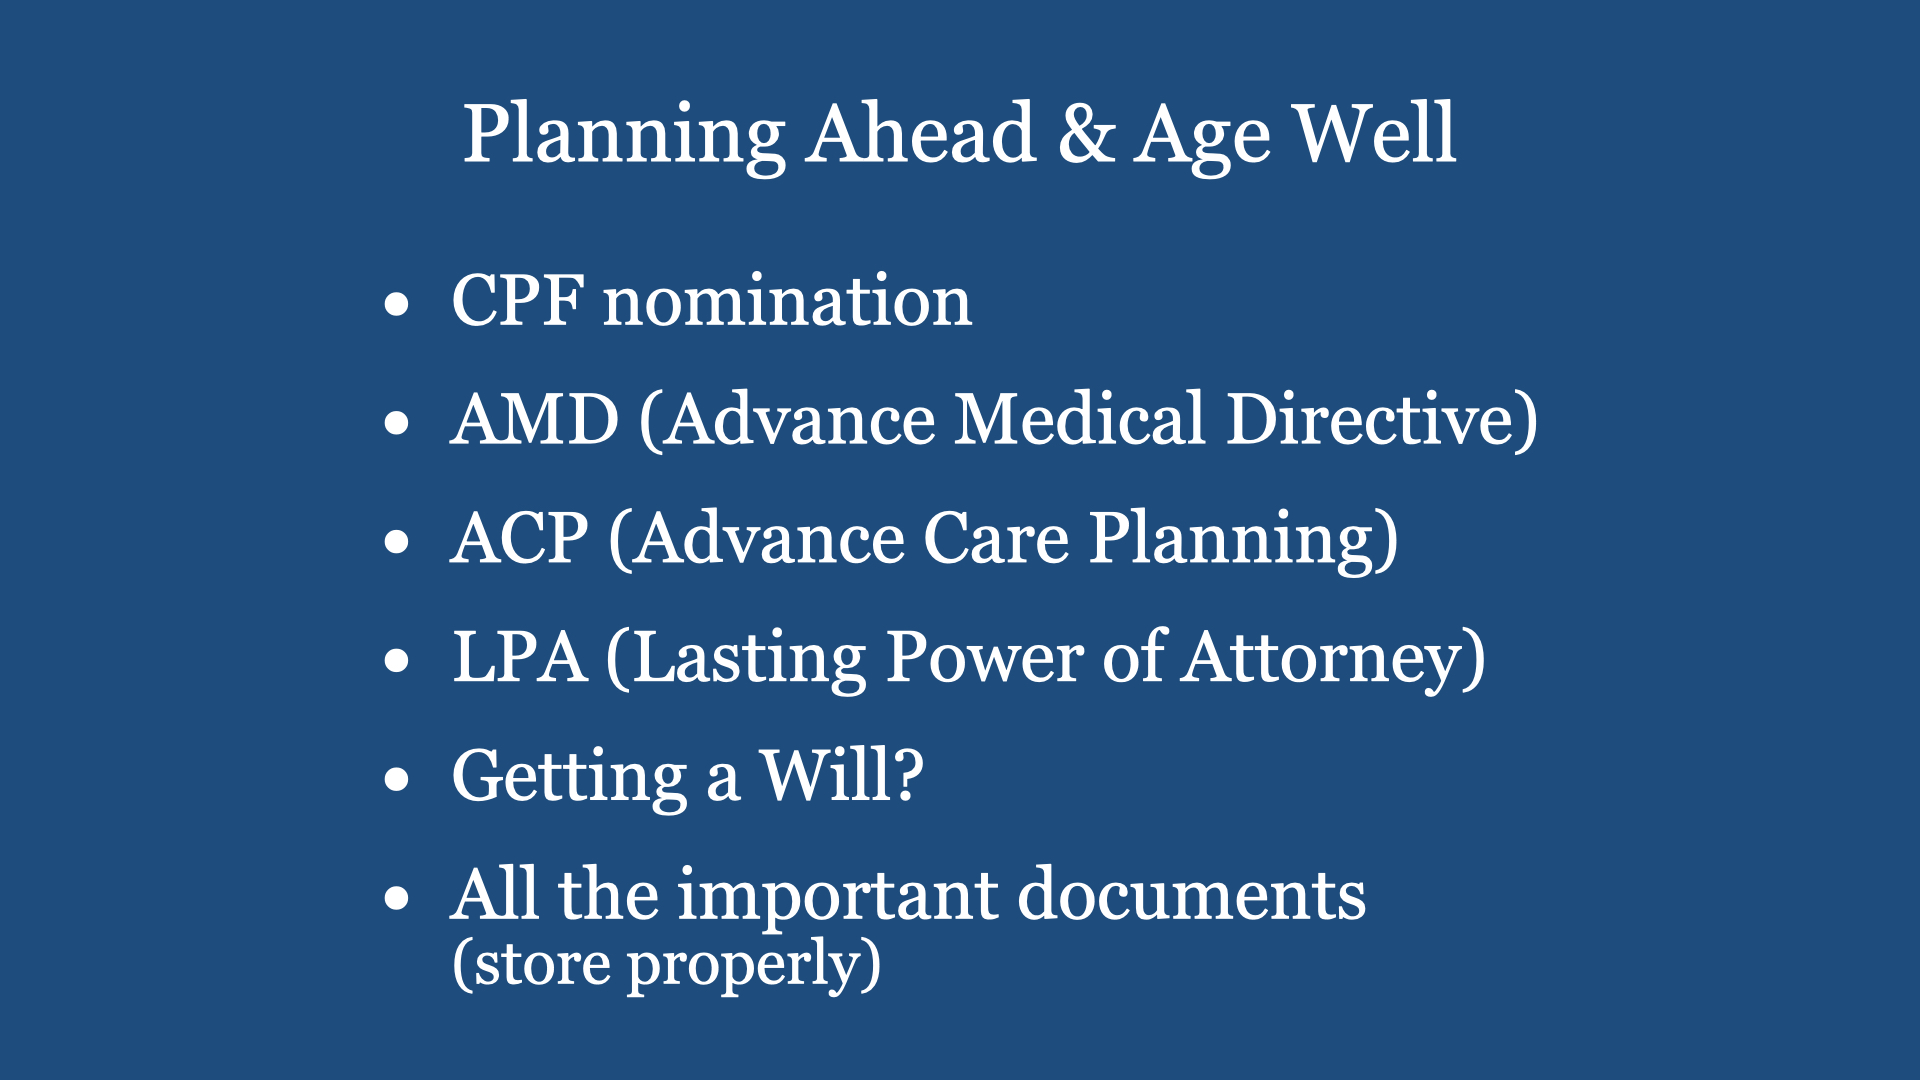
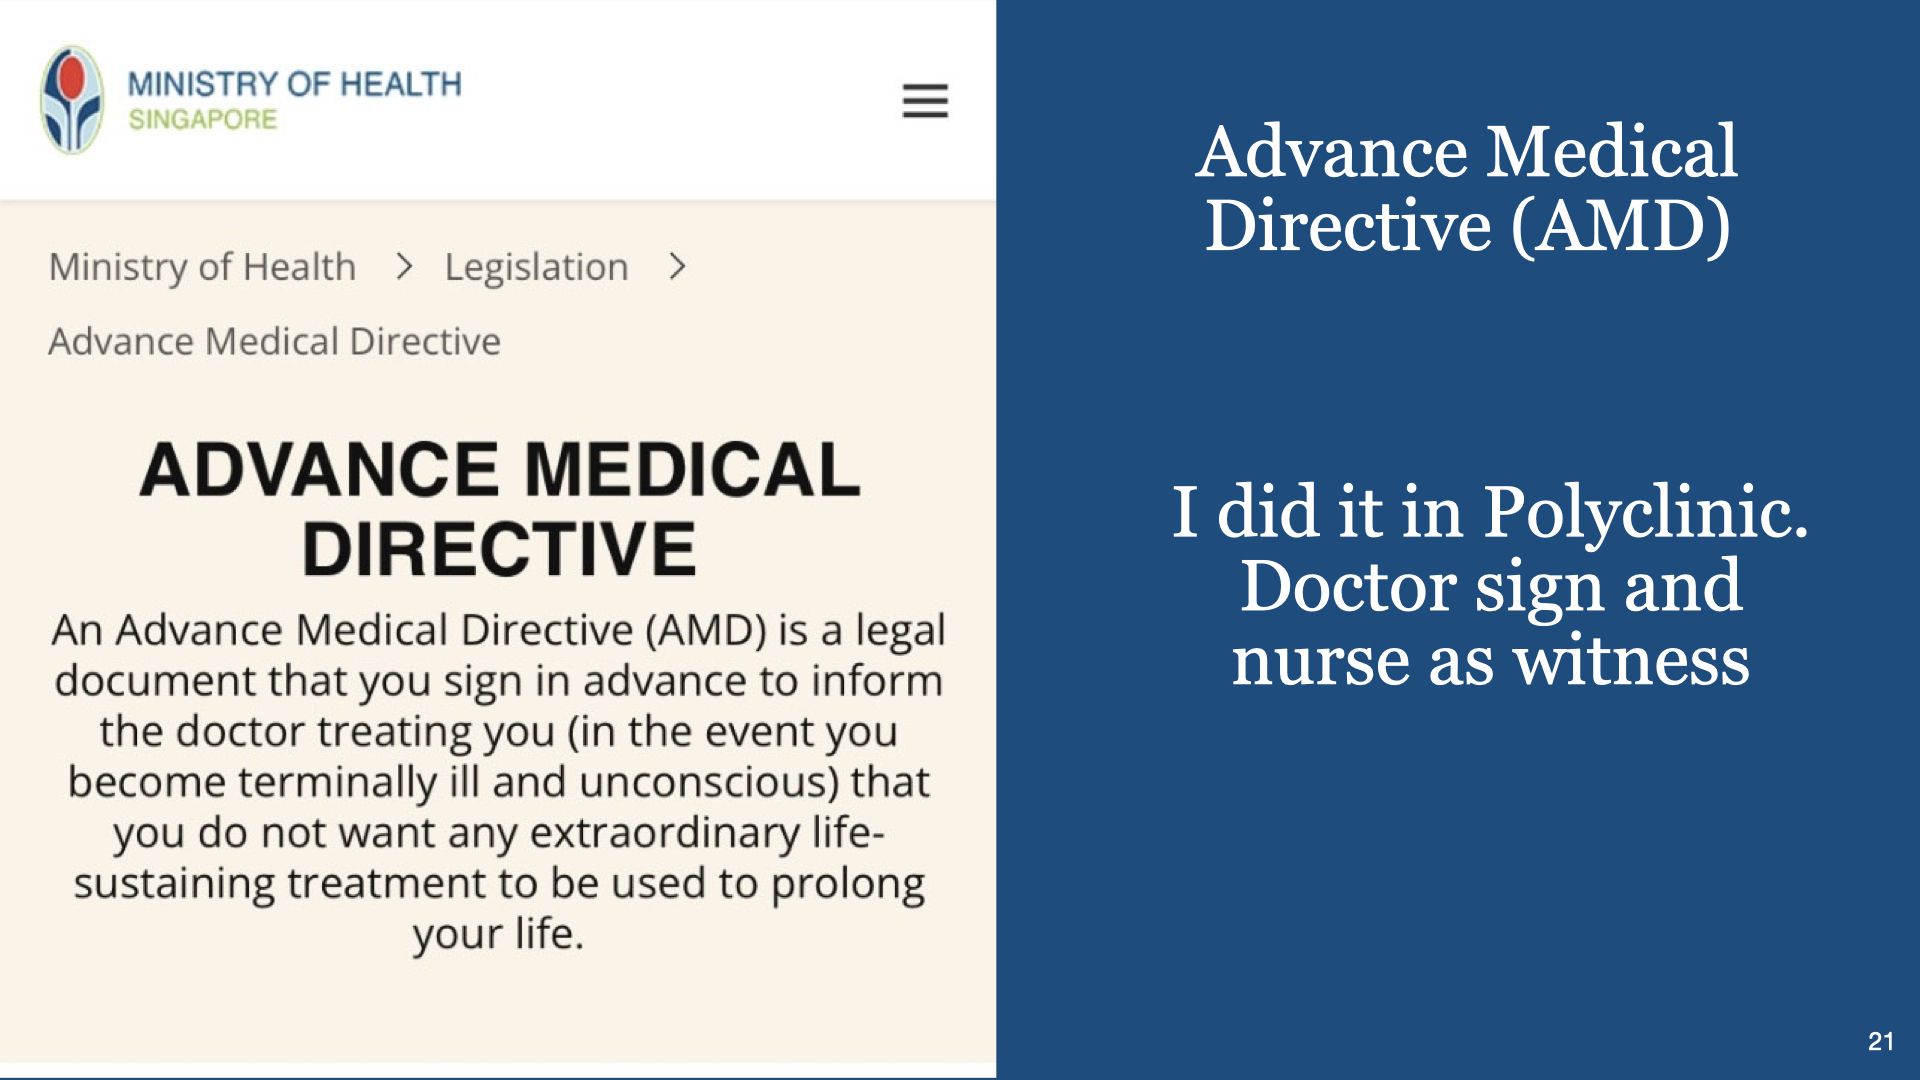
On priority, have you done all the necessary to avoid giving headaches to those you will leave behind. (Will, AMD, ACP, LPA, CPF nomination, etc.)
Digital Cafe@Harbourfront Discussion: Housekeeping of all your smart devices Date: 9 Dec 2023 (Saturday) Time: 2PM to 4.30PM Venue: library@harbourfront (Vivo City) Facilitator: Hewlee Ho Registration via https://go.gov.sg/toyl (scroll down to date to register. NLB membership is required) Admission: Free
You can view a video on similar talk through the YouTube Link (Part 1 – Common Smartphone Problems & How to Fix them)
You can also view a video on similar talk through the YouTube Link (Part 2 – Common Smartphone Problems & How to Fix them)
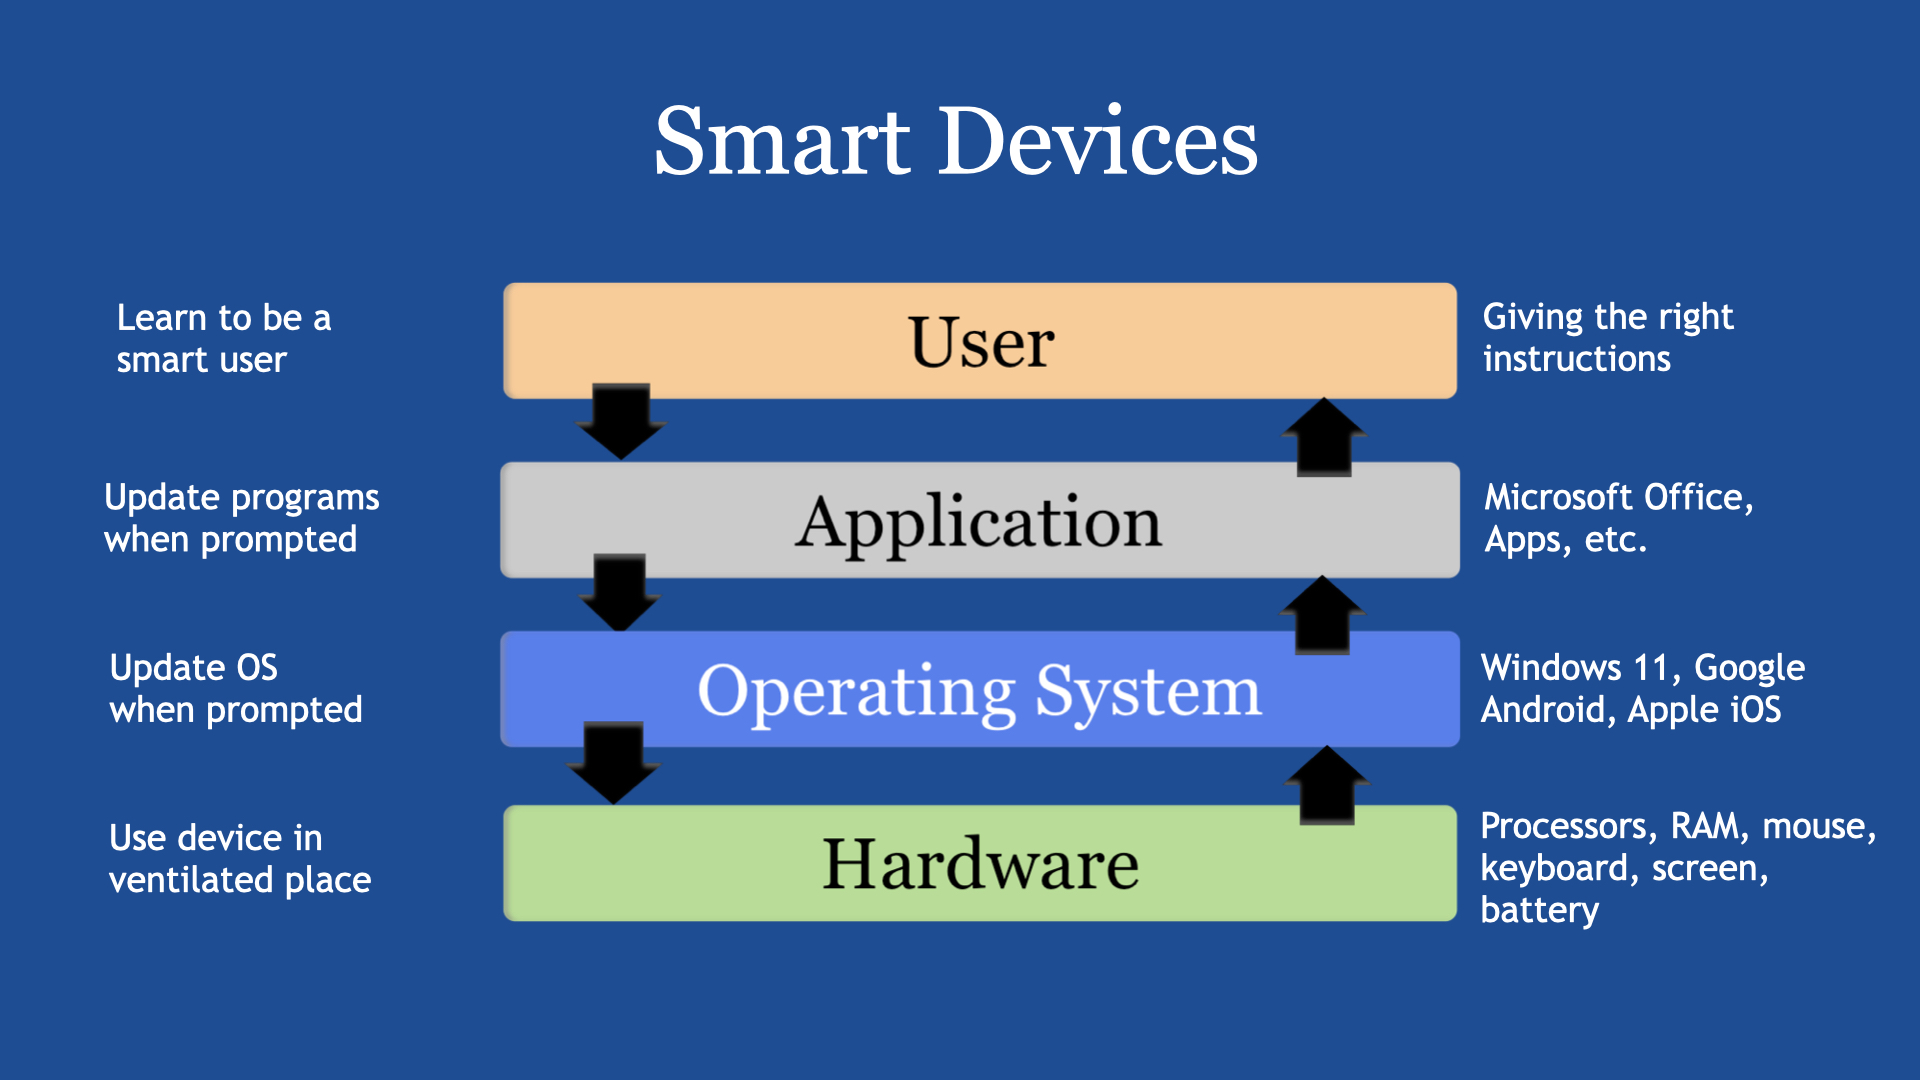
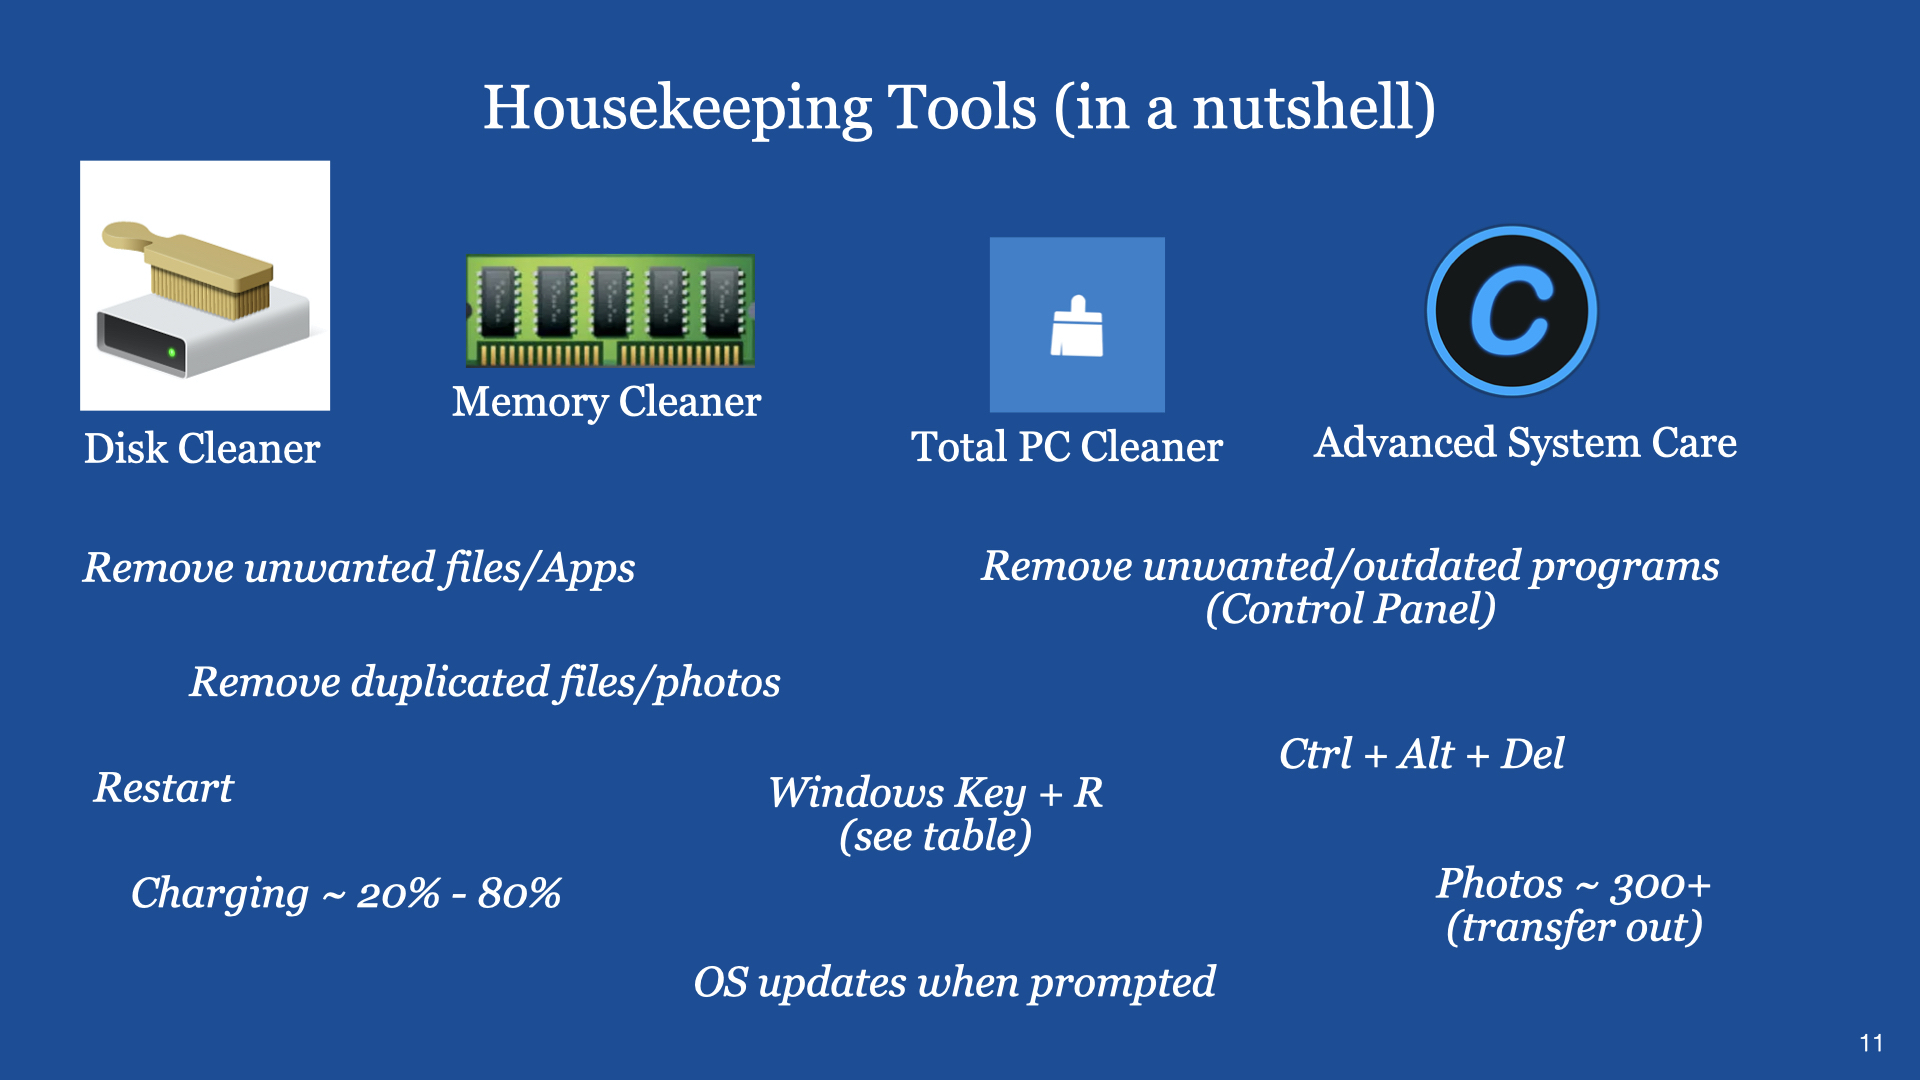
Introduction A smart device is one that has a processor and a built-in program (or operating system). Examples like a smartphone, iPad or tablet, laptop and desktop computers, etc.
All these smart devices normally have four discrete sections. They are (1) the User Interface, (2) the Application programs, (3) the operating systems and (4) the associated hardwares.
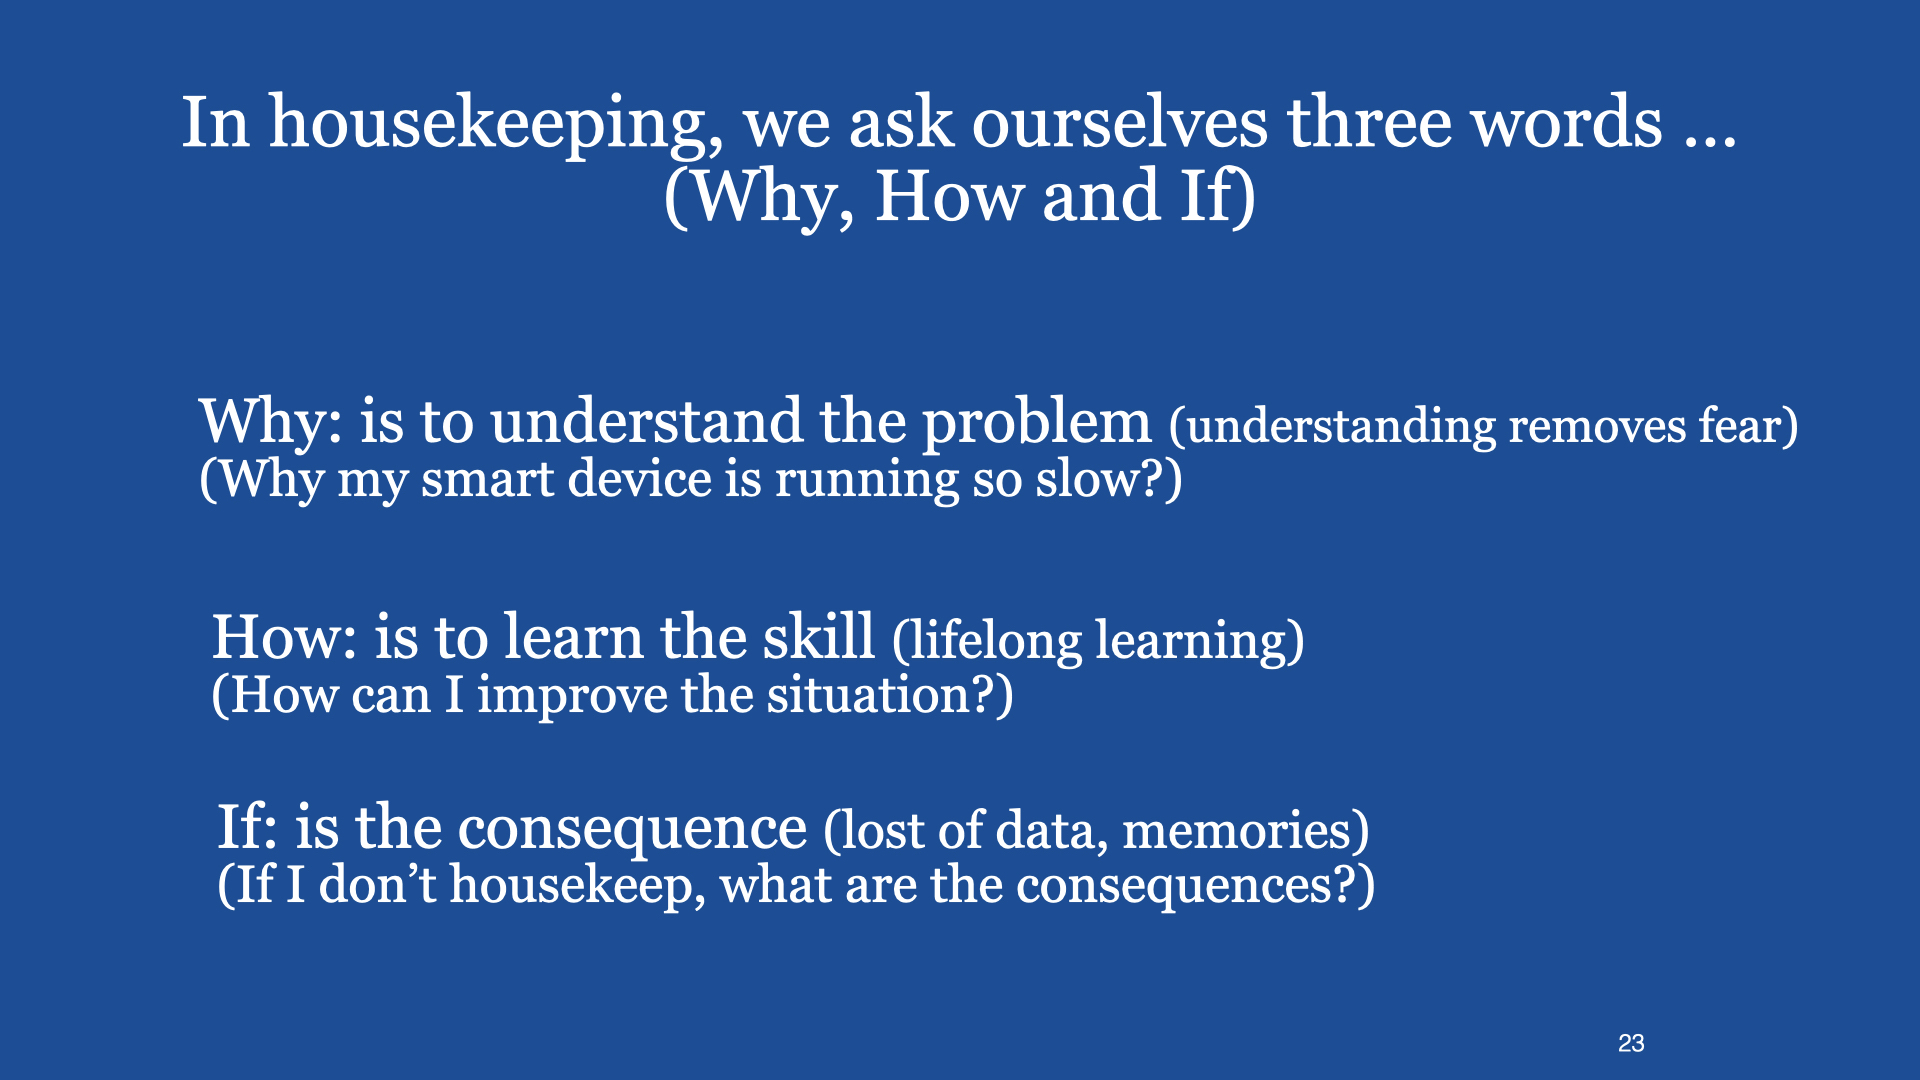
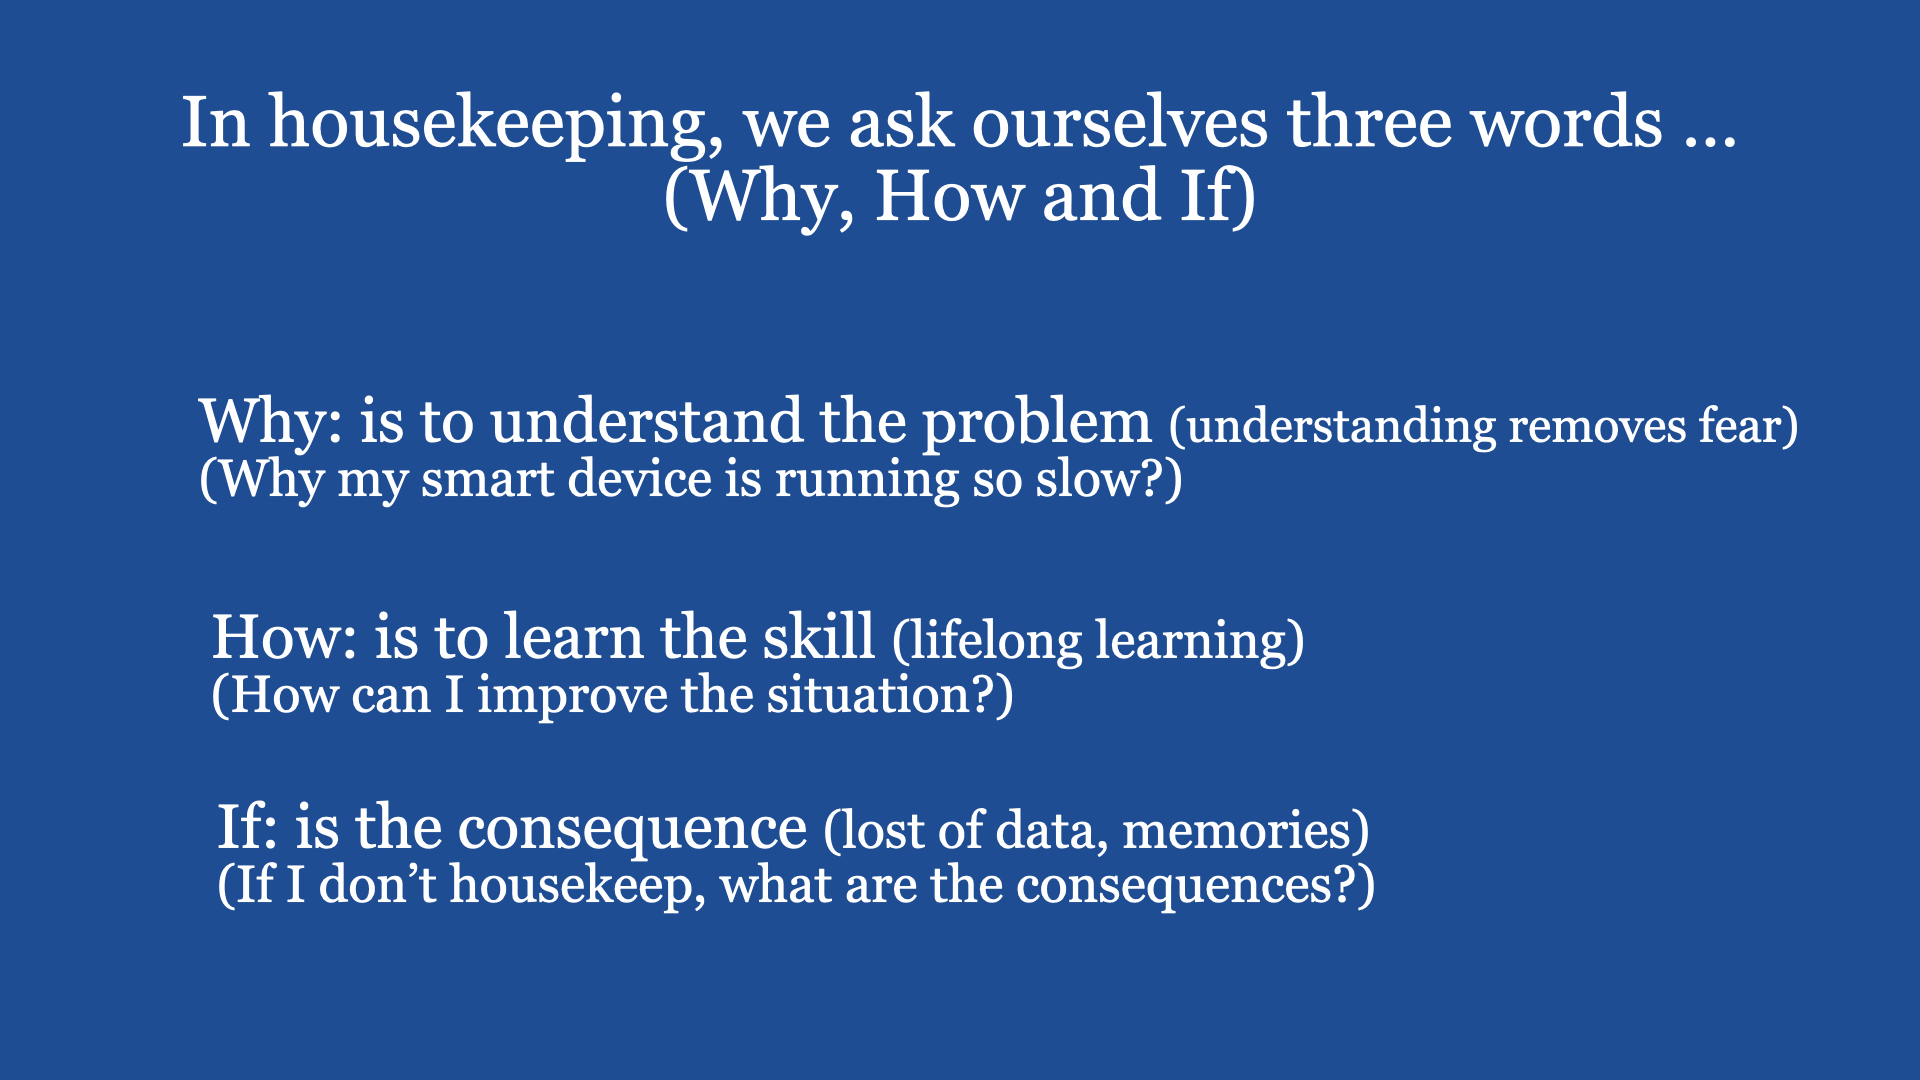
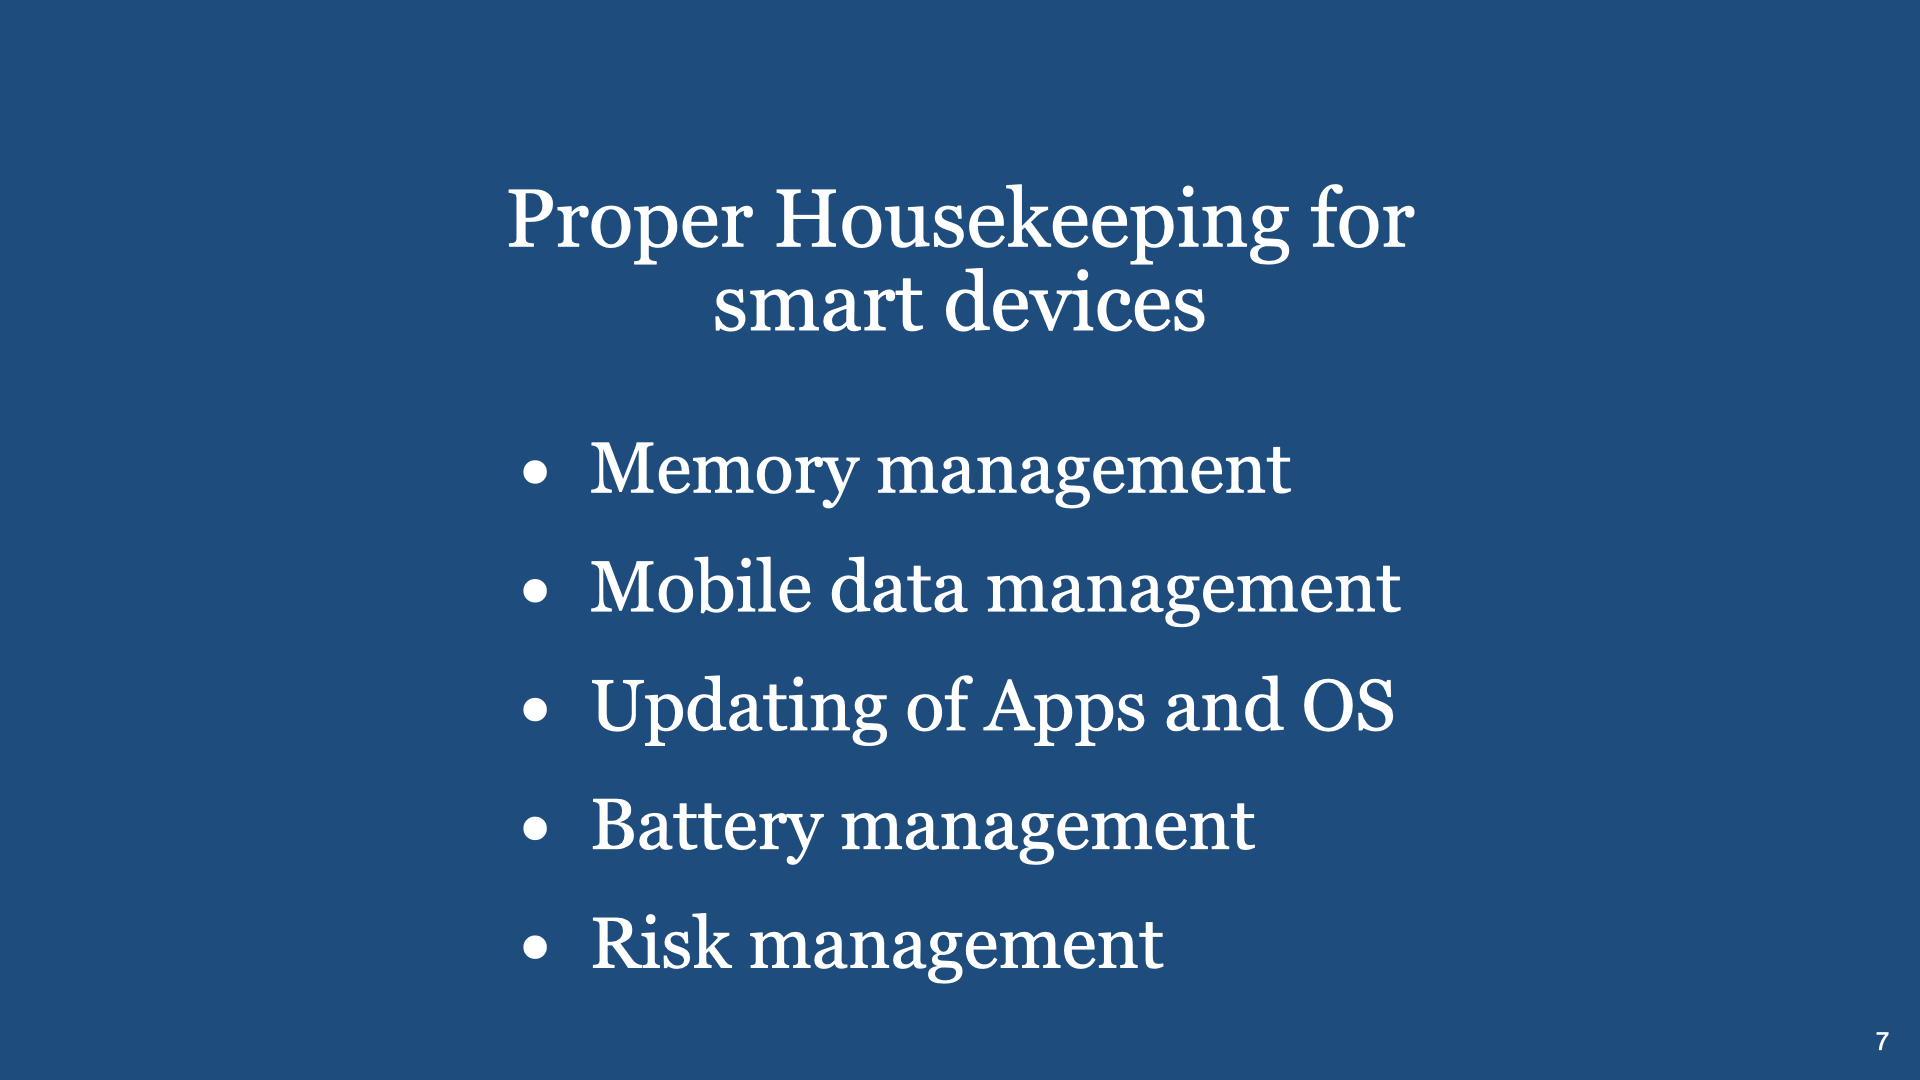
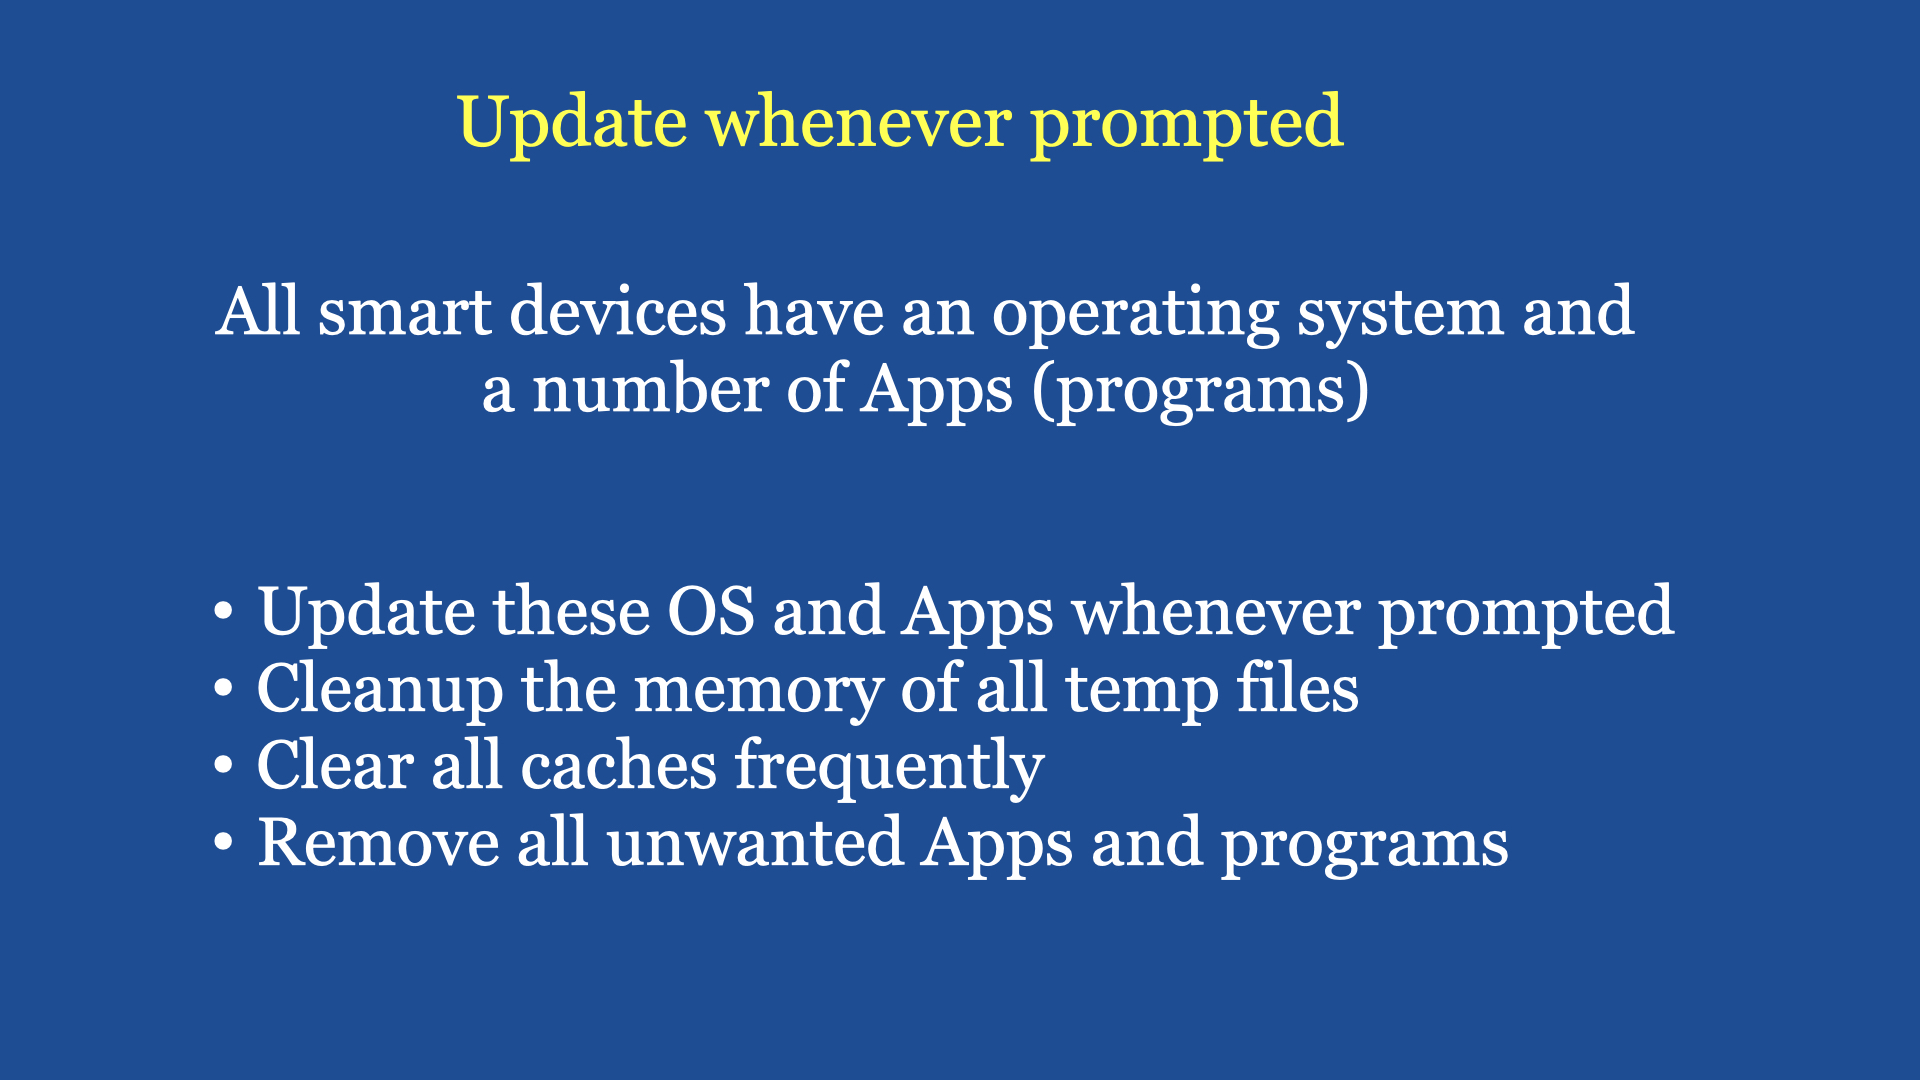
Each Section has its own requirements in order the smart device can or will operate effectively through proper use and housekeeping.
Generally, it is along the following considerations:
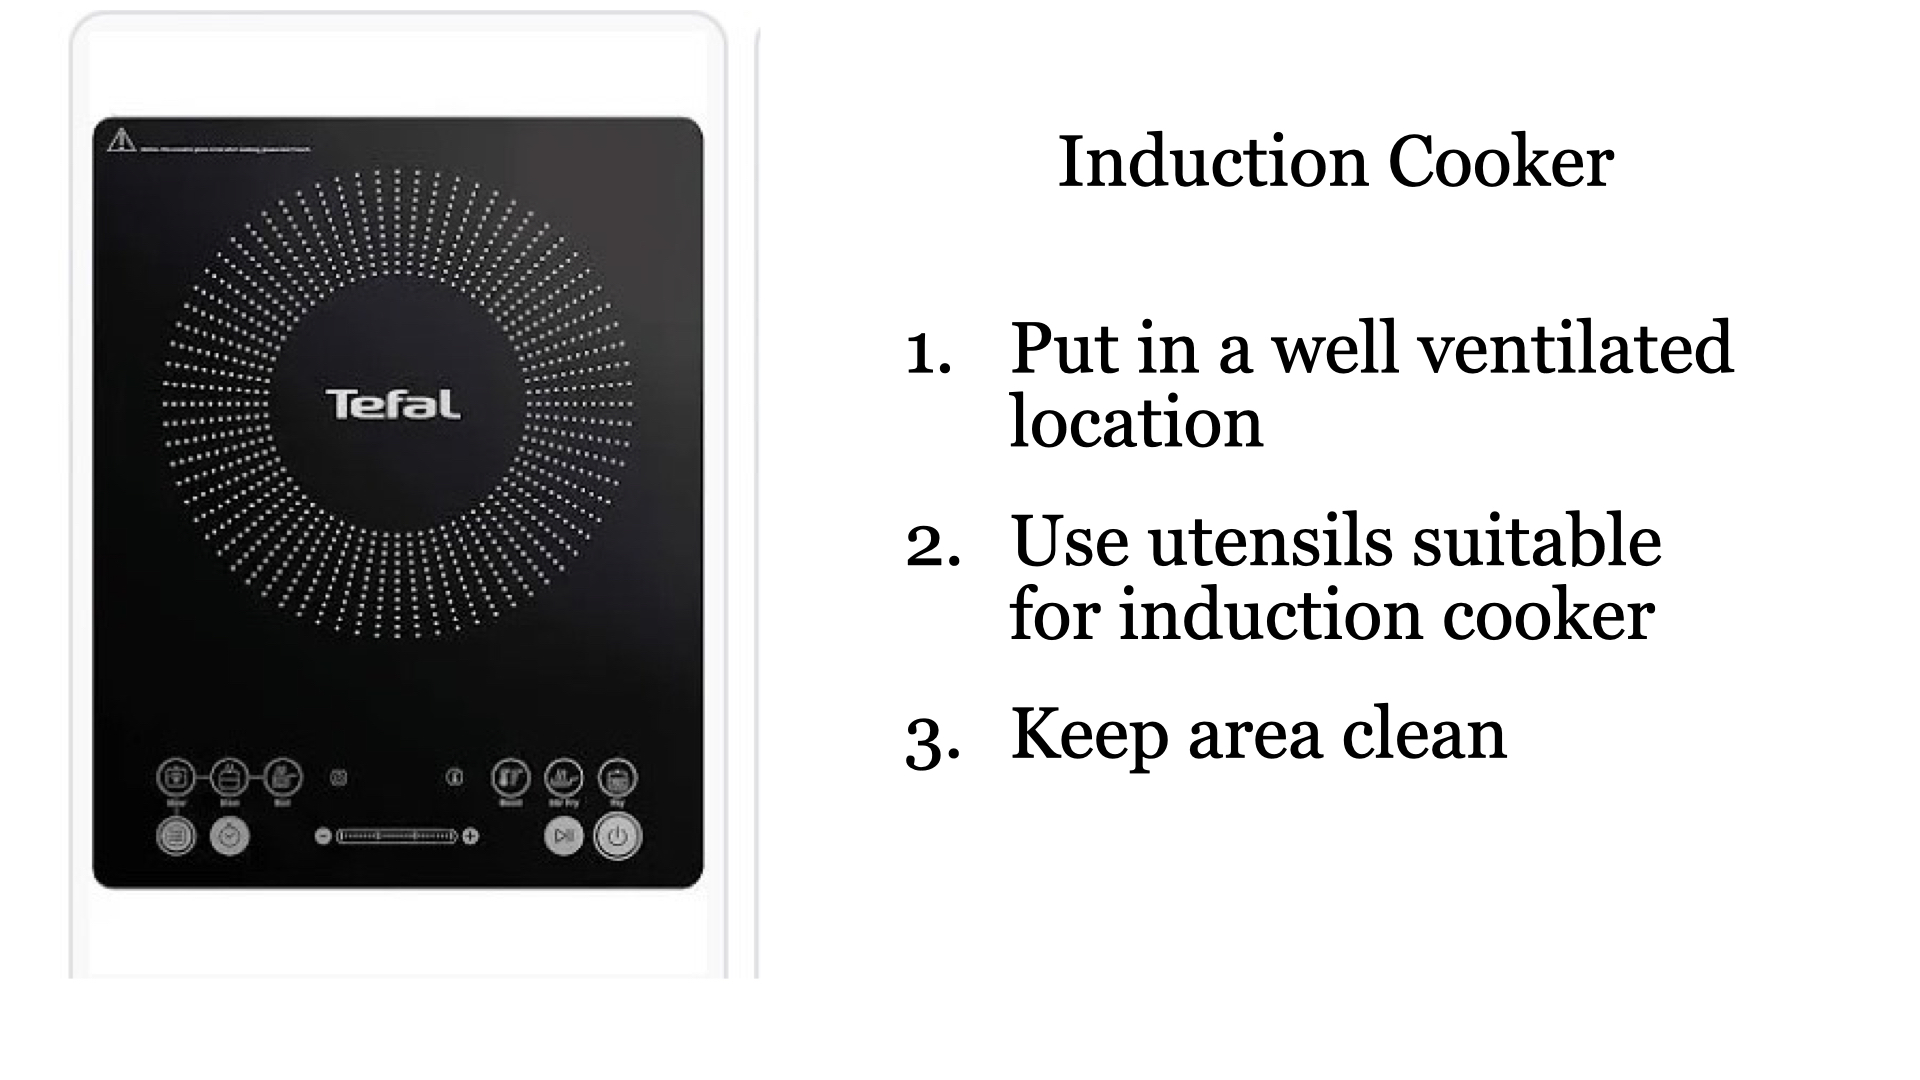
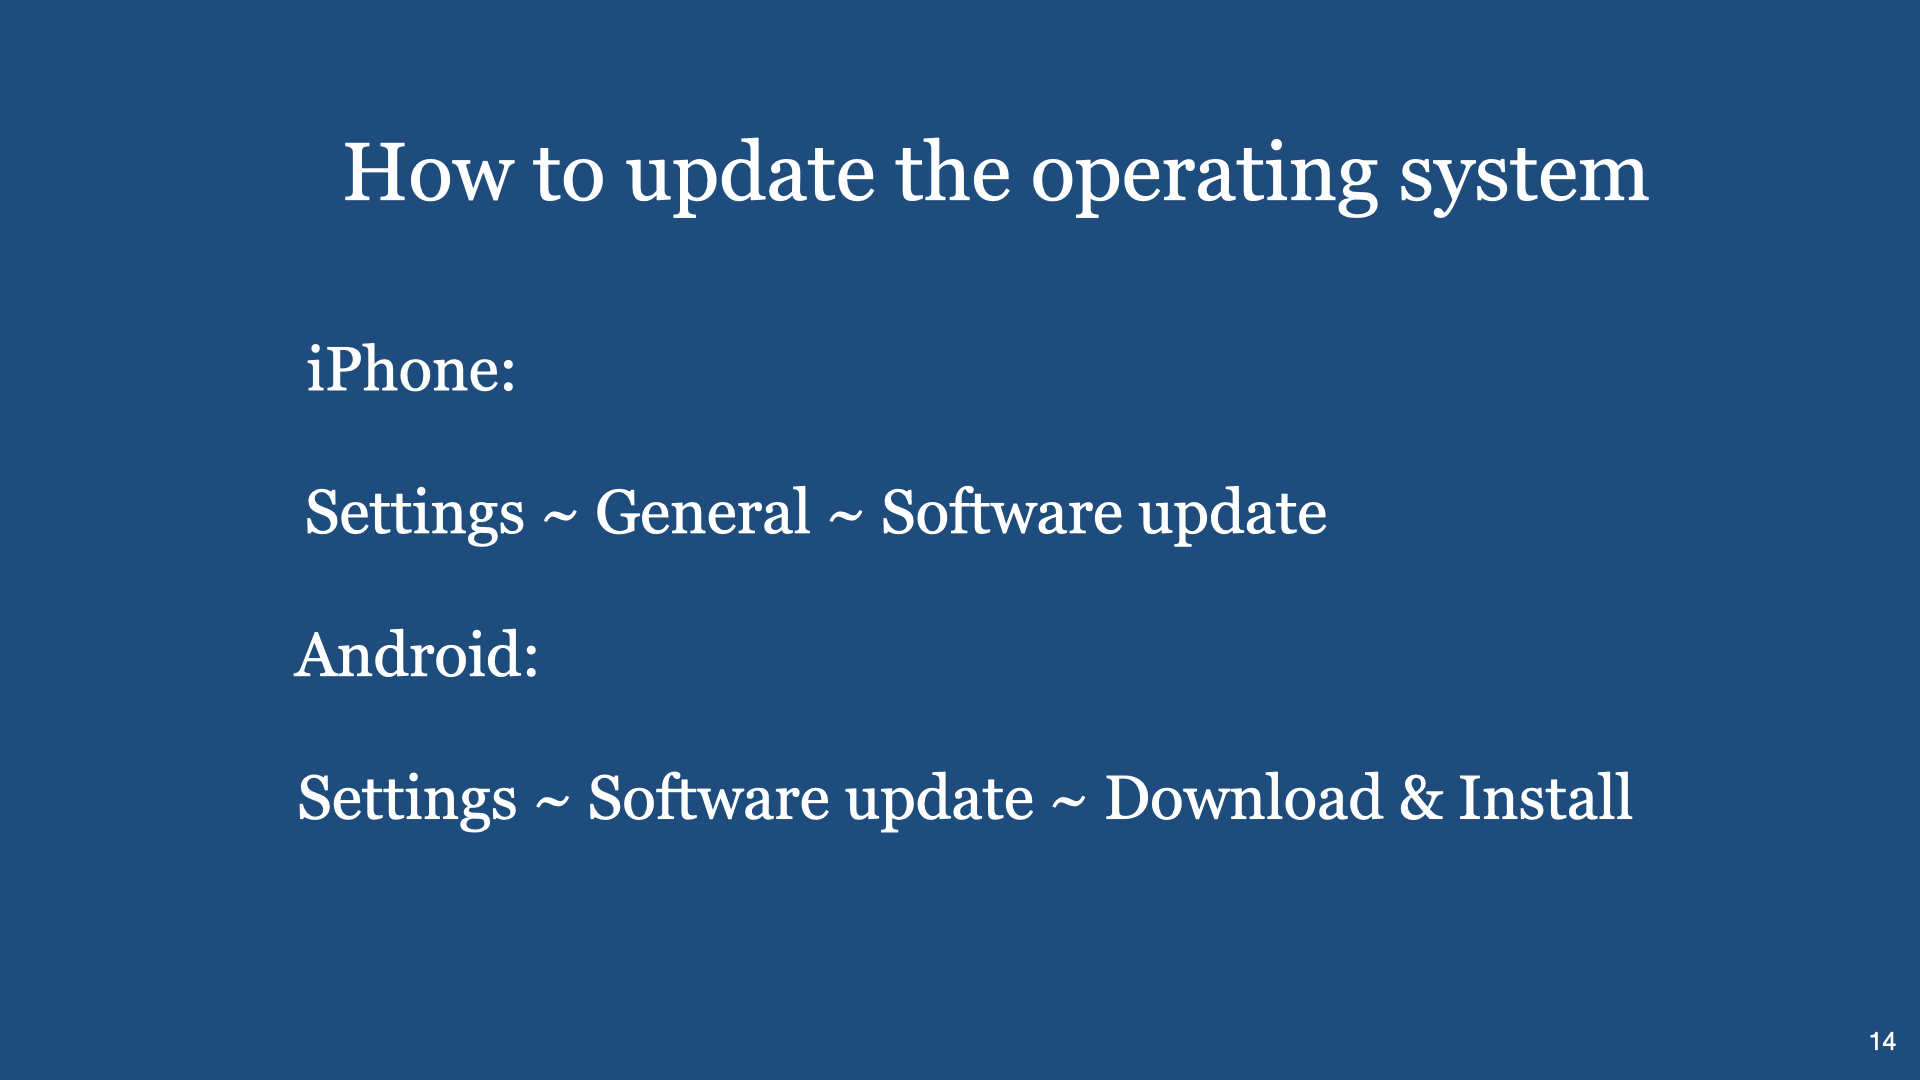
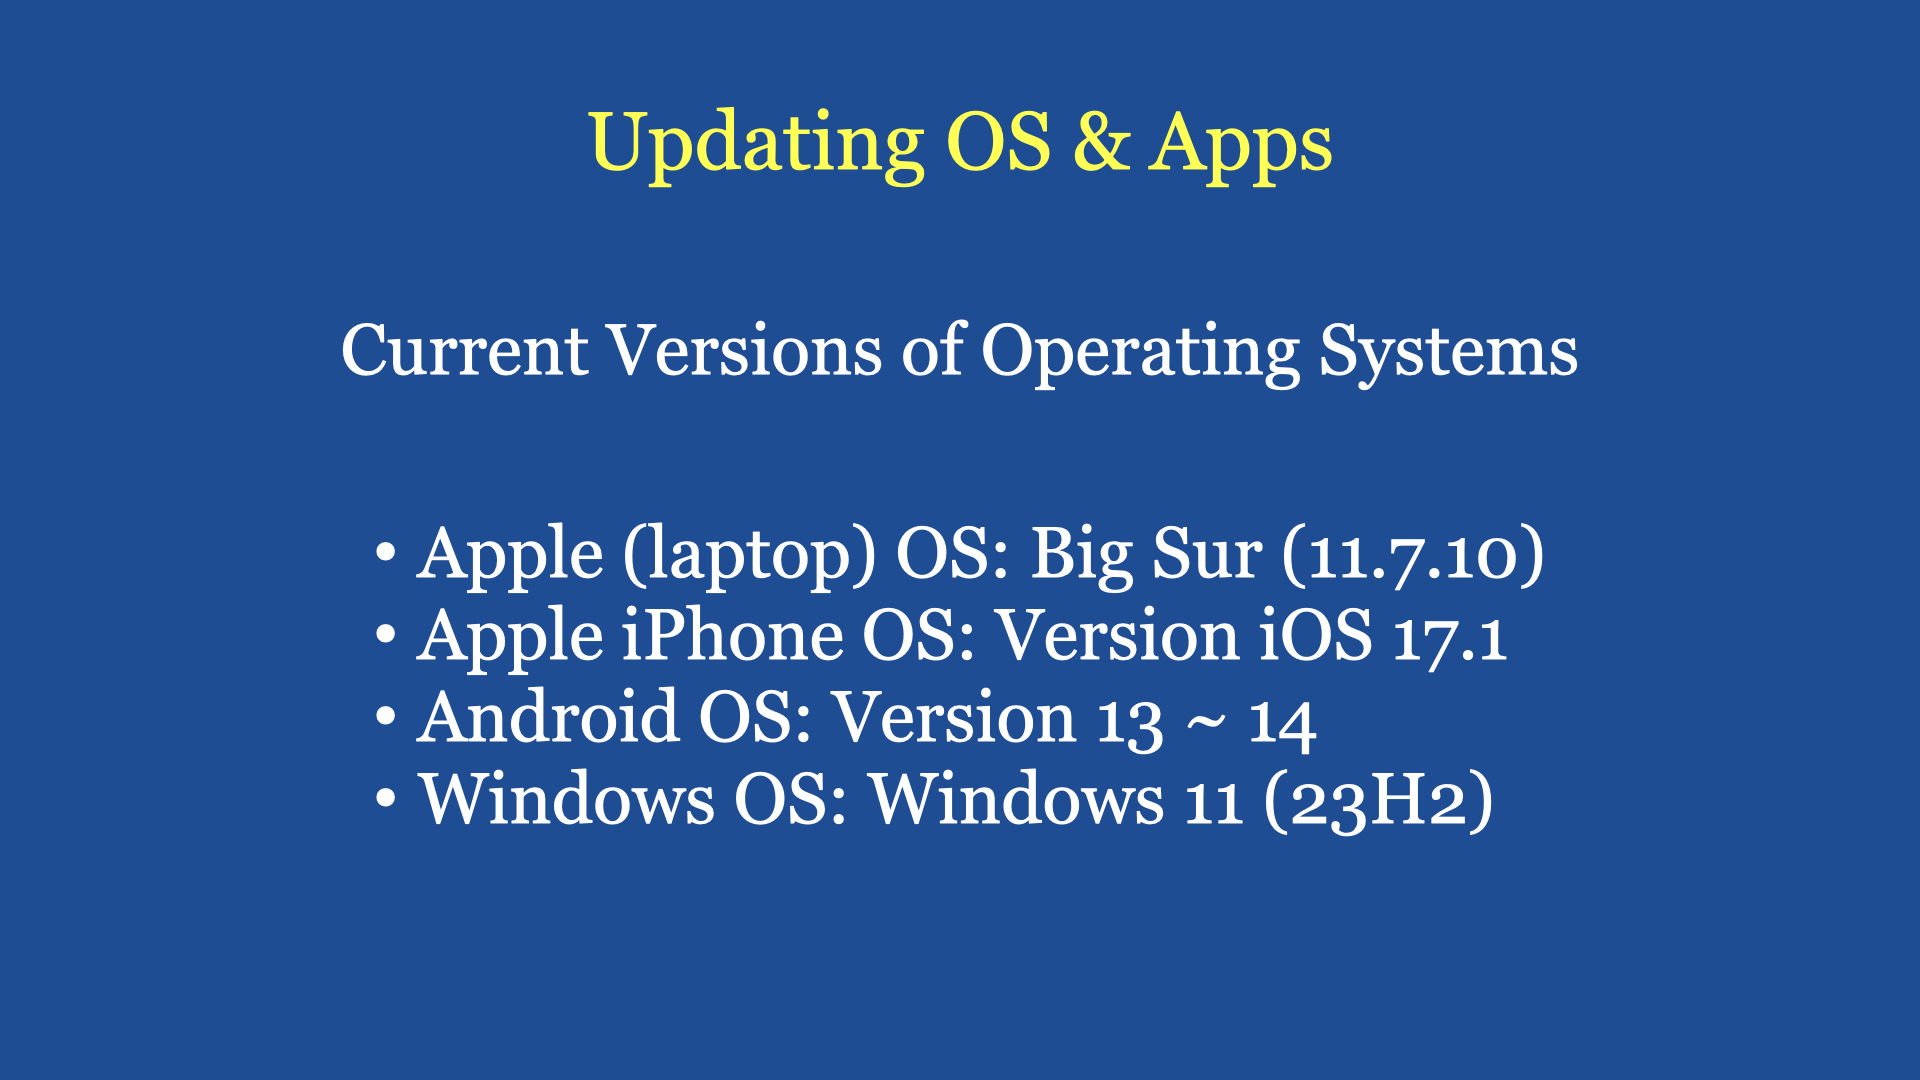
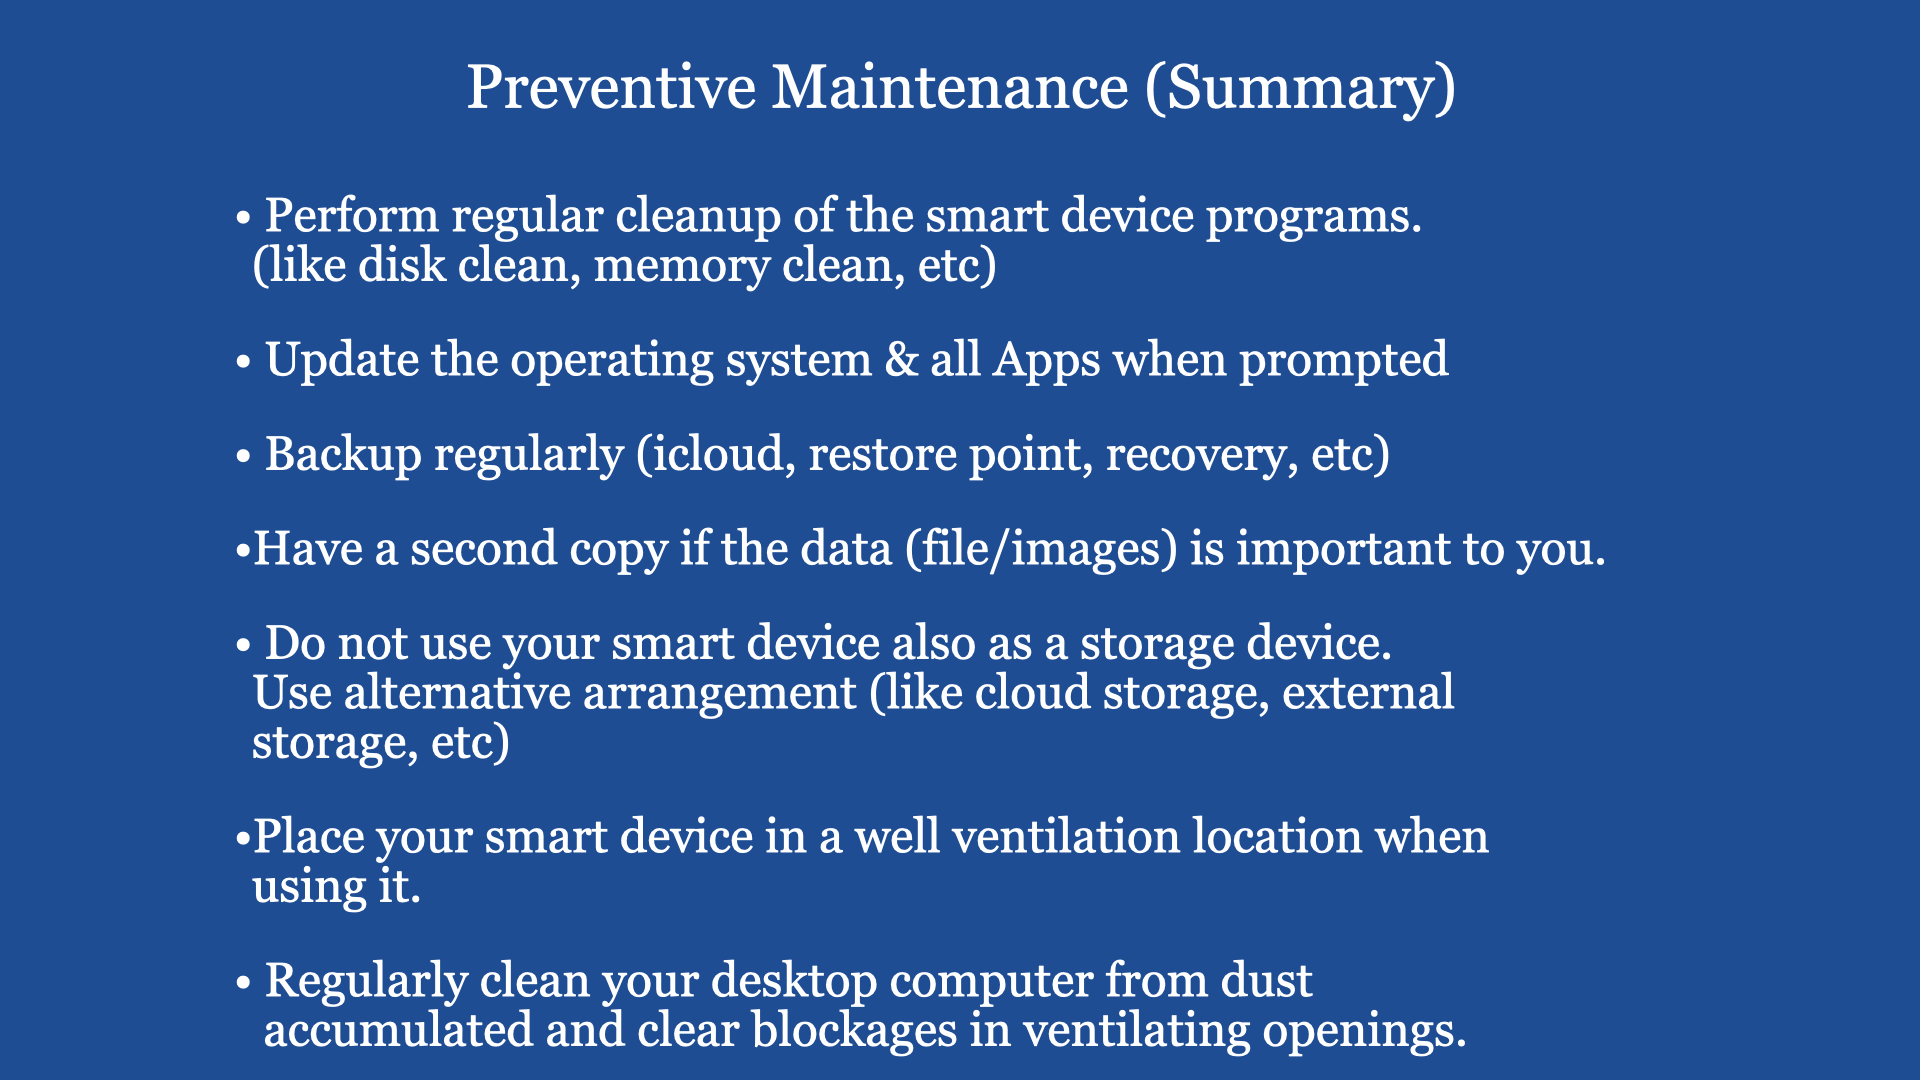
1) User need to keep up (Lifelong Learning) with the technology (changes) of the smart devices 2) Get the right Application Program for the right job 3) Always Update the Operating System when recommended 4) The more powerful is the smart device, the more heat is generated. Heat is the enemy of the electronic components used to assemble the smart device. So heat management is very critical. Ensure the heat ventilation openings are not blocked and place the smart device (desktop computer) in a well ventilated location.
Digital Cafe@Harbourfront Discussion: Backup and Cloud Storage Date: 11 Nov 2023 (Saturday) Time: 2PM to 4.30PM Venue: library@harbourfront (Vivo City) Facilitator: Hewlee Ho Registration via https://go.gov.sg/toyl (scroll down to date to register. NLB membership is required) Admission: free
You can view a video on similar talk through the YouTube Link (Part 1 ~ Cloud Storage and Sharing)
You can also view a video on similar talk through the YouTube Link (Part 2 ~ Cloud Storage and Sharing)
Introduction:
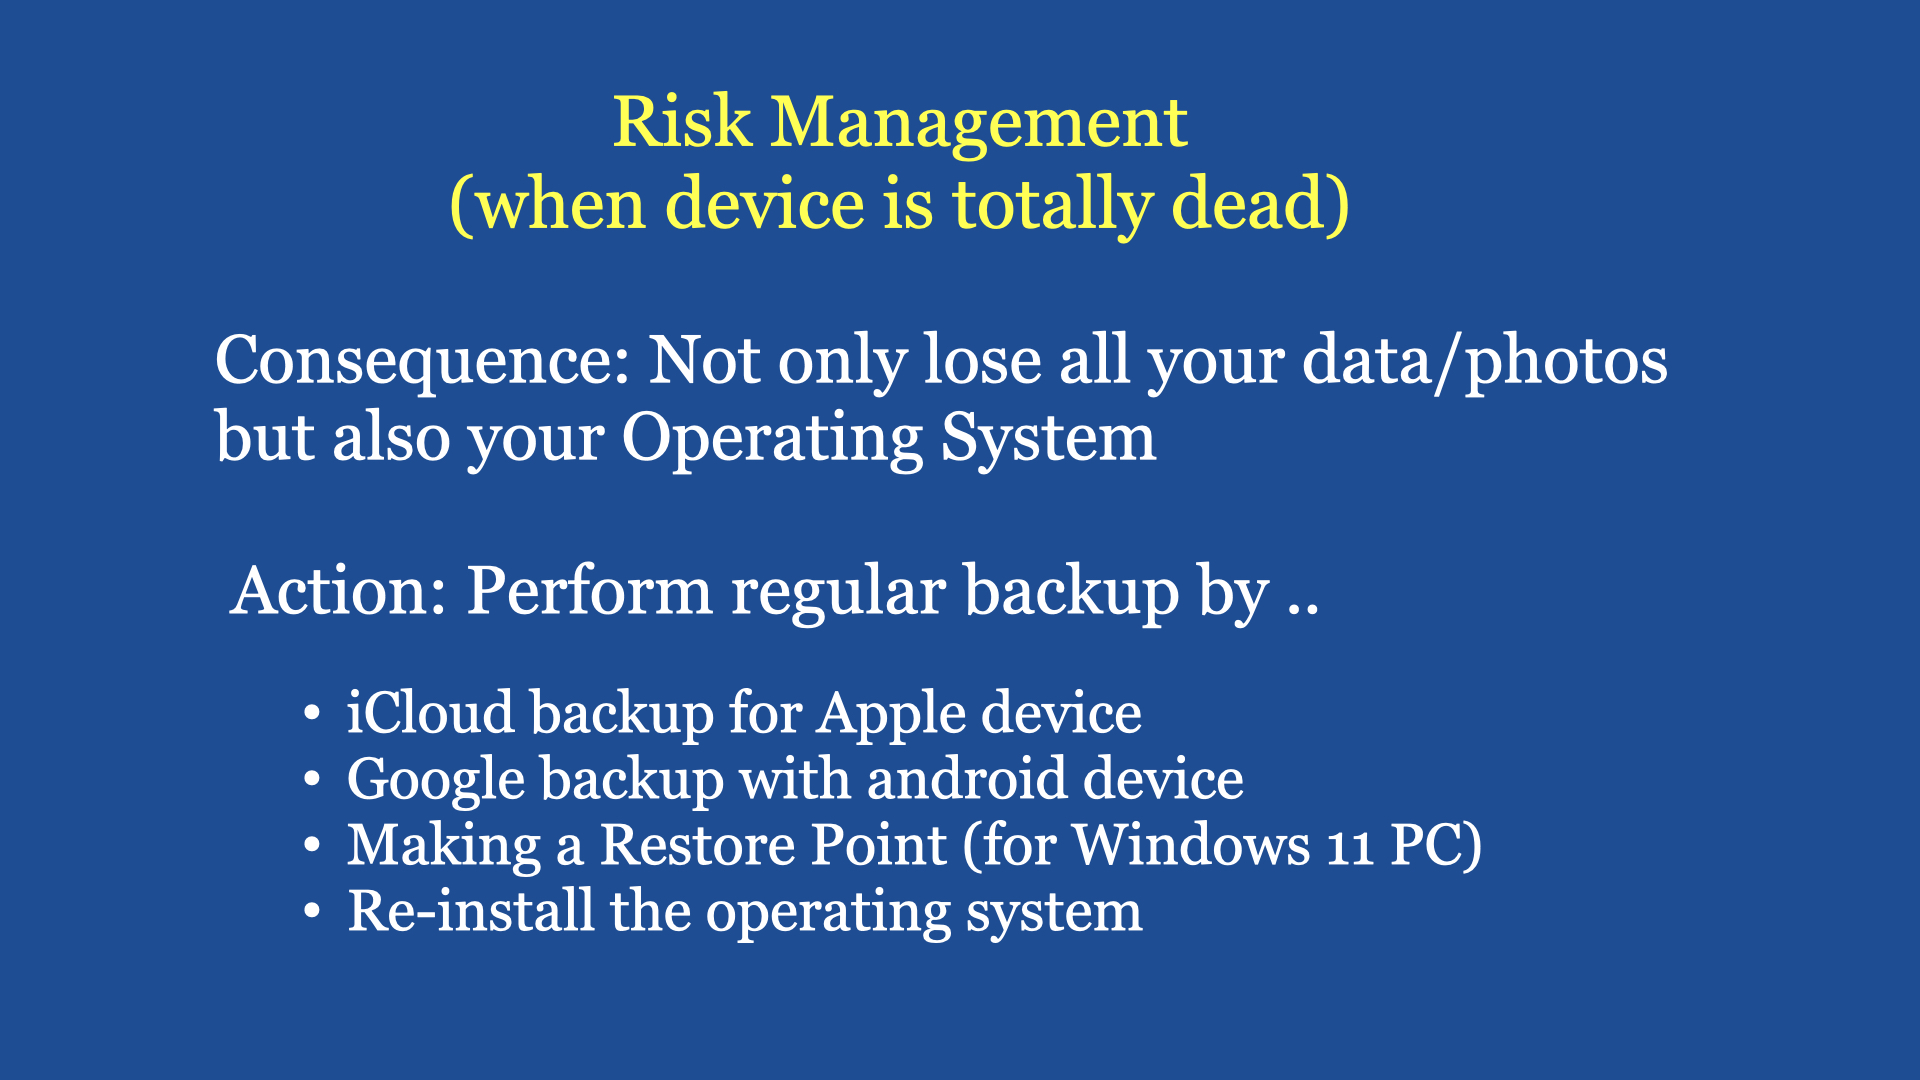
Murphy’s Law: Anything that can go wrong will go wrong. In reality it is true. So what can we do about it?
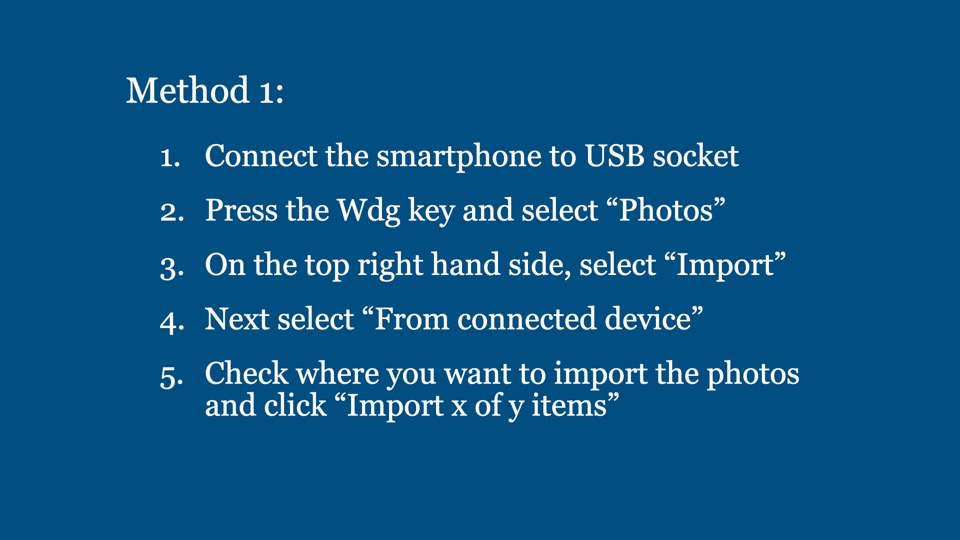
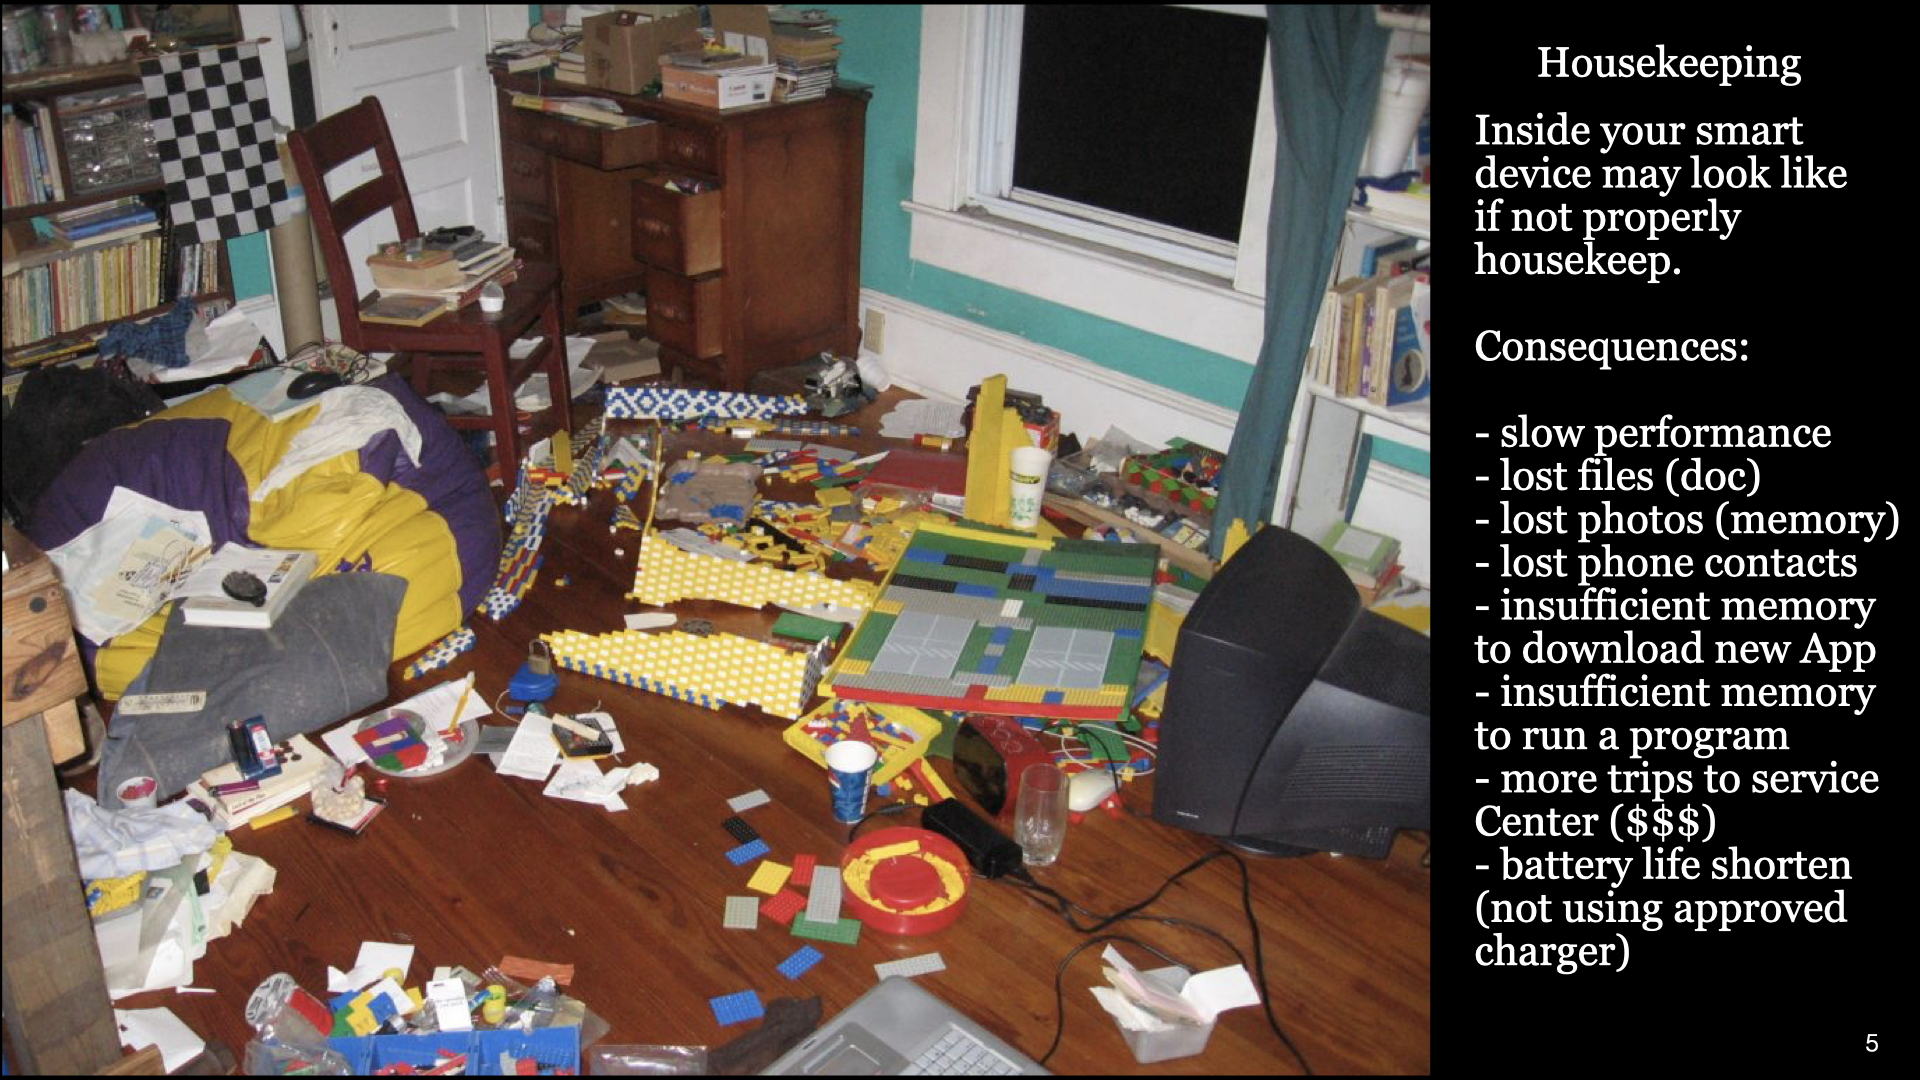
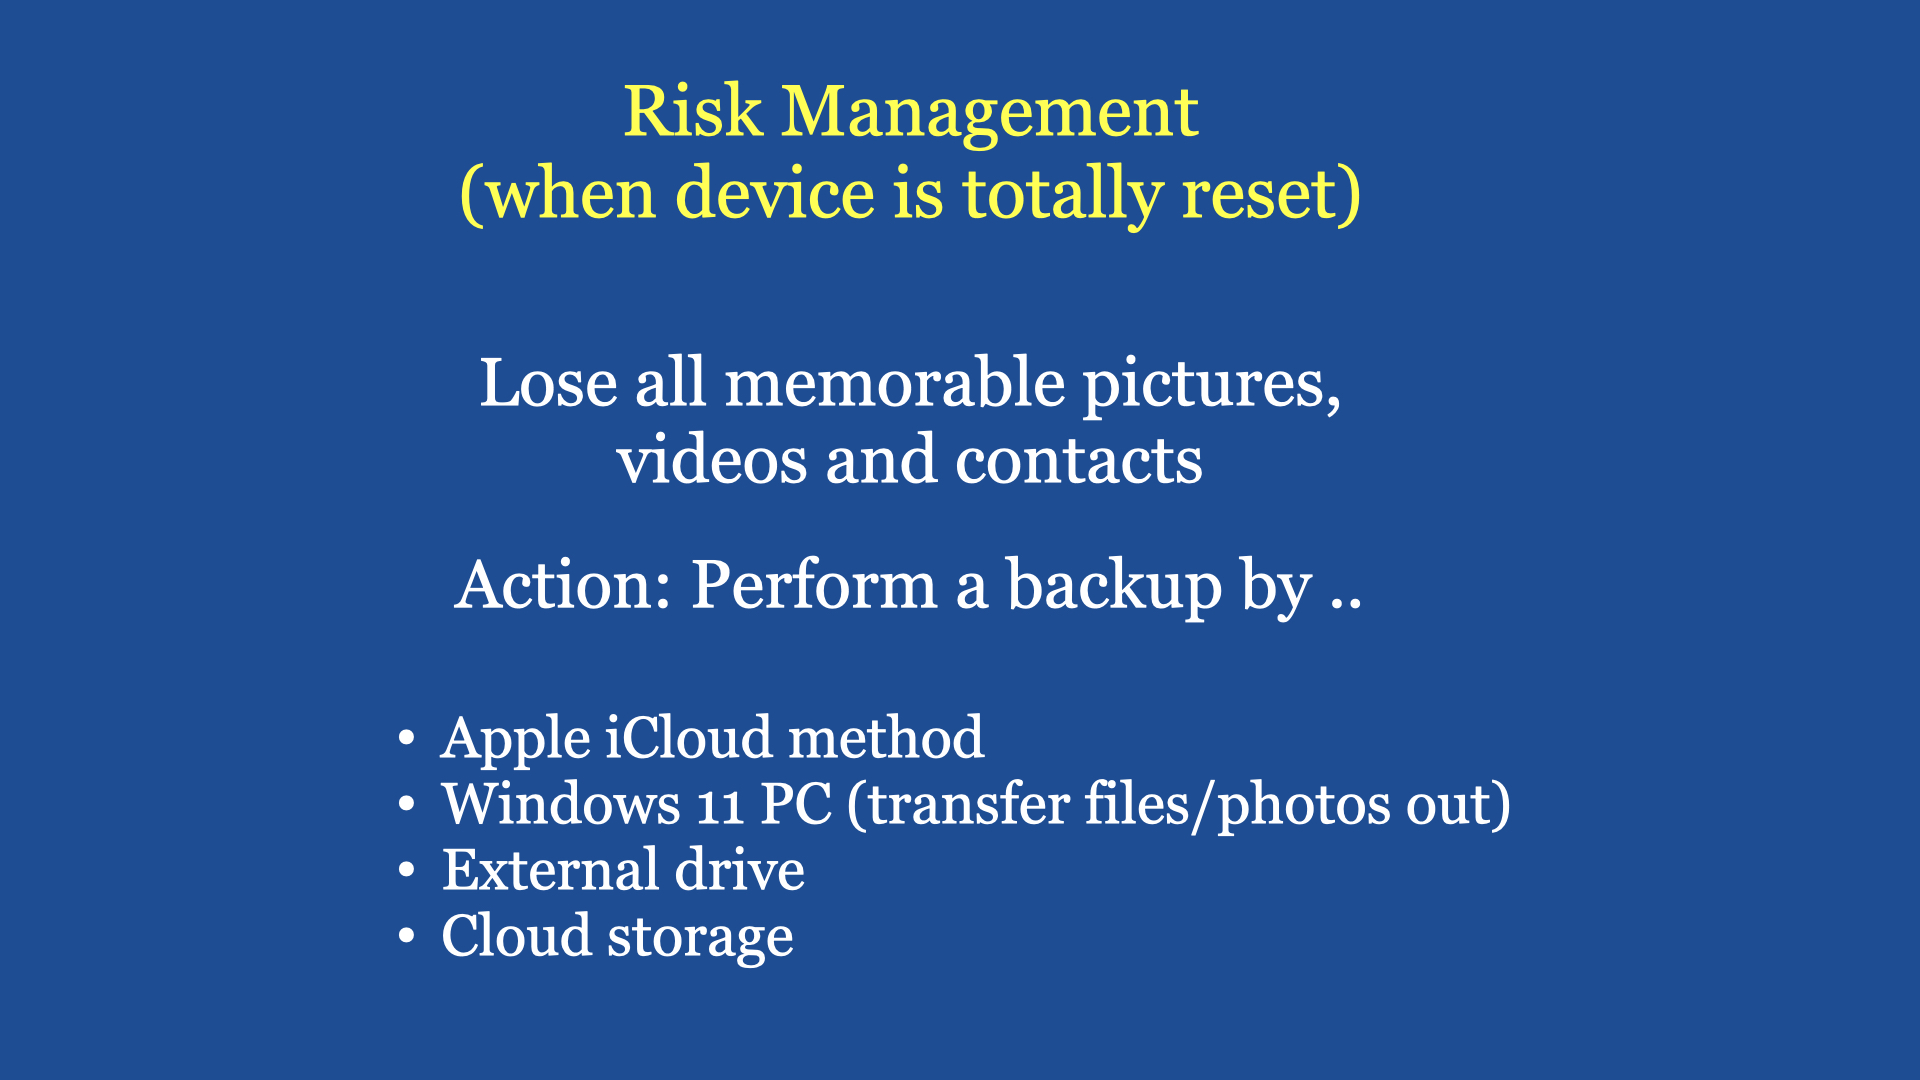
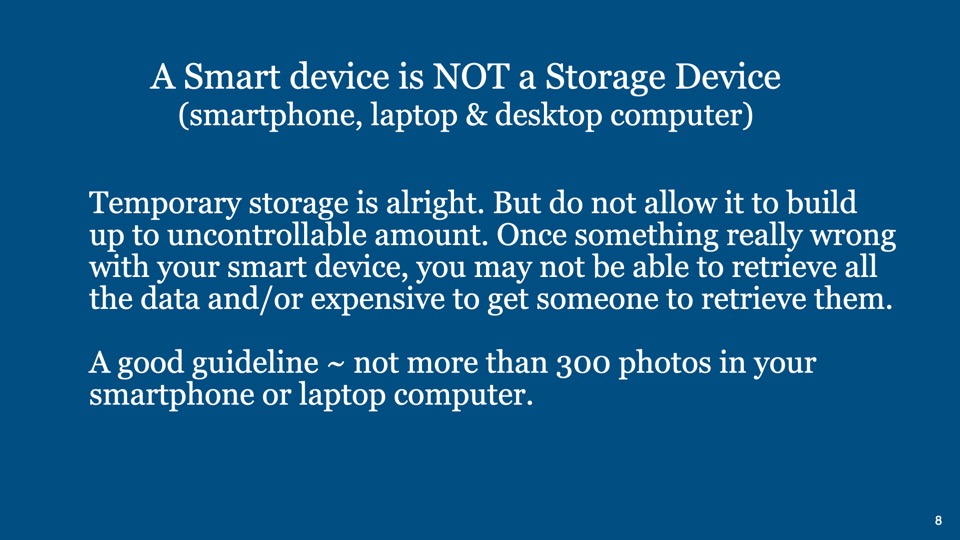
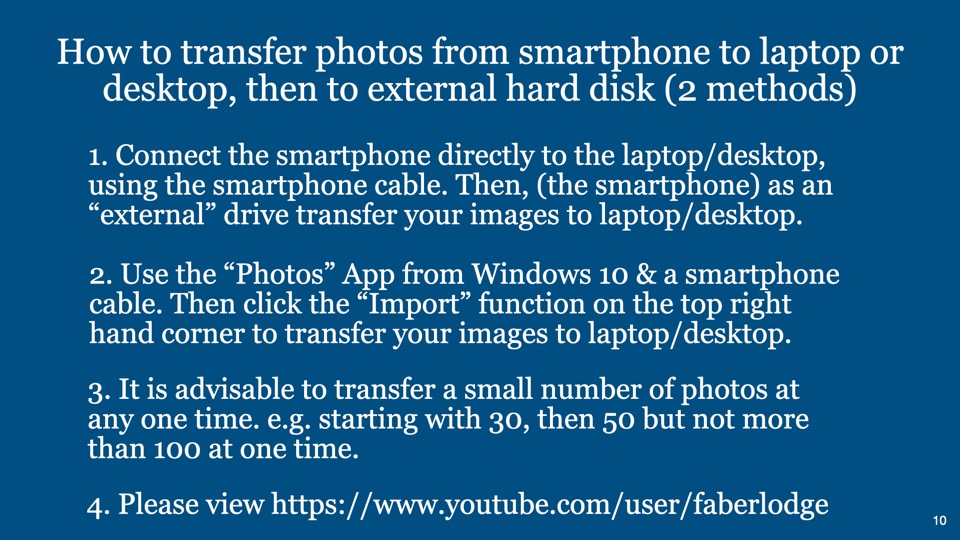
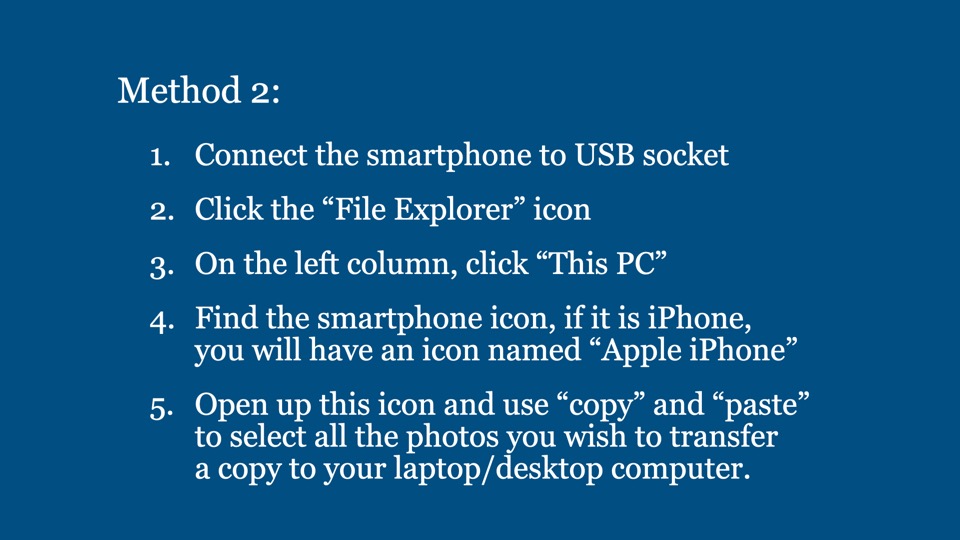
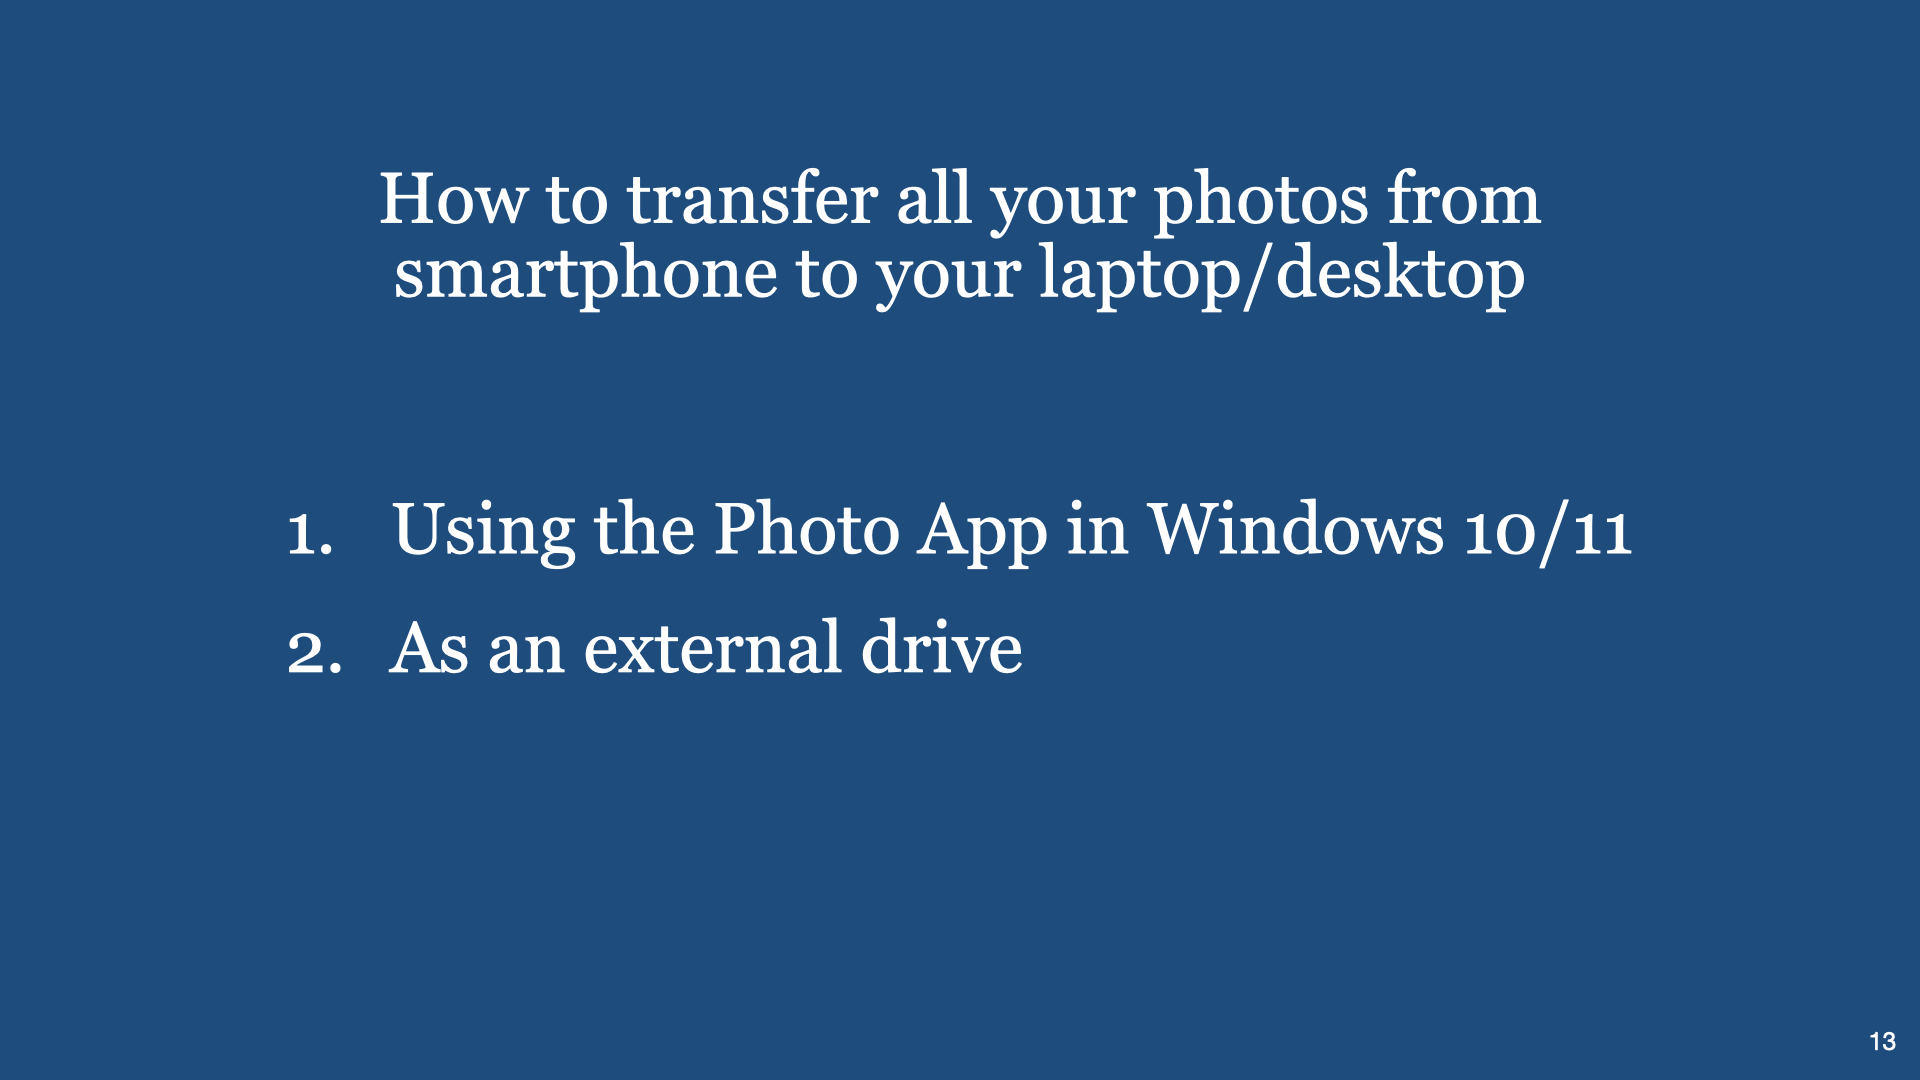
Scenario 1: Your Apple iPhone has thousands of memorable pictures taken by you through the years, you drop it in water or you loose it or the serviceman says he has to reinstall the “Operating System” of your iPhone and everything in the iPhone will be deleted ~ so you loose all your years of photo taking. Some of the subjects in those pictures maybe no more around.
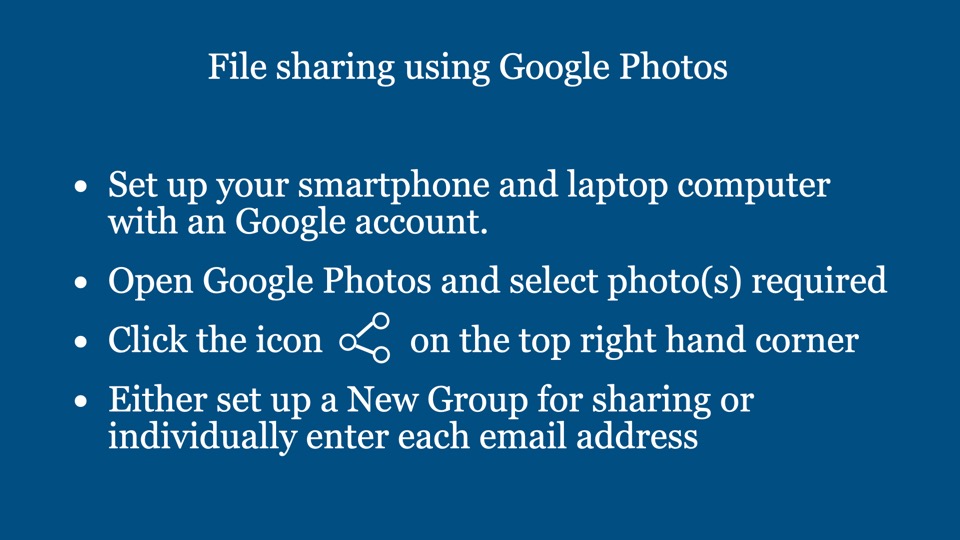
Scenario 2: You are with your friends having a Coffee Chats, you are discussing a tour you all went together some years back. The discussion focus on a team member some of you can’t recall who this person is. If one of you have a Cloud Account and on the smartphone you can easily retrieve that “Album” through the cloud and confirm who that person is. There are many other advantages if you practise proper storage and sharing (of digital images).
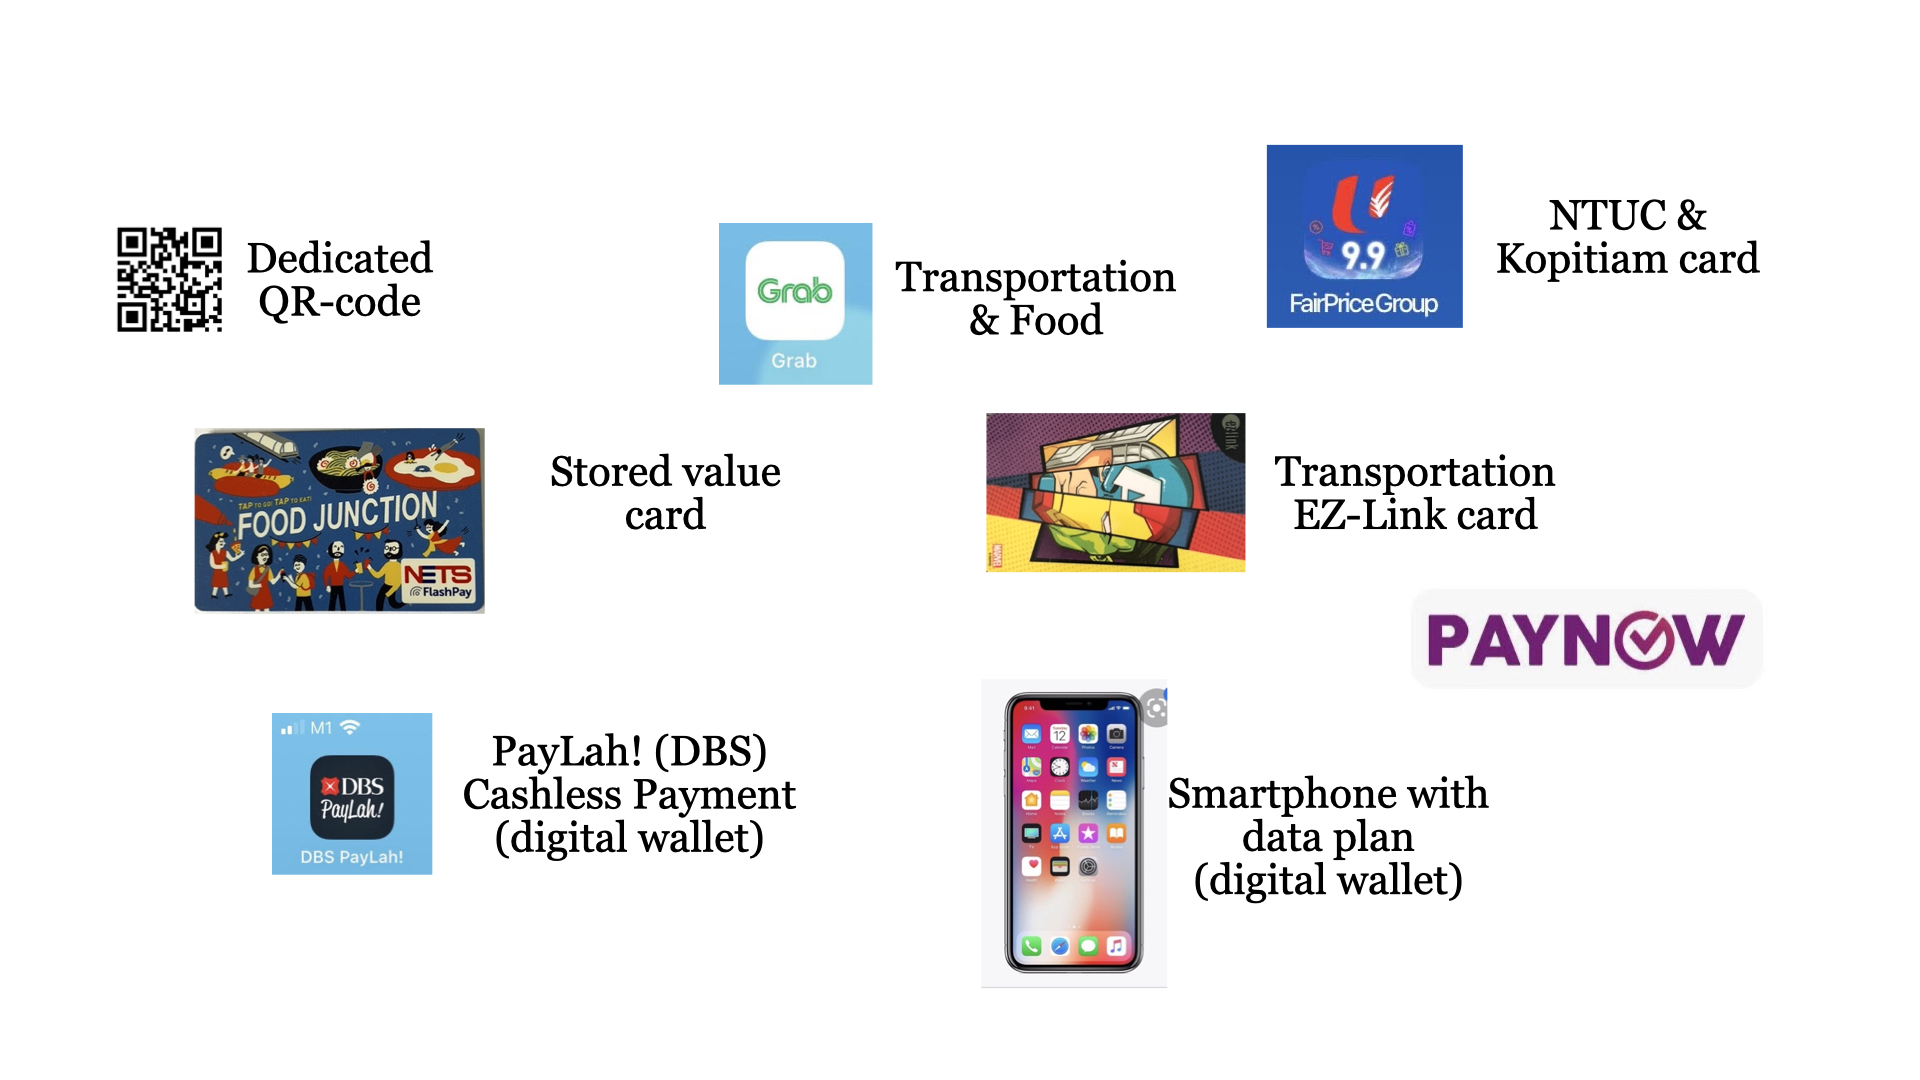
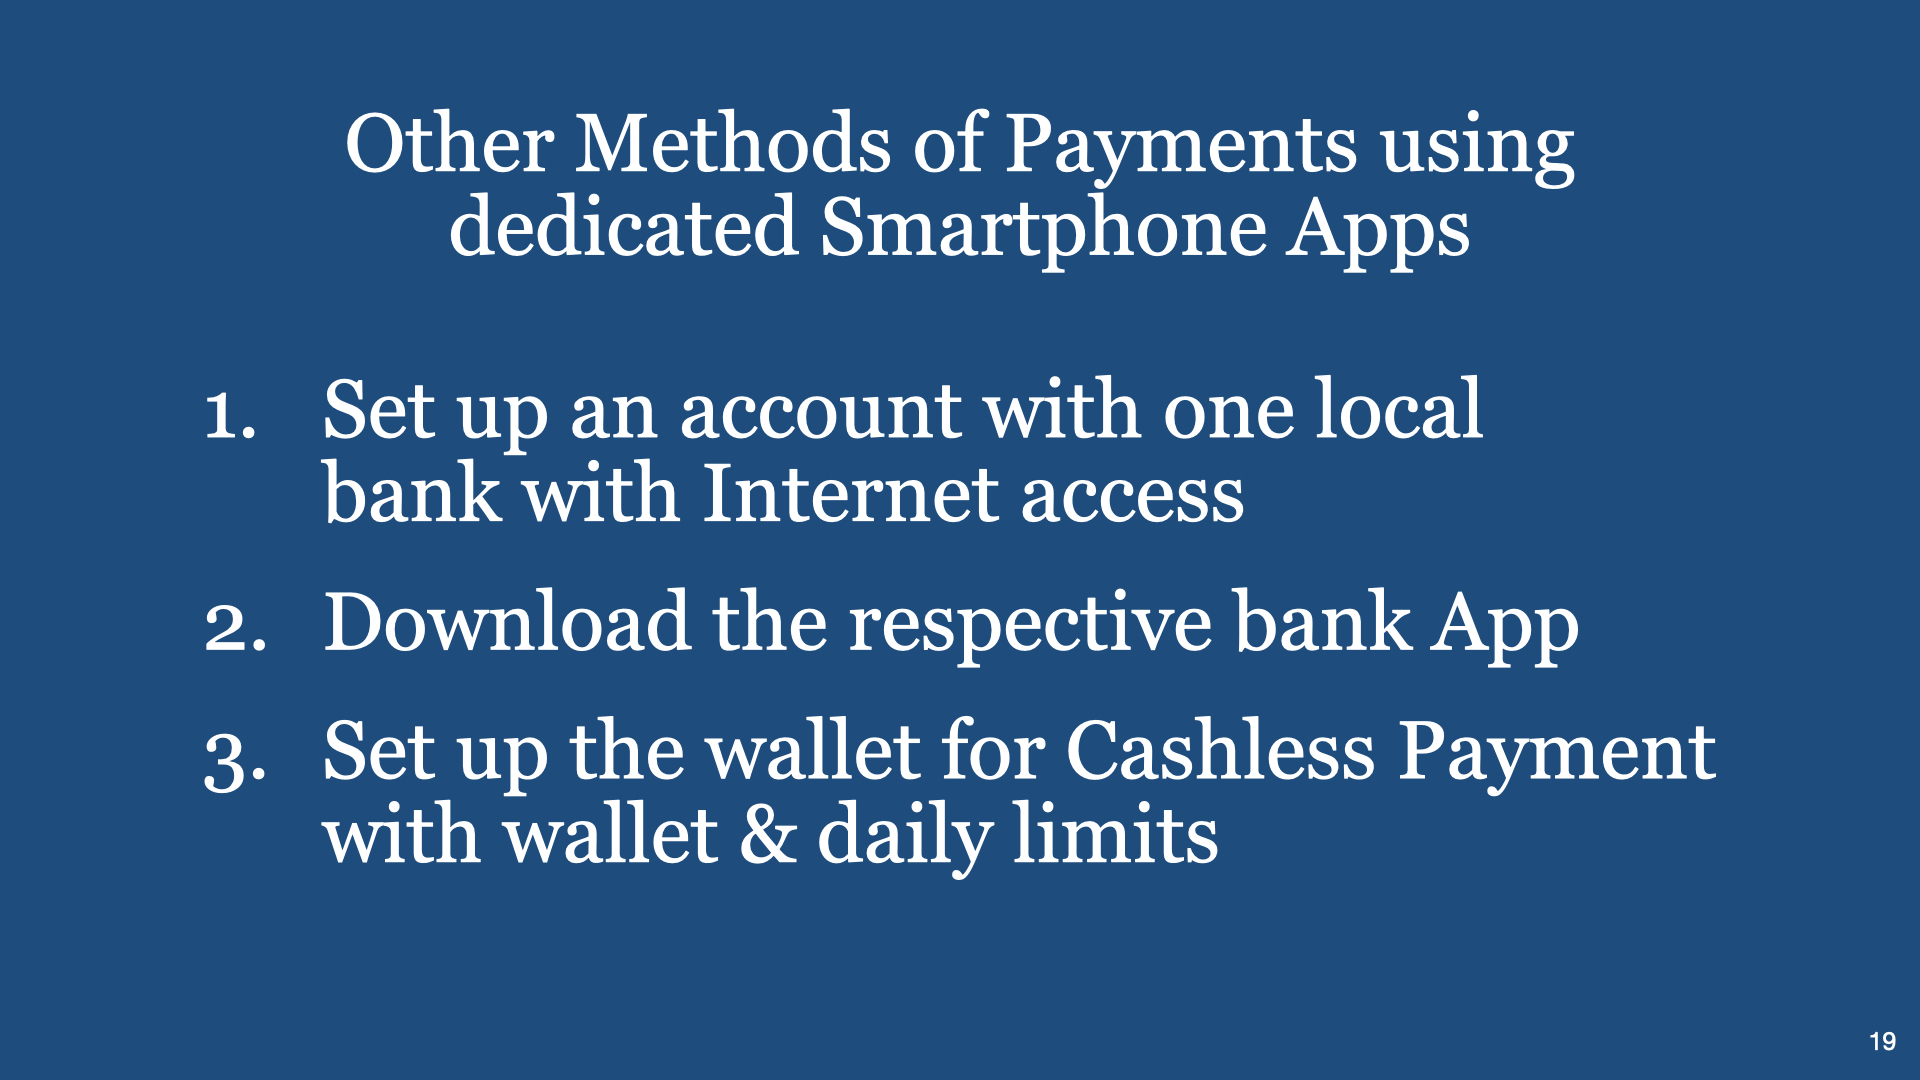
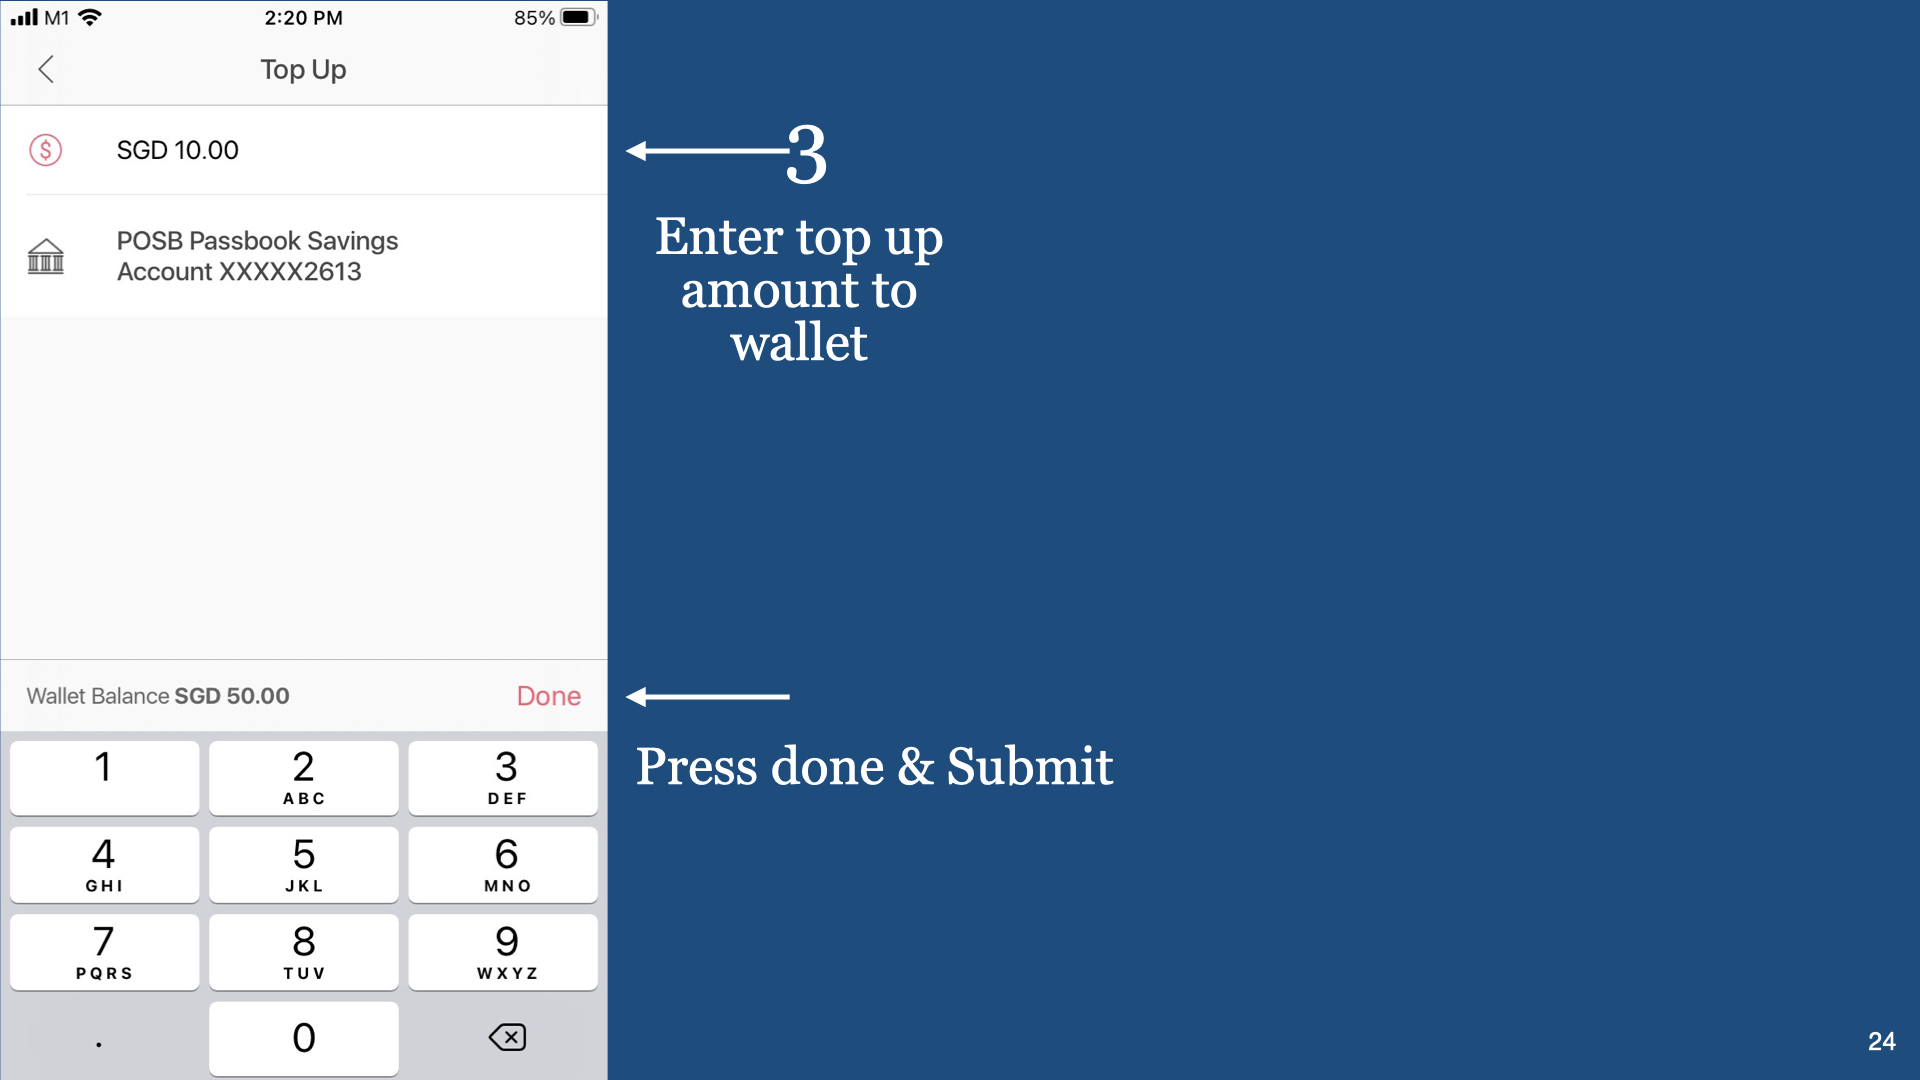
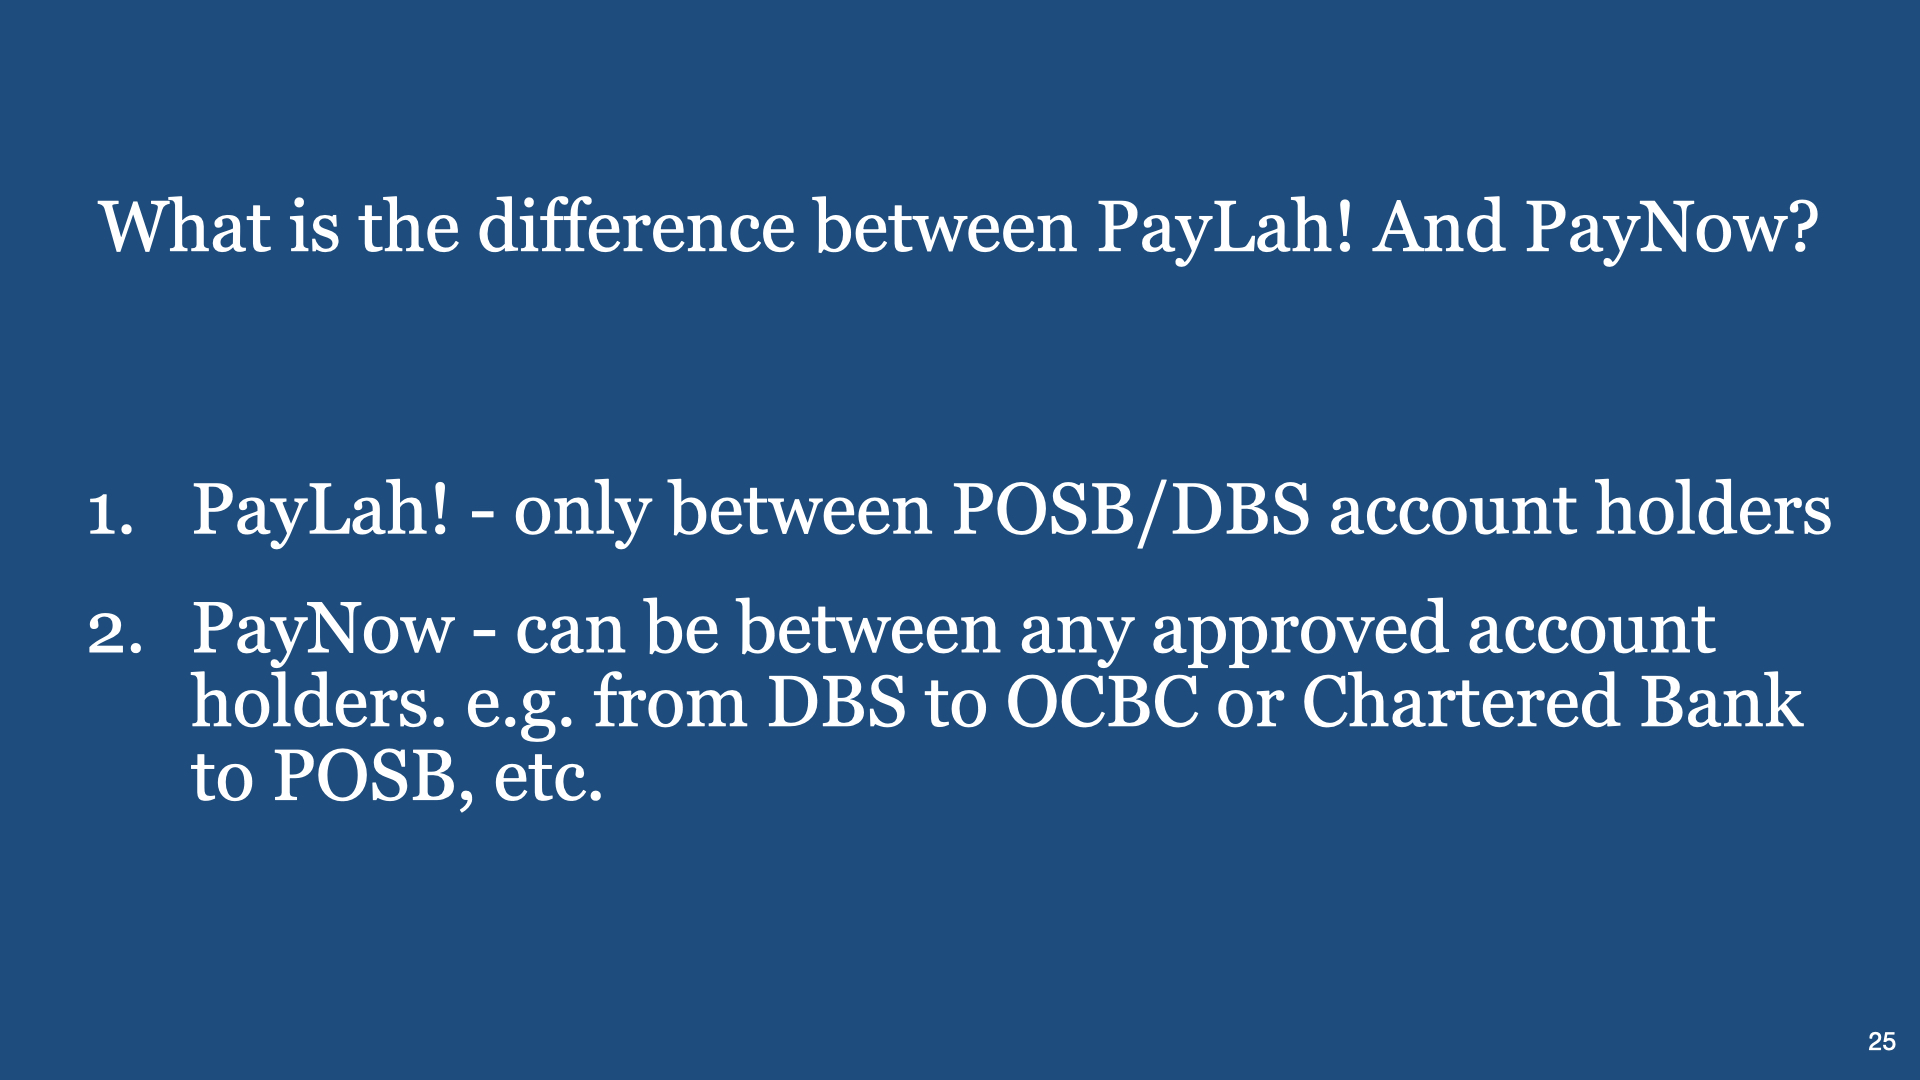
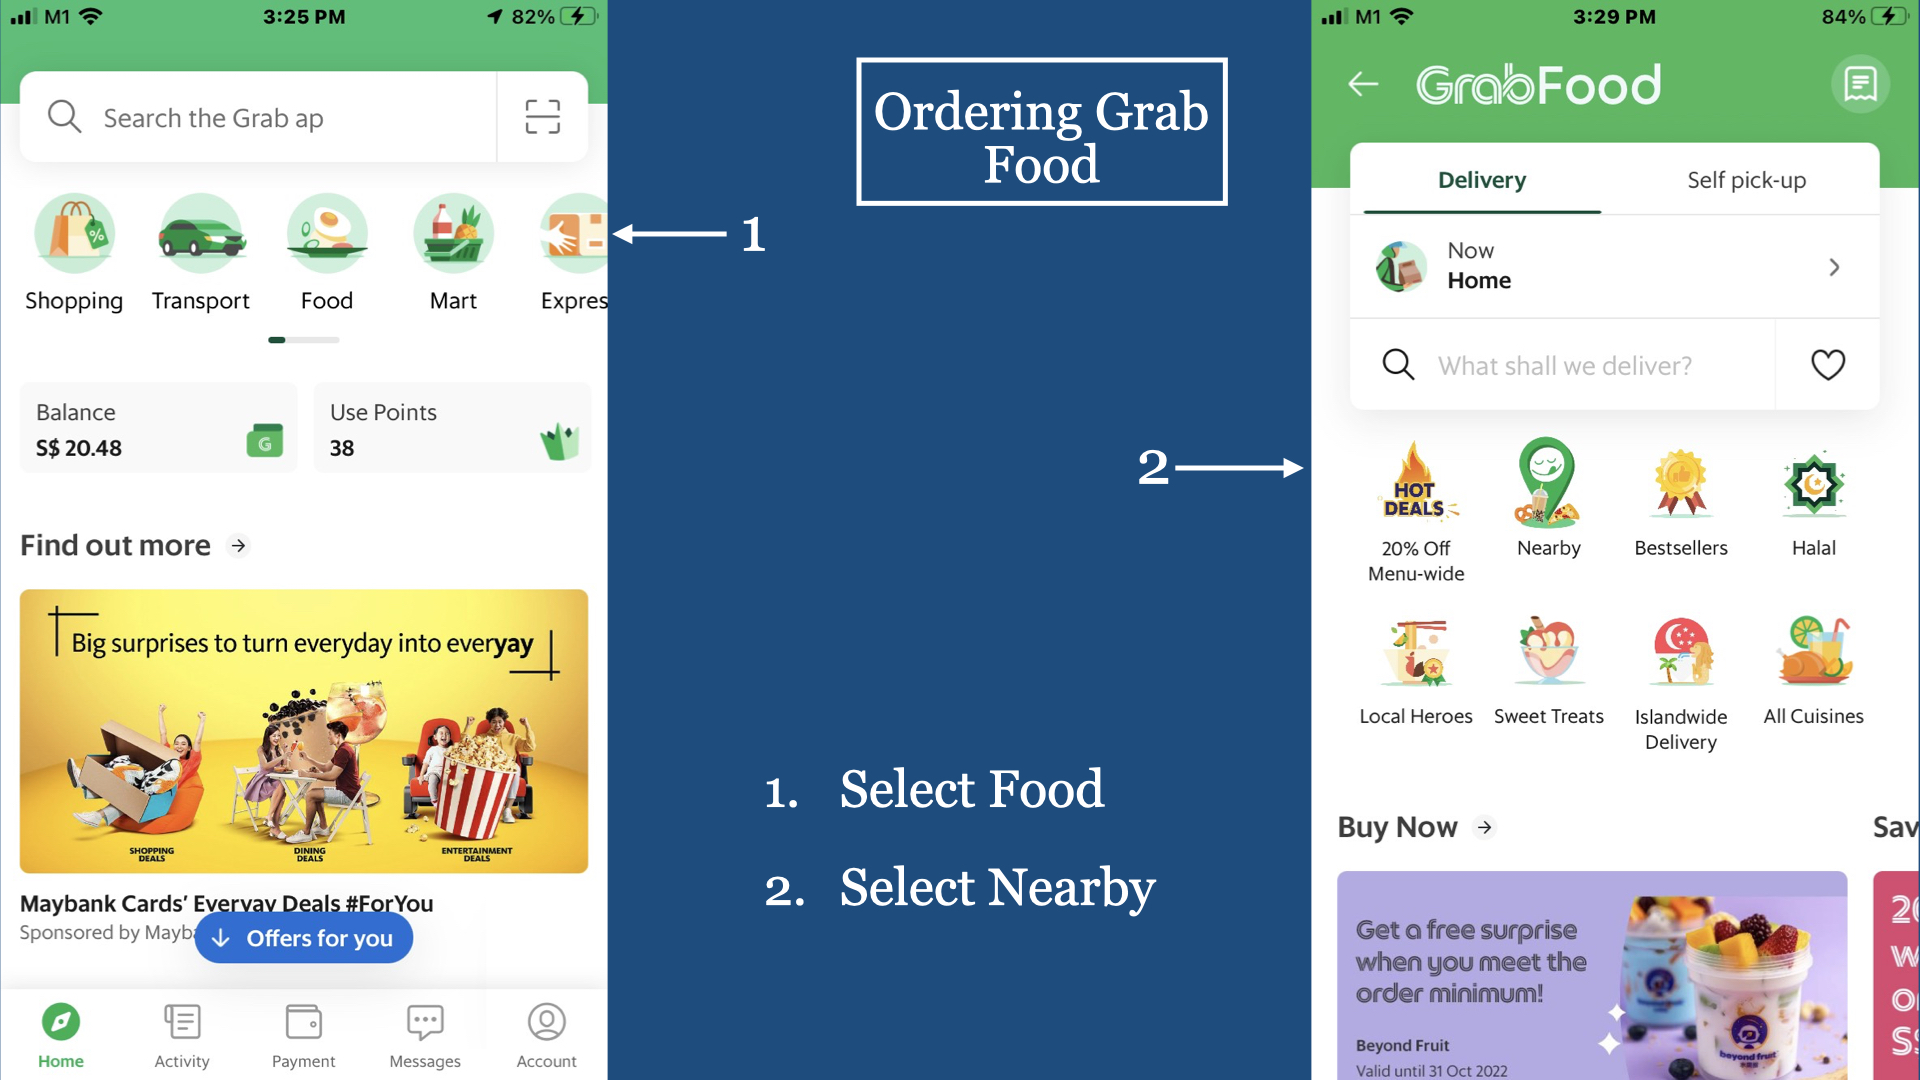
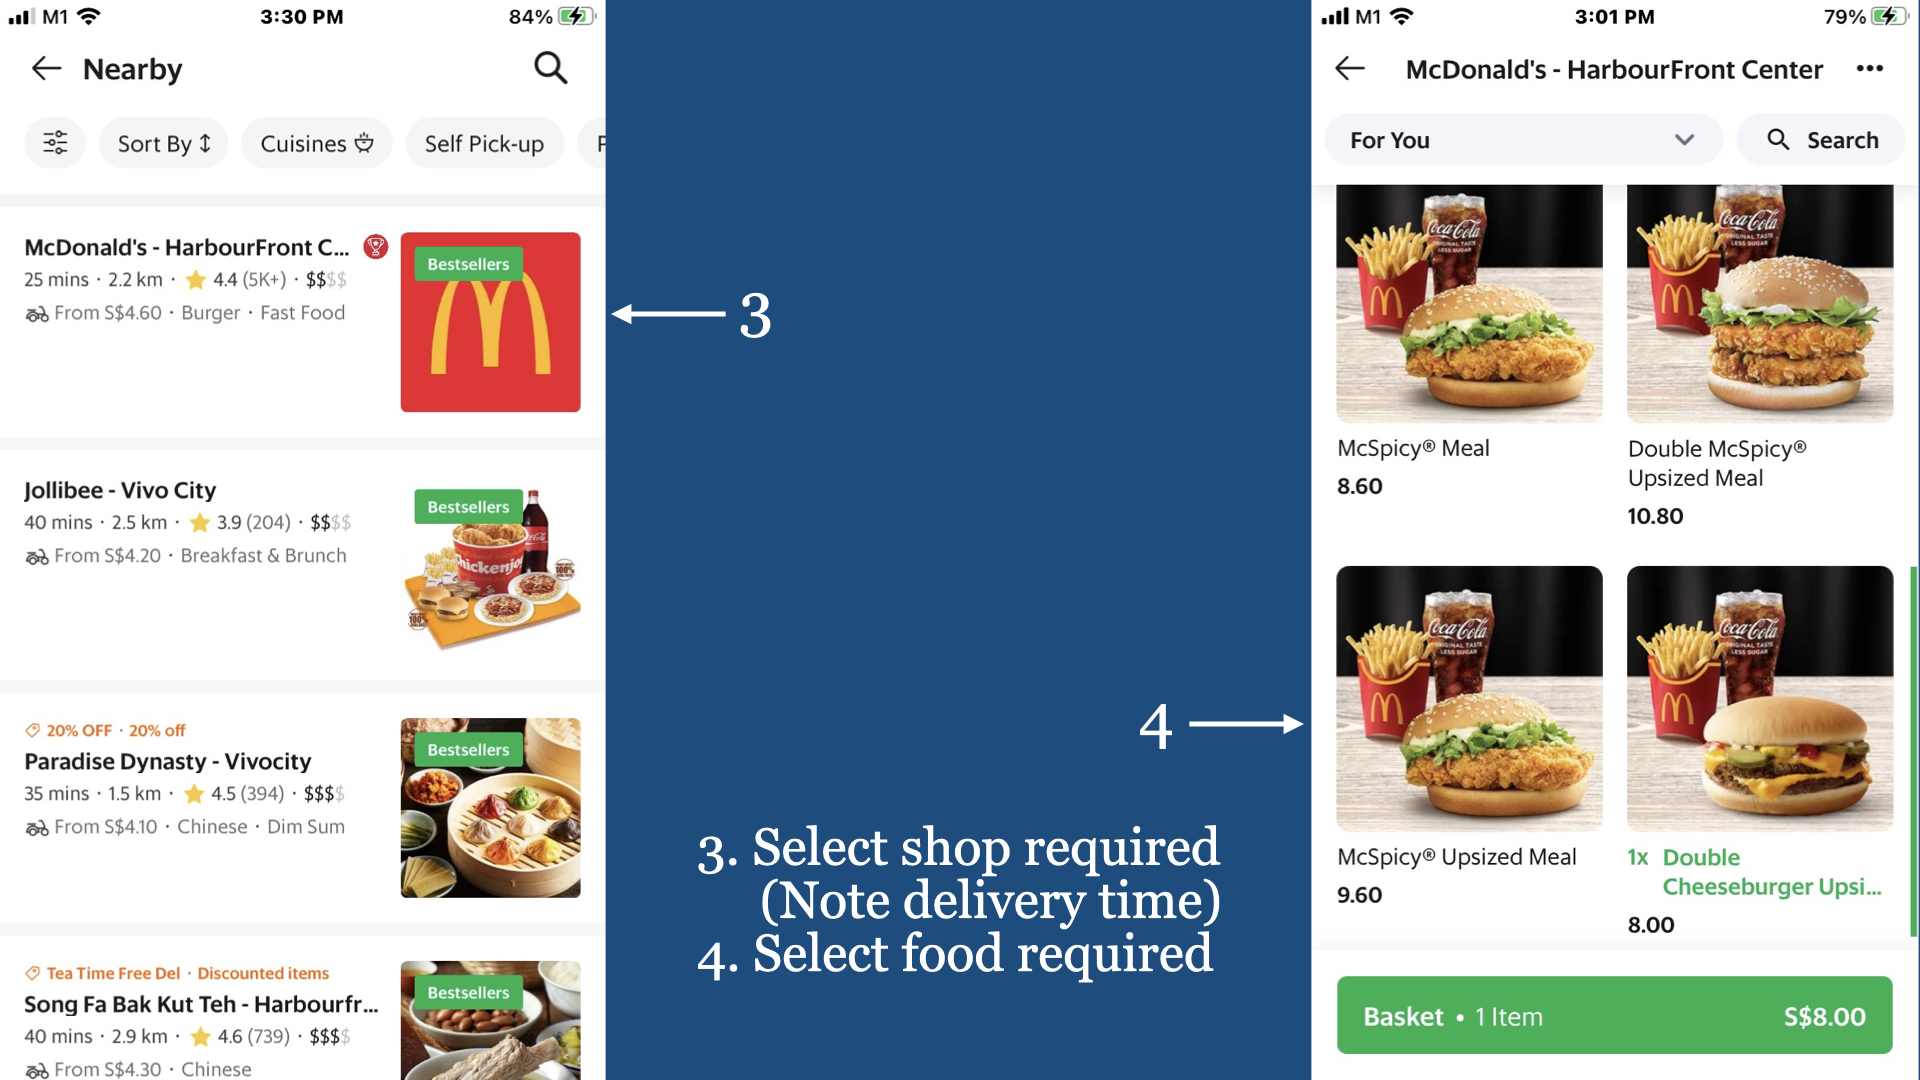
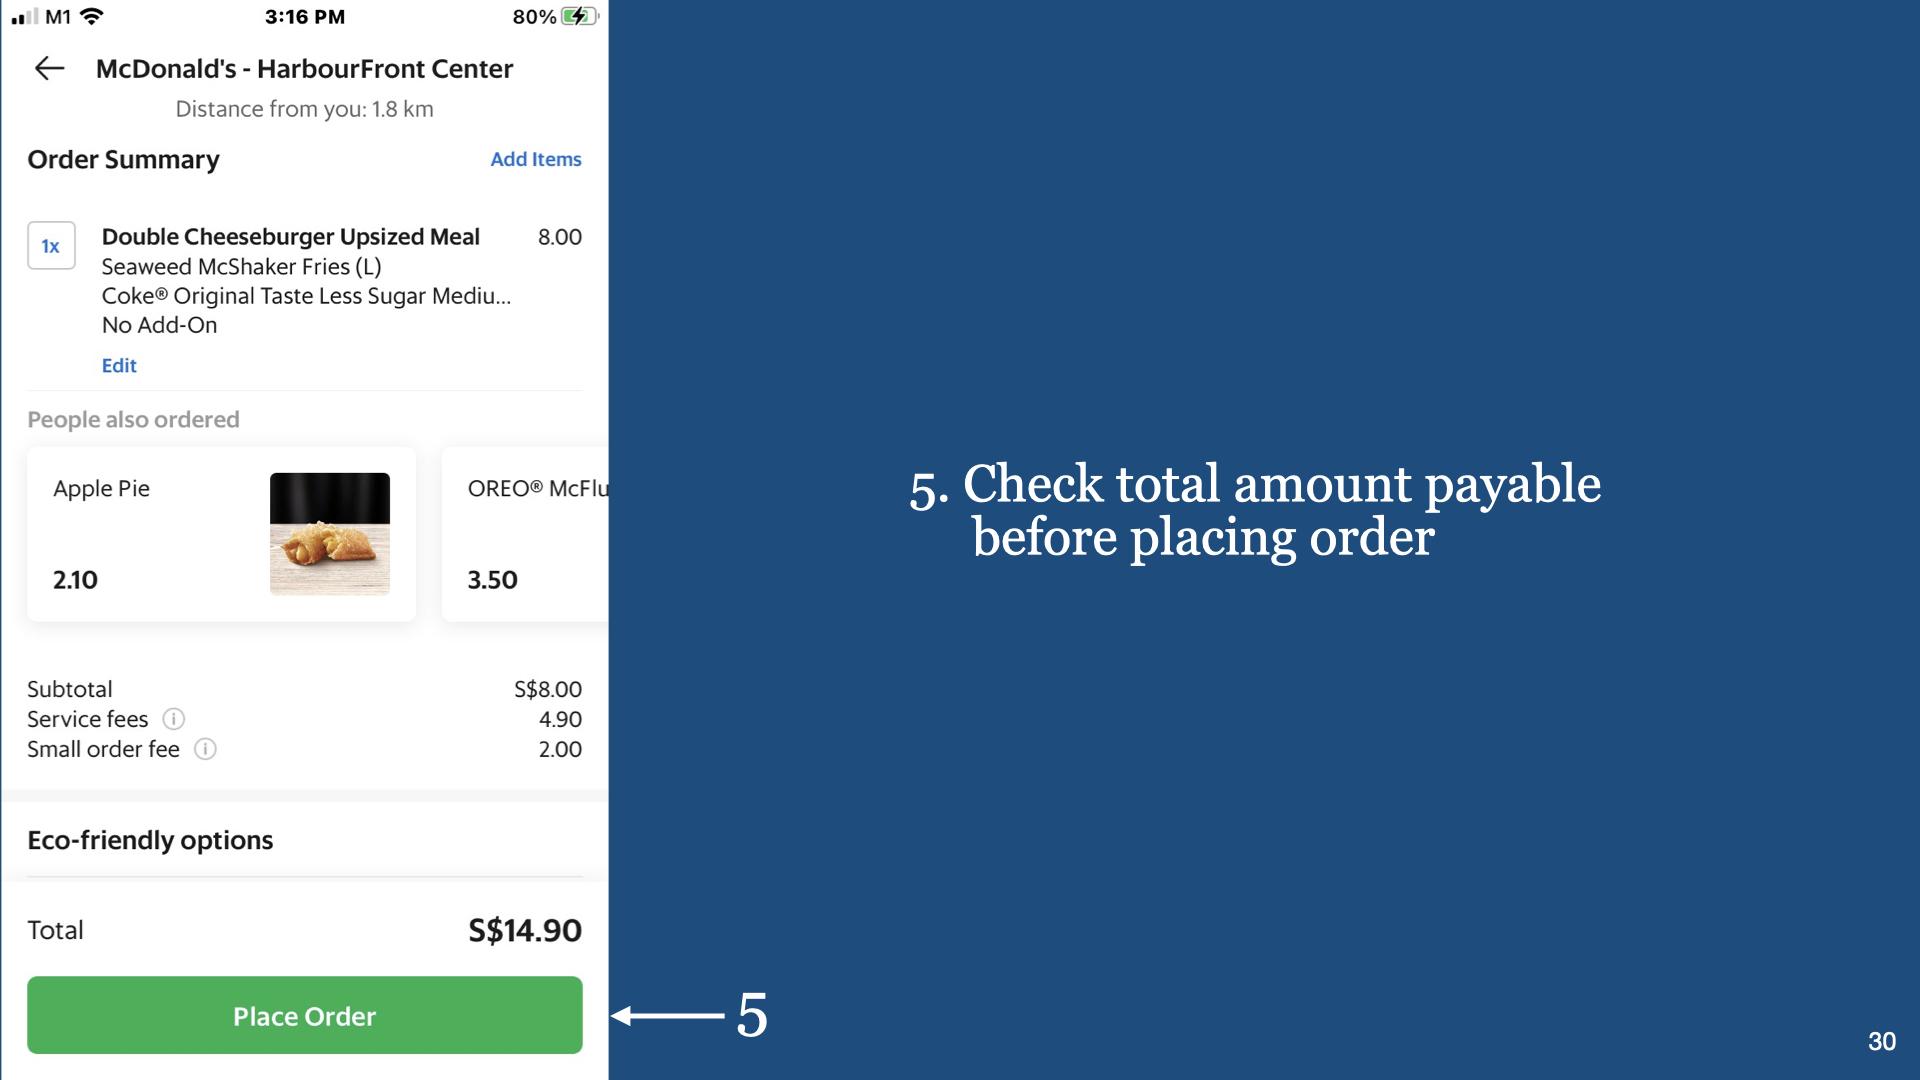
Digital Cafe@Harbourfront Discussion: Cashless Payments Date: 14th Oct 2023 (Saturday) Time: 2PM to 4,30PM Venue: library@harbourfront (Vivo City) Facilitator: Hewlee Ho Registration: via https://go.gov.sg/toyl (NLB membership is required) Admission: Free
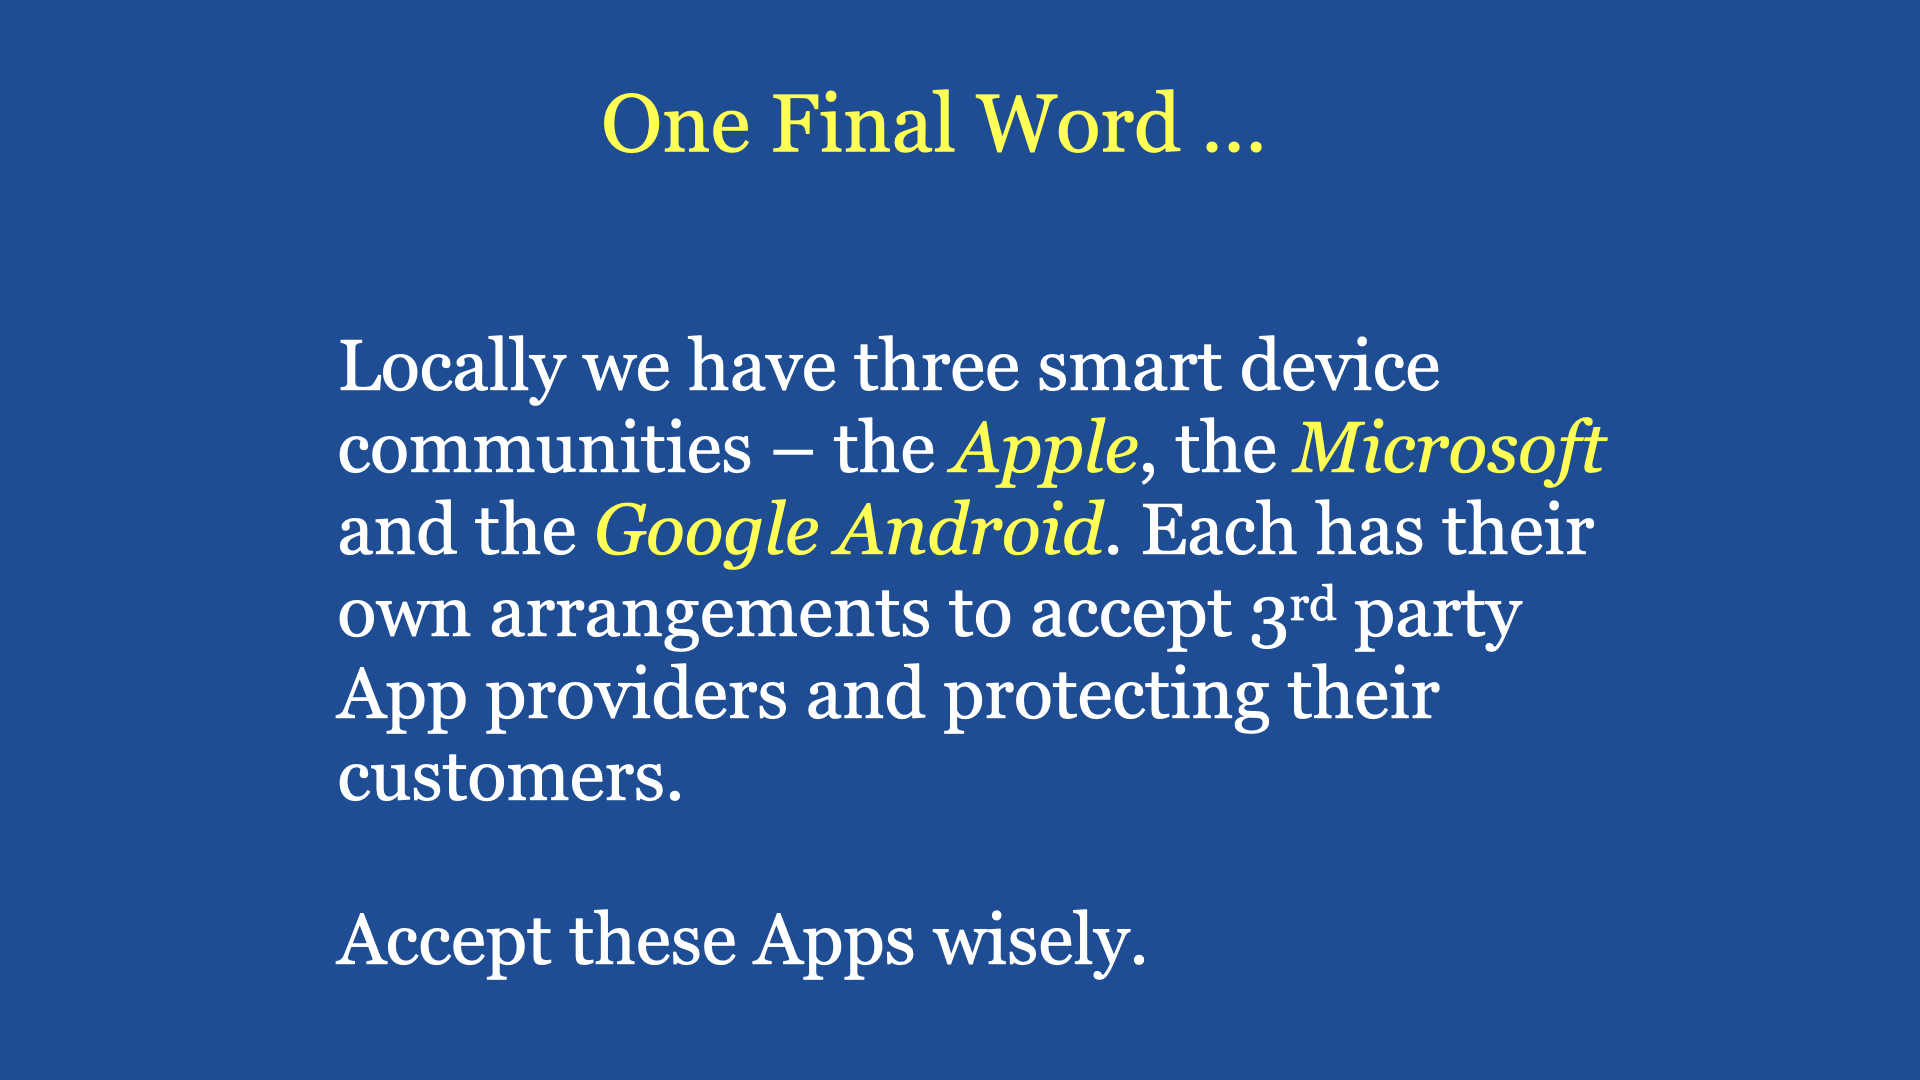
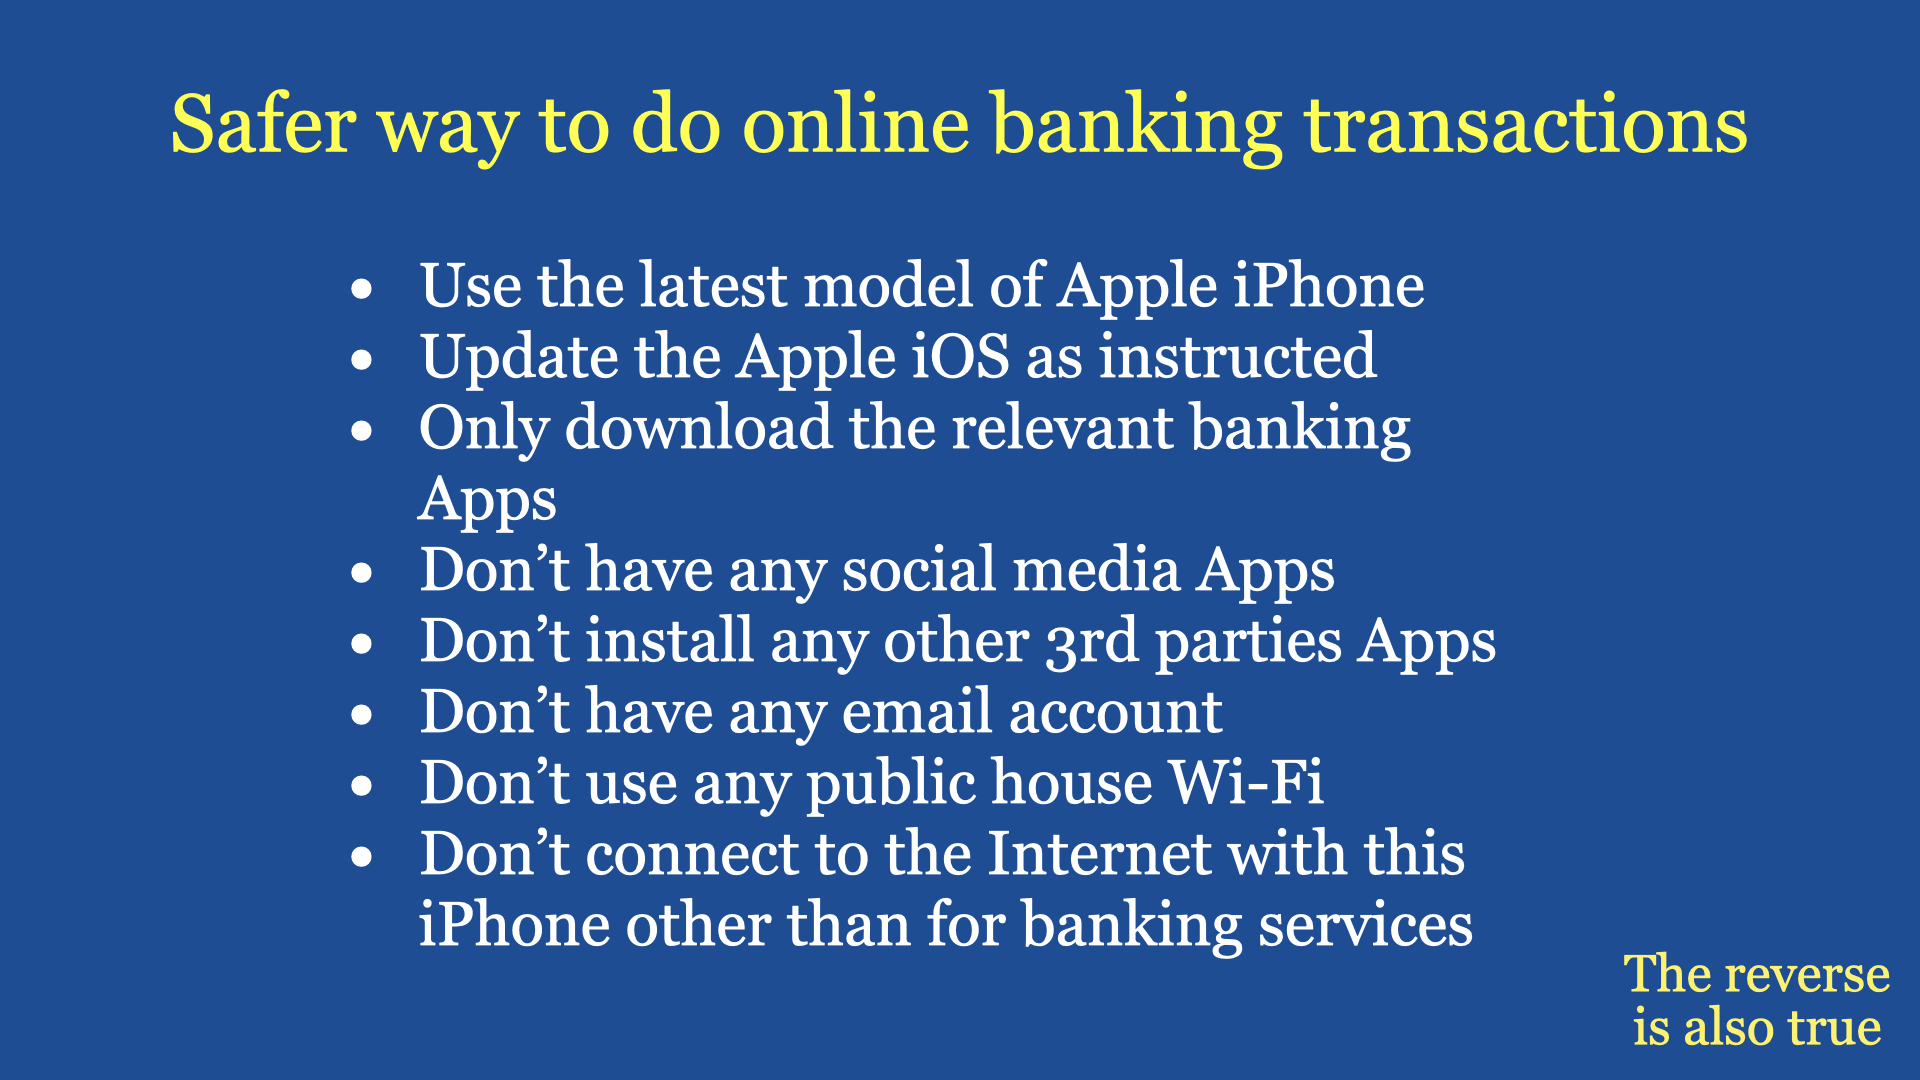
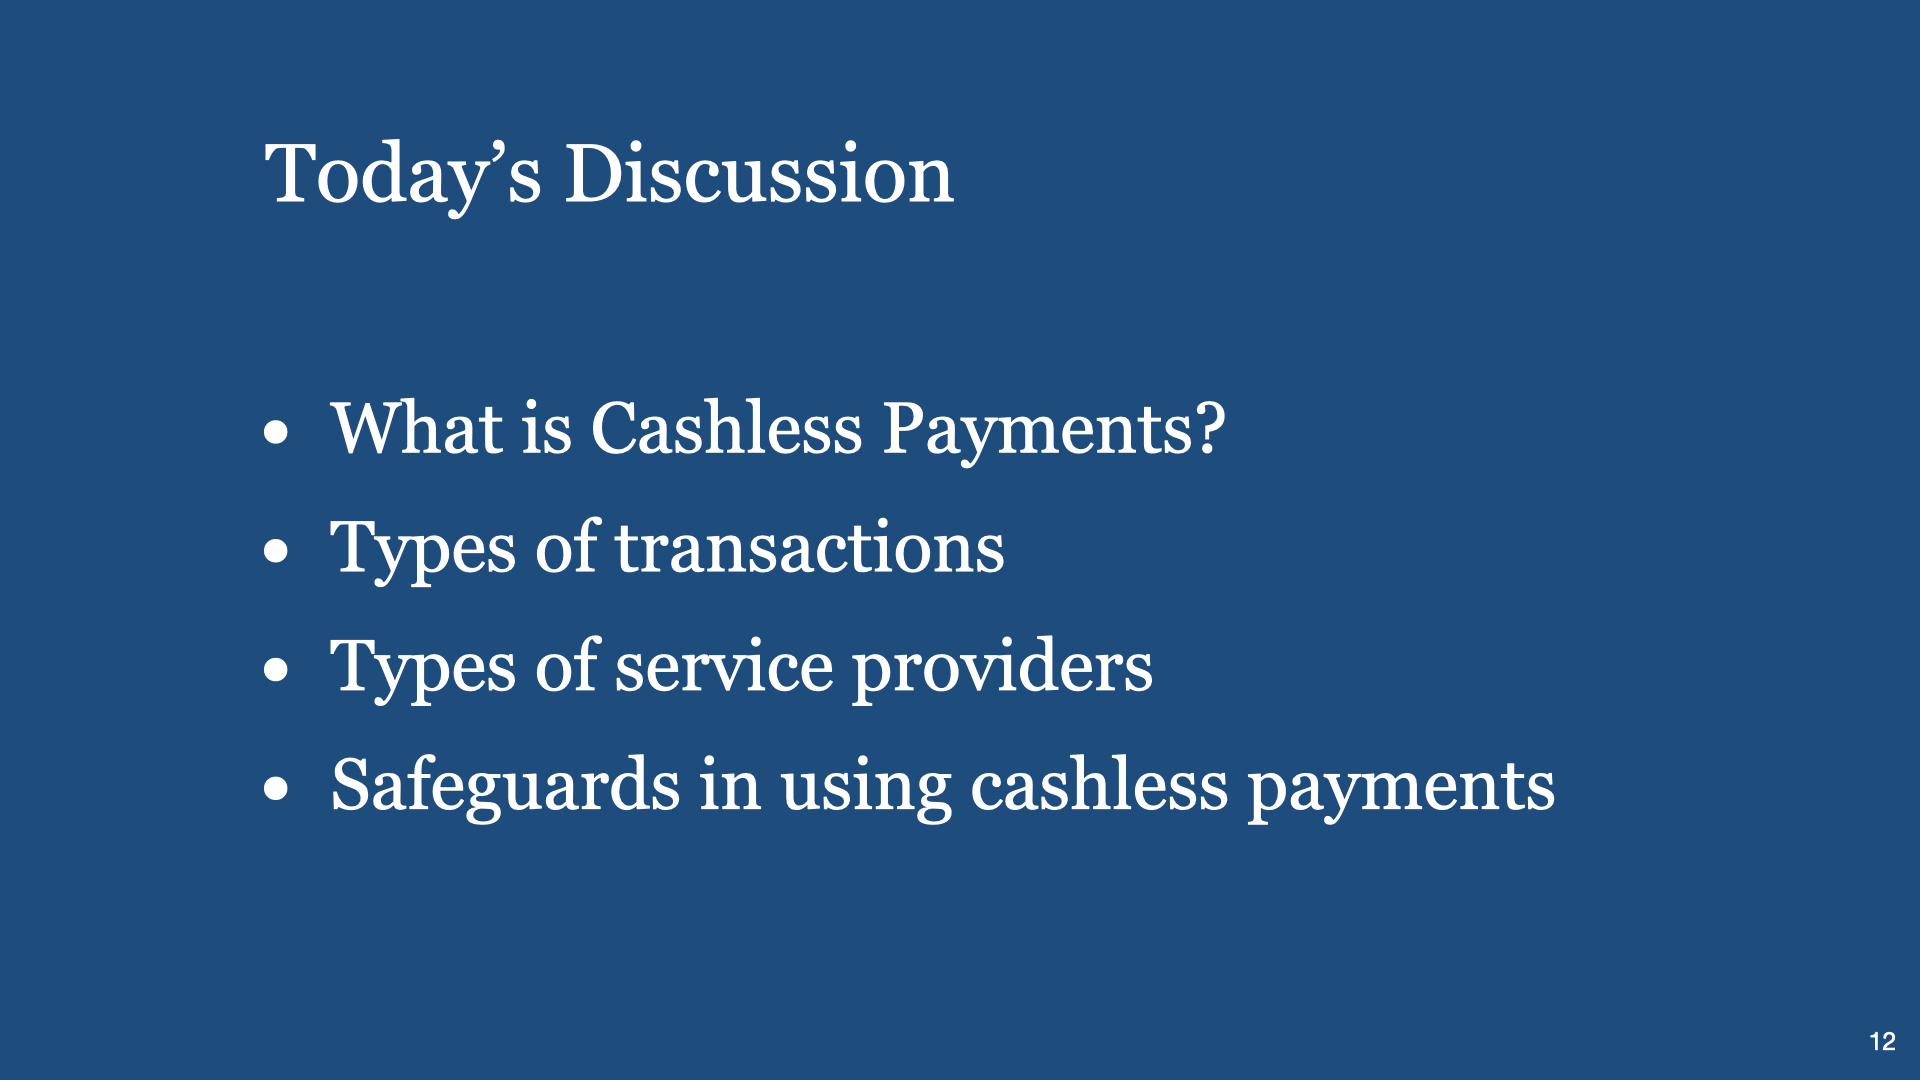
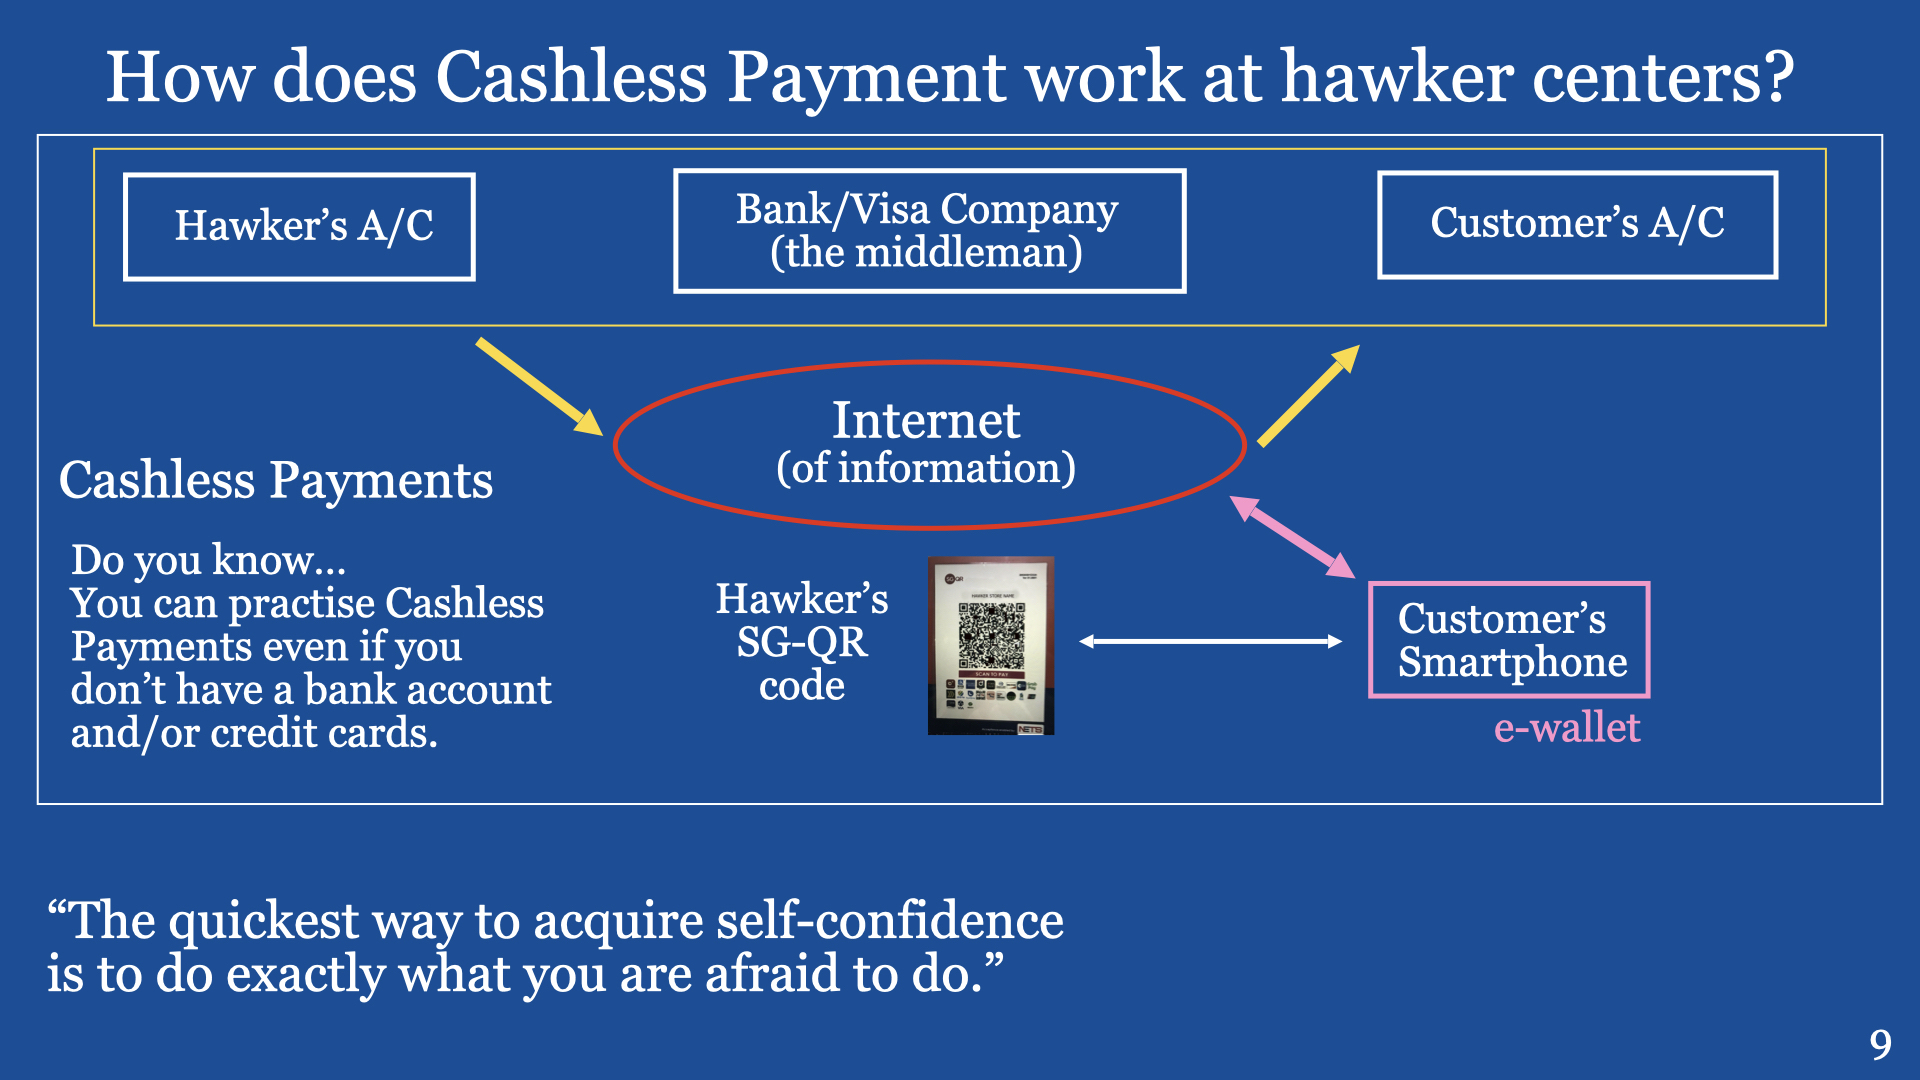
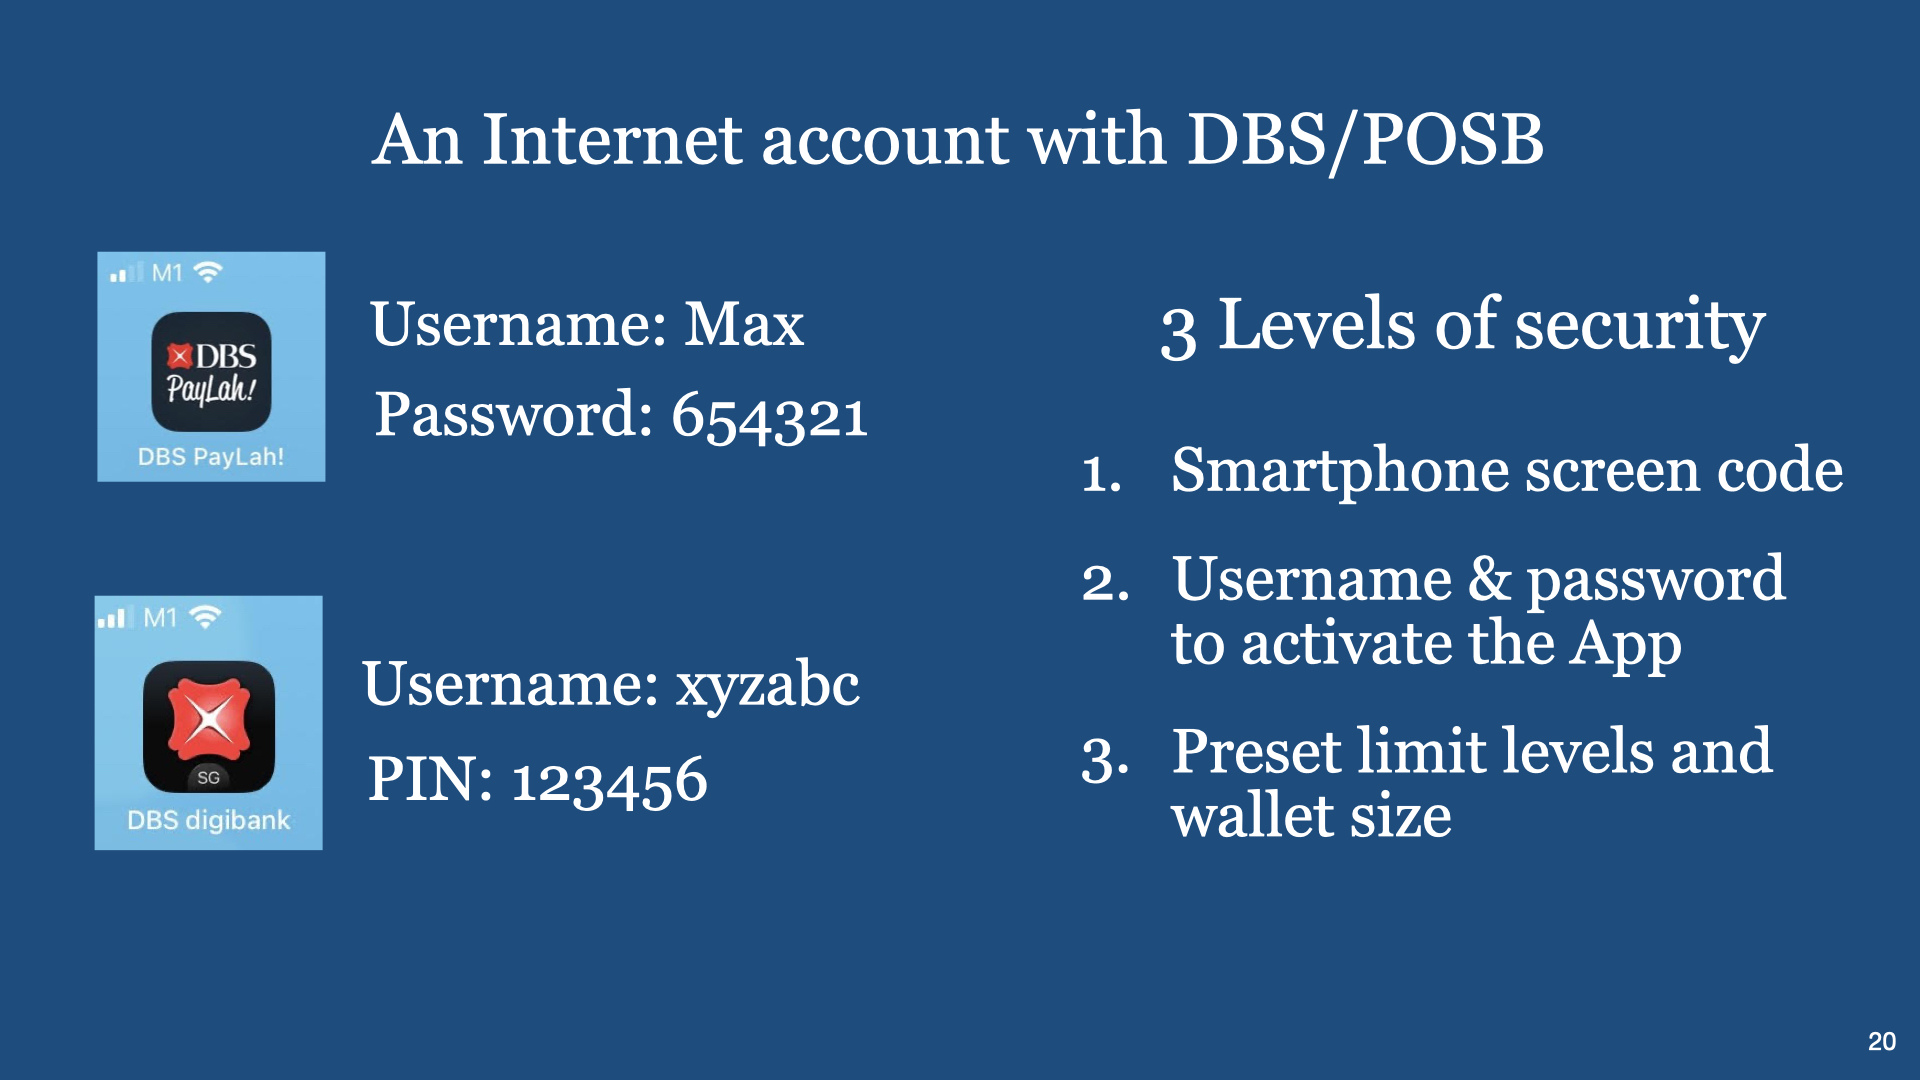
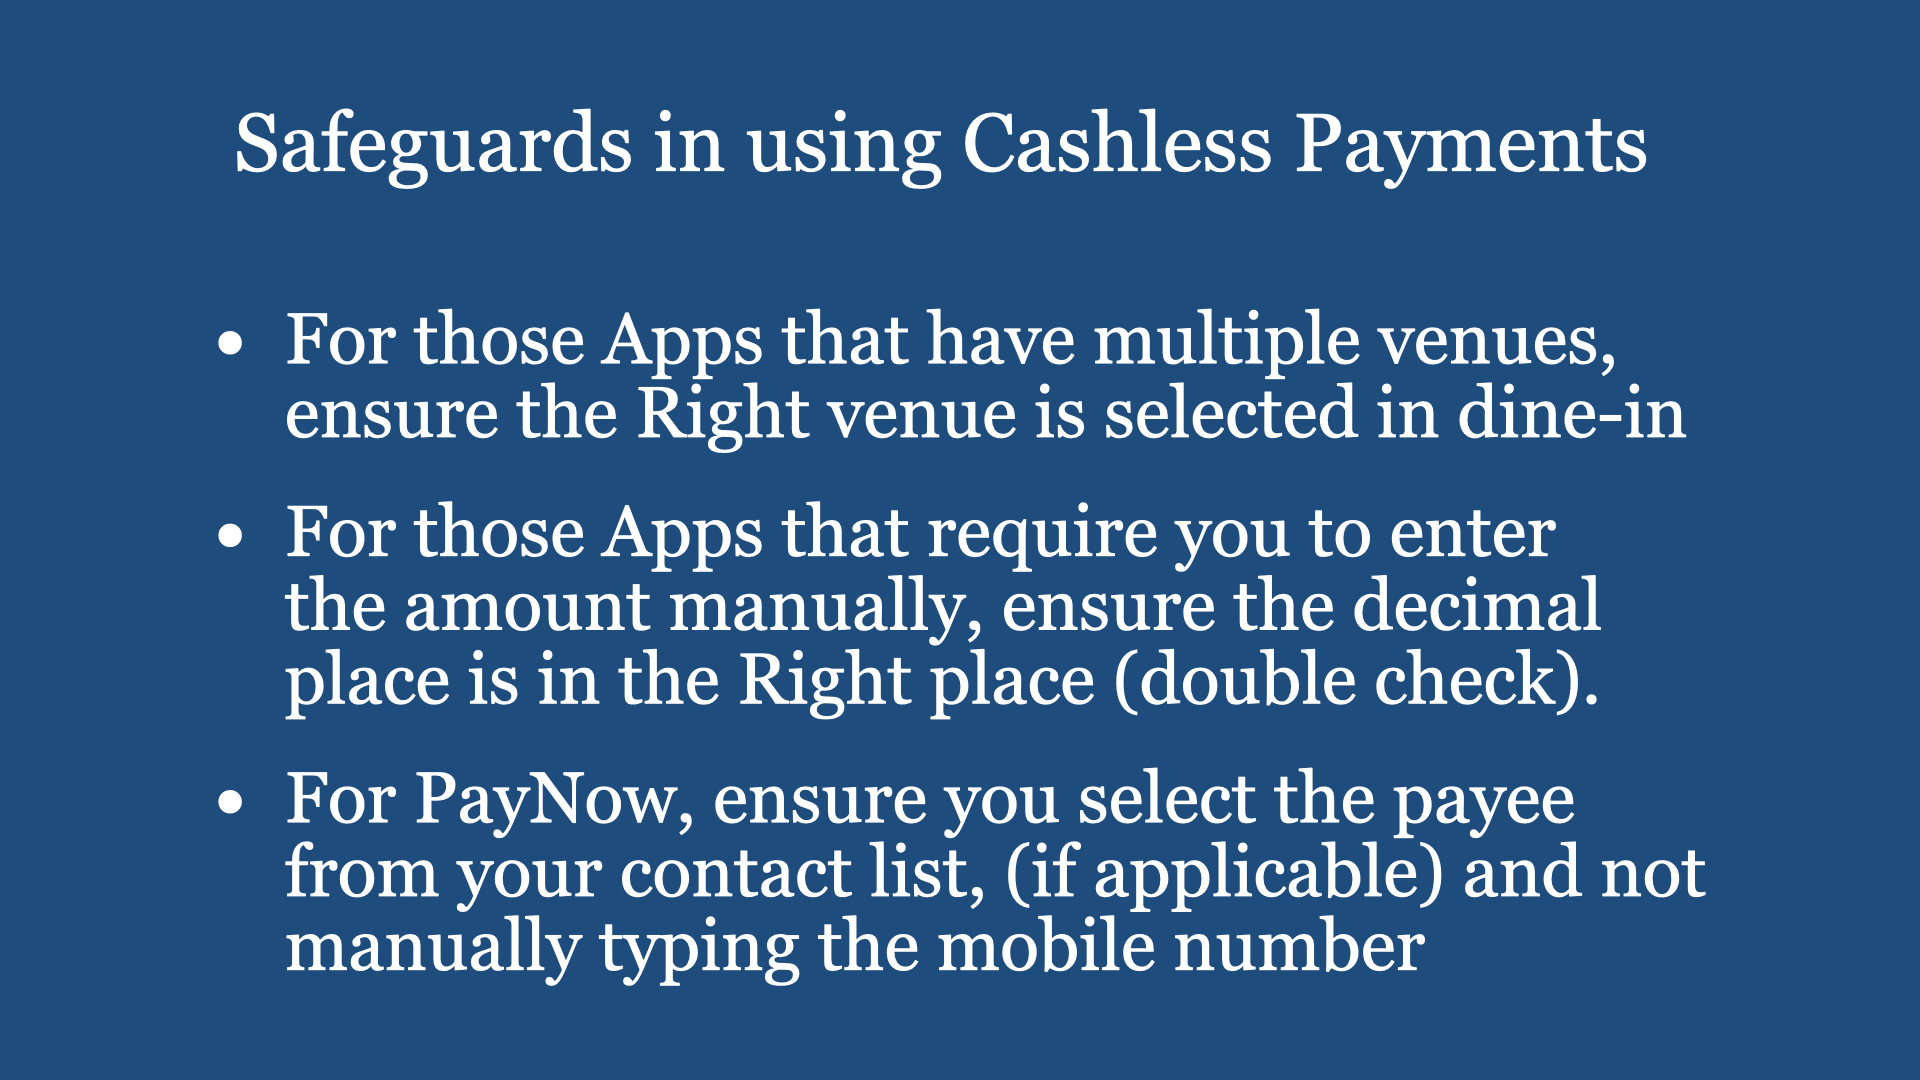
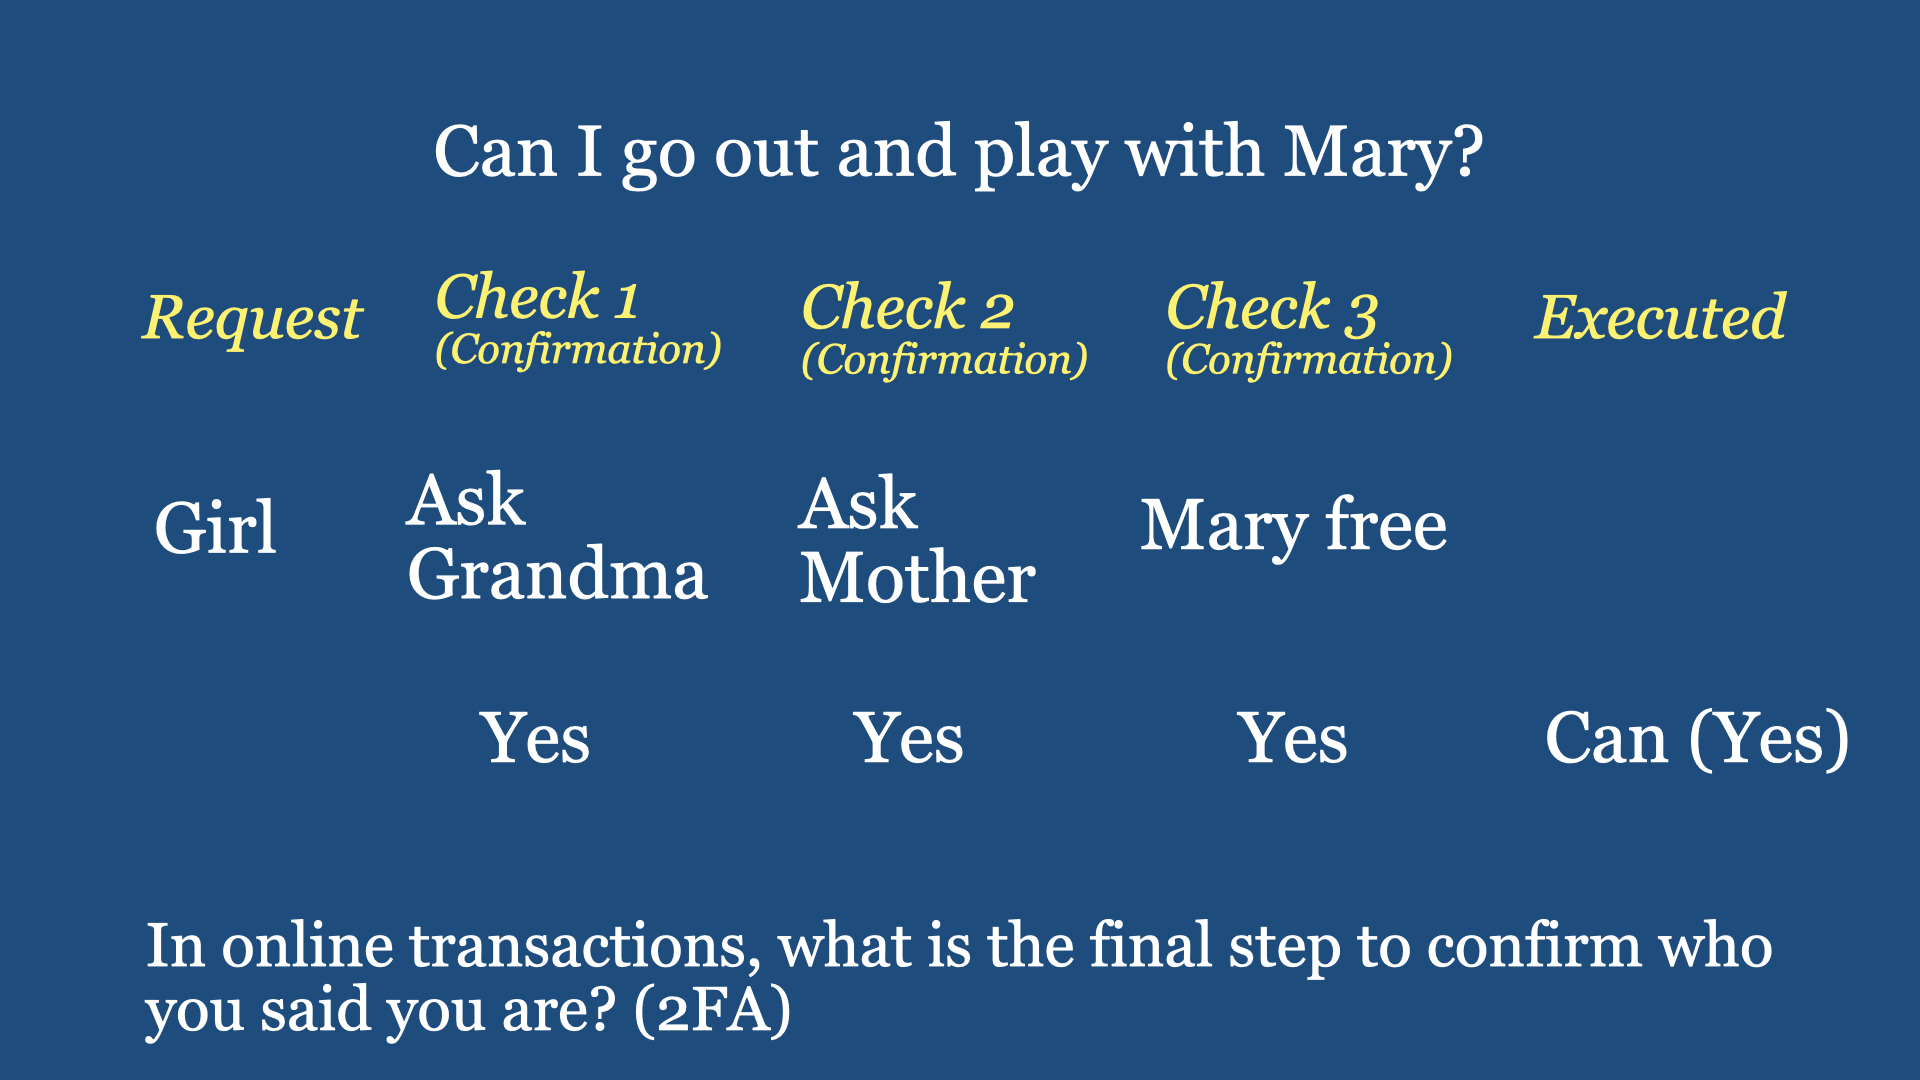
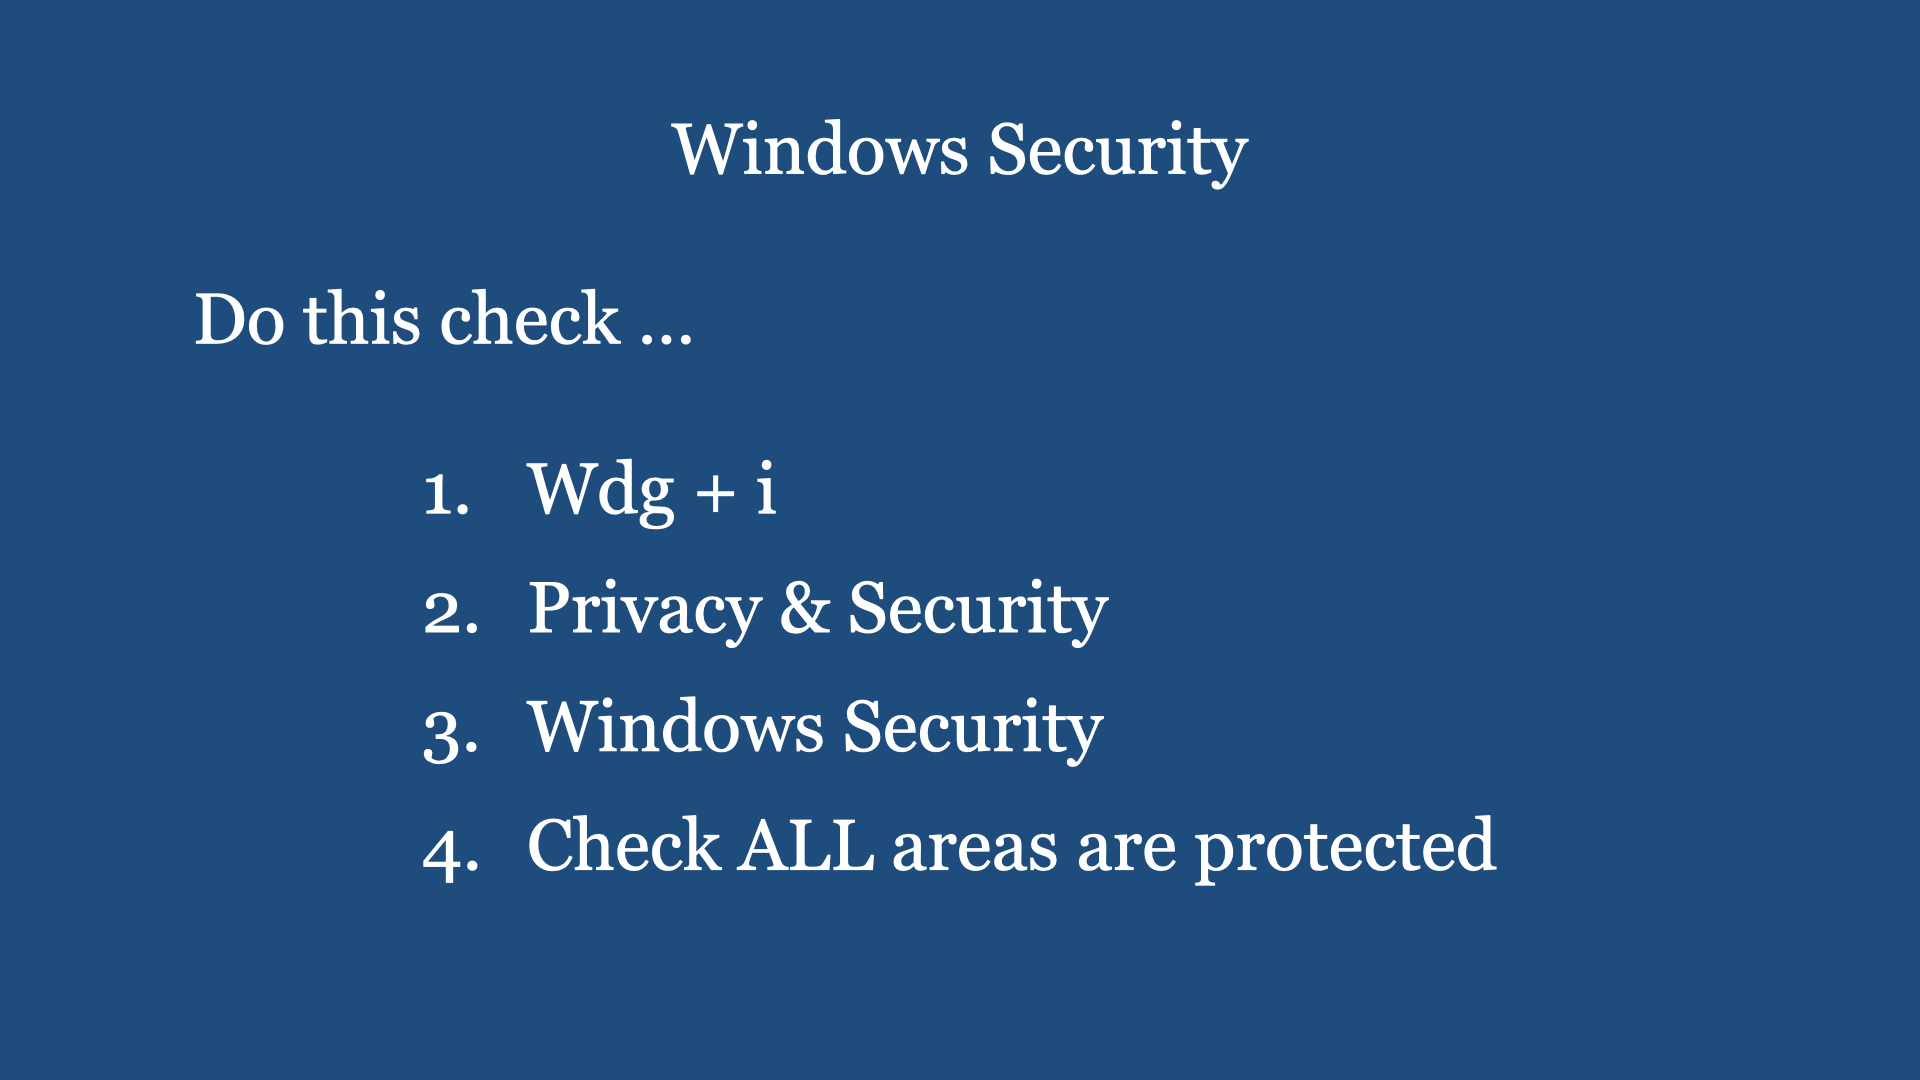
Introduction: In Cashless Payments using a smart device online (smartphone or laptop or desktop), we have to be aware that we are communicating sensitive information with the provider of the service, online. The provider will have its own arrangement of ‘firewall” to prevent imposter, eavesdropper and AI machines to monitor your transactions. Likewise, your device connecting to the Provider’s computer must also have similar safeguards. Your device (smartphone or laptop) should have the latest operating system installed in your device and with the latest security features, provided by your supplier (Microsoft or Apple or Google), installed. In any security (system) consideration, the weakest link is always the USER. Why? Below are the most common reasons:
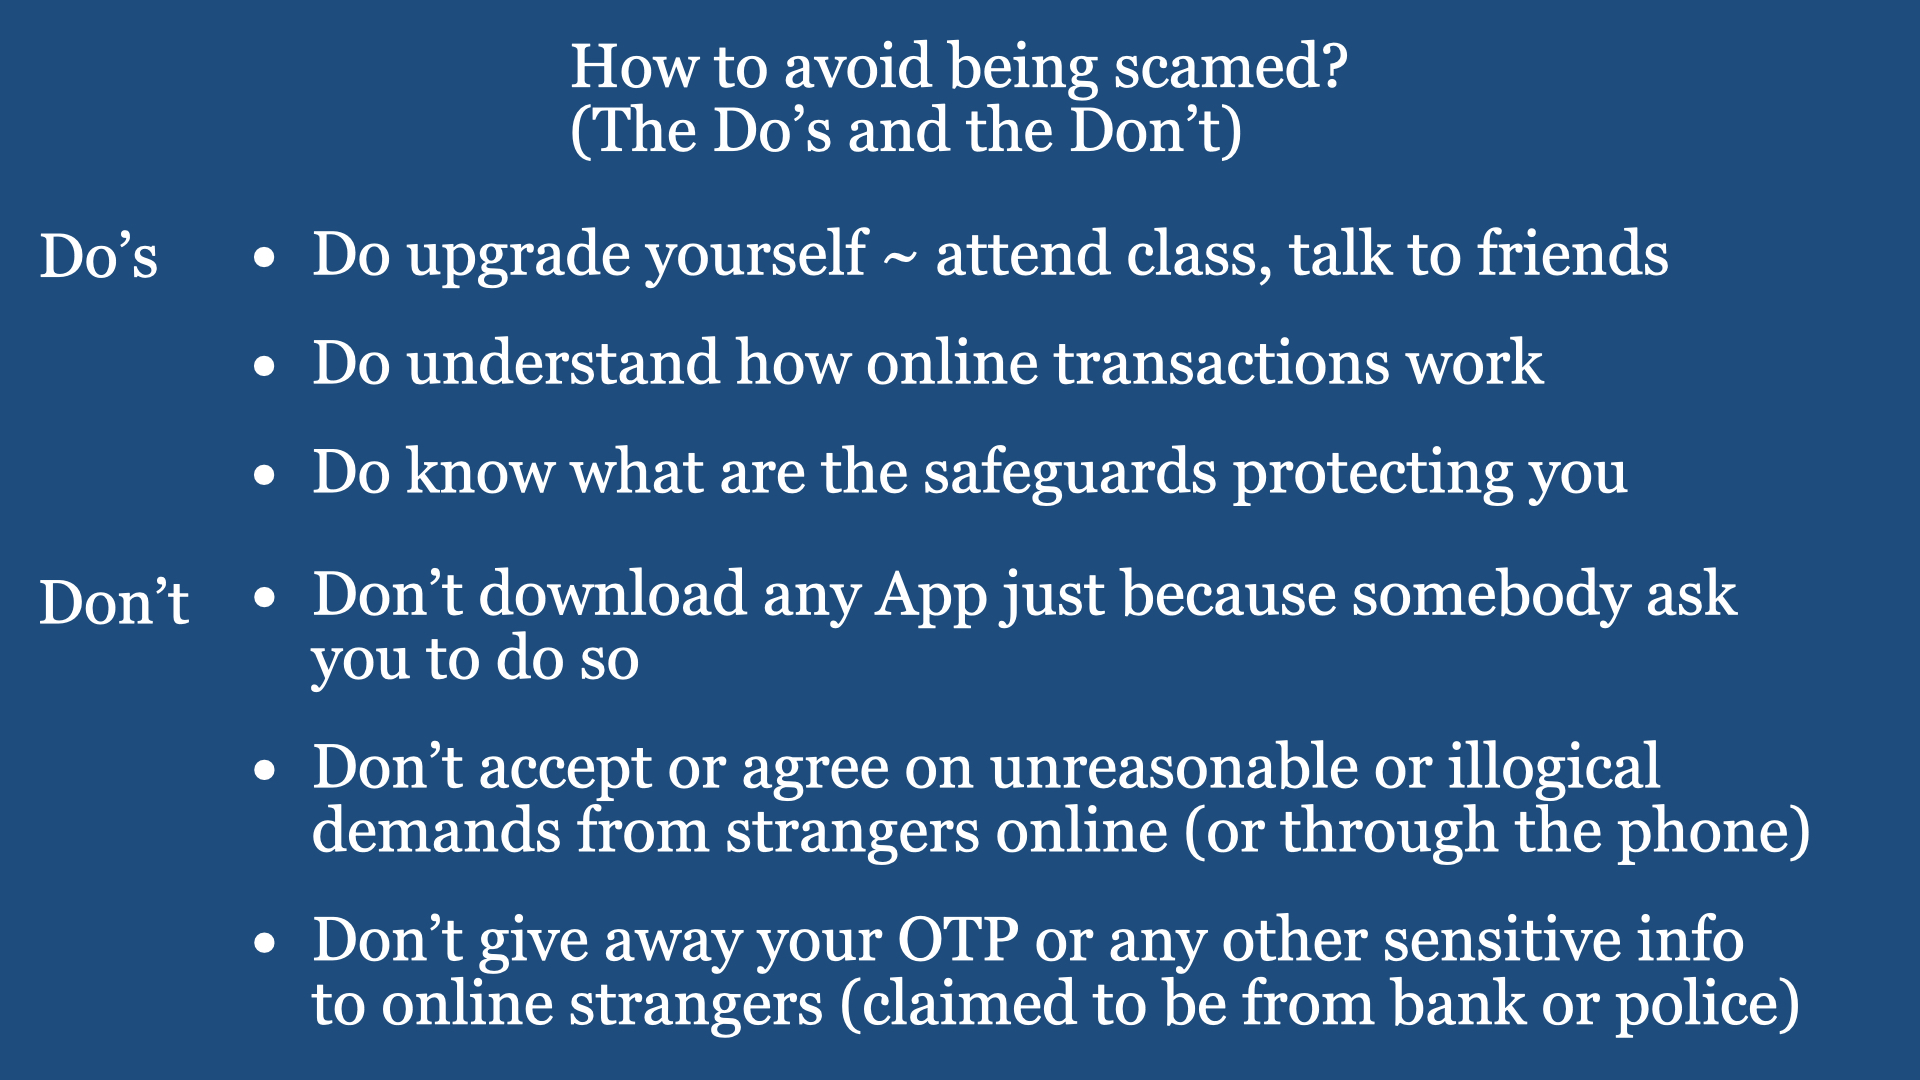
a) the USER lags the understanding of “logical and systematic thinking” and (especially Seniors) never go to Lifelong Learning classes to improve his/her Knowledge of Cybersecurity, Scams, etc.
b) do not understand why we can’t use an outdated smartphone and/or laptop computer to perform online Cashless Payment transactions (with sensitive information).
By widening your knowledge on Cashless Payments, seniors can be empowered to adopt digital banking and digital payments confidently.
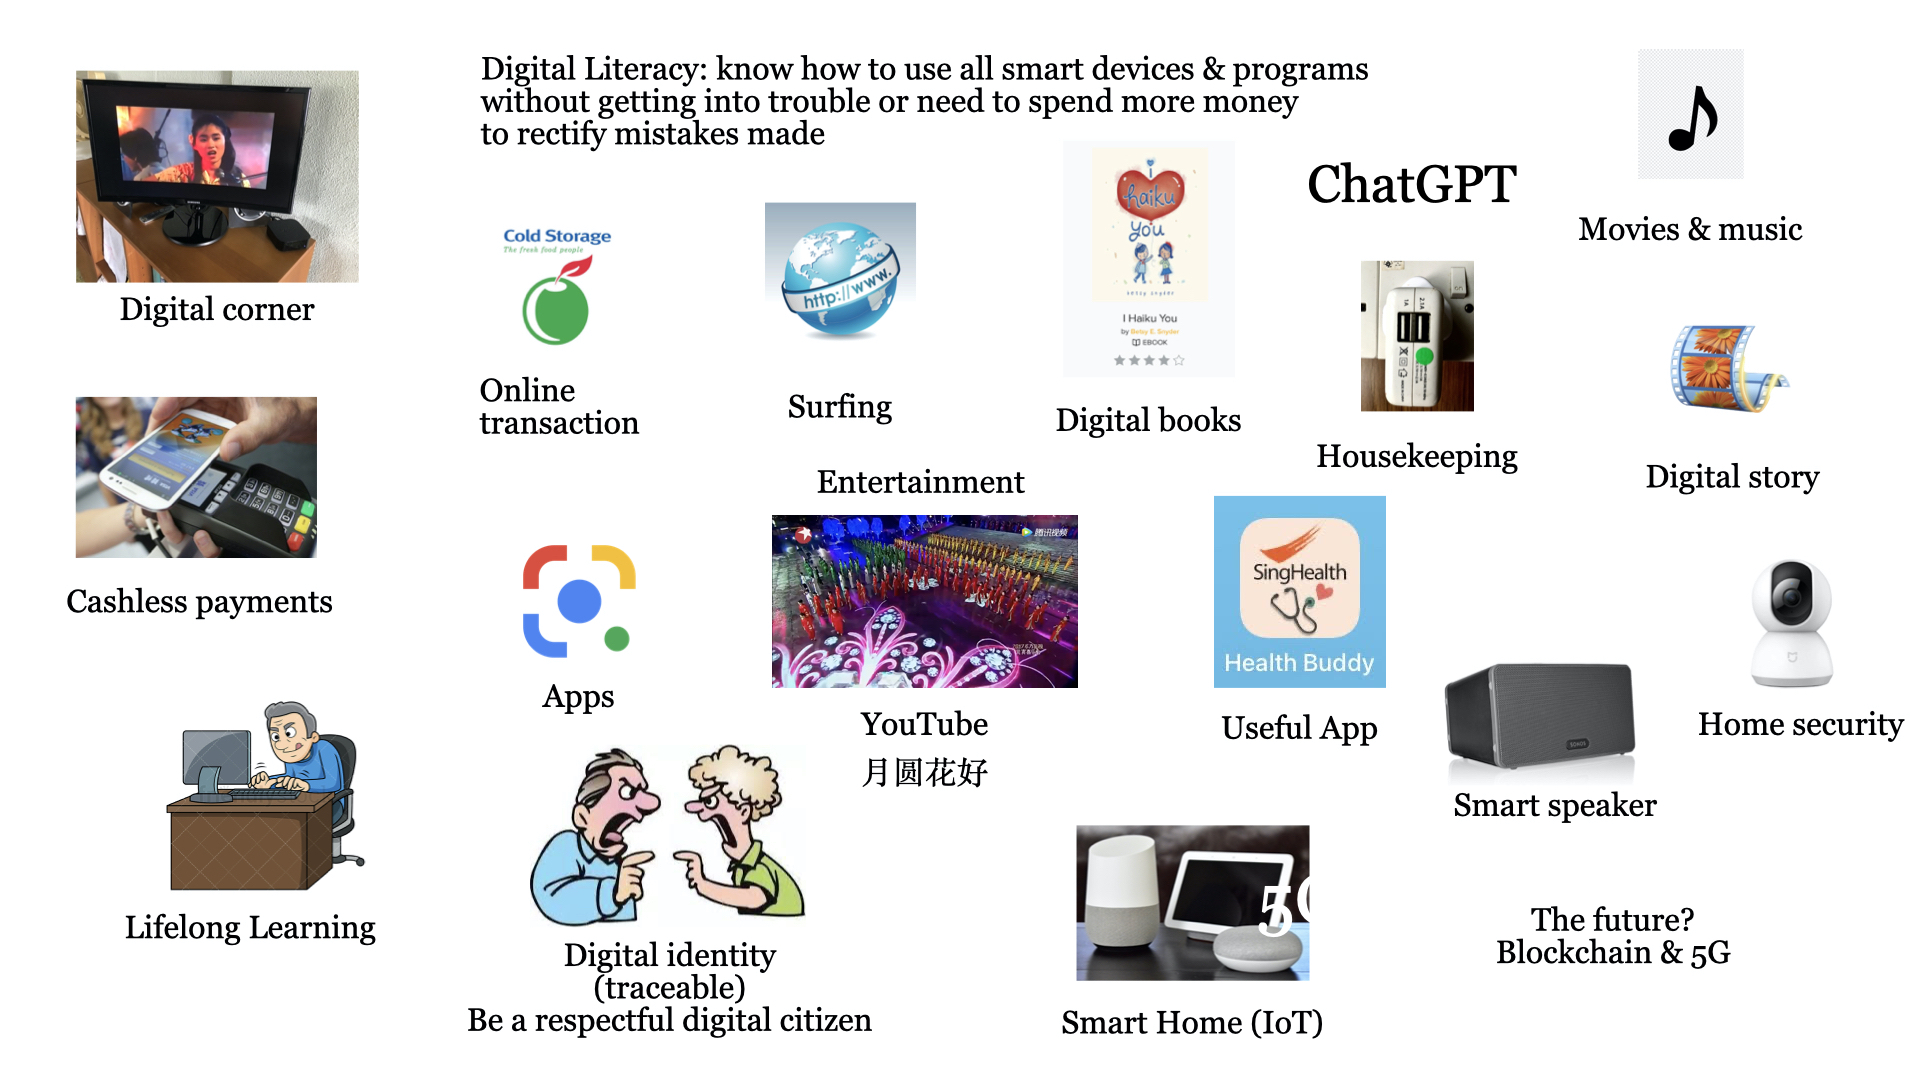
Digital Cafe@Harbourfront Discussion: Digital Literacy for Seniors Date: 9 Sept 2023 (Saturday) Time: 2pm to 4.30pm Venue: library@harbourfront (Vivo City) Facilitator: Hewlee Ho Registration: via https://go.gov.sg/toyl (NLB membership required)
Introduction For us 60+ Seniors, we grow up with a copper wire telephone network & house line (dialling) telephone, a box TV, snail mail, etc. To pay our utilities and other bills, we go to respective organisations, queue up and pay with our paper printed money and coins.
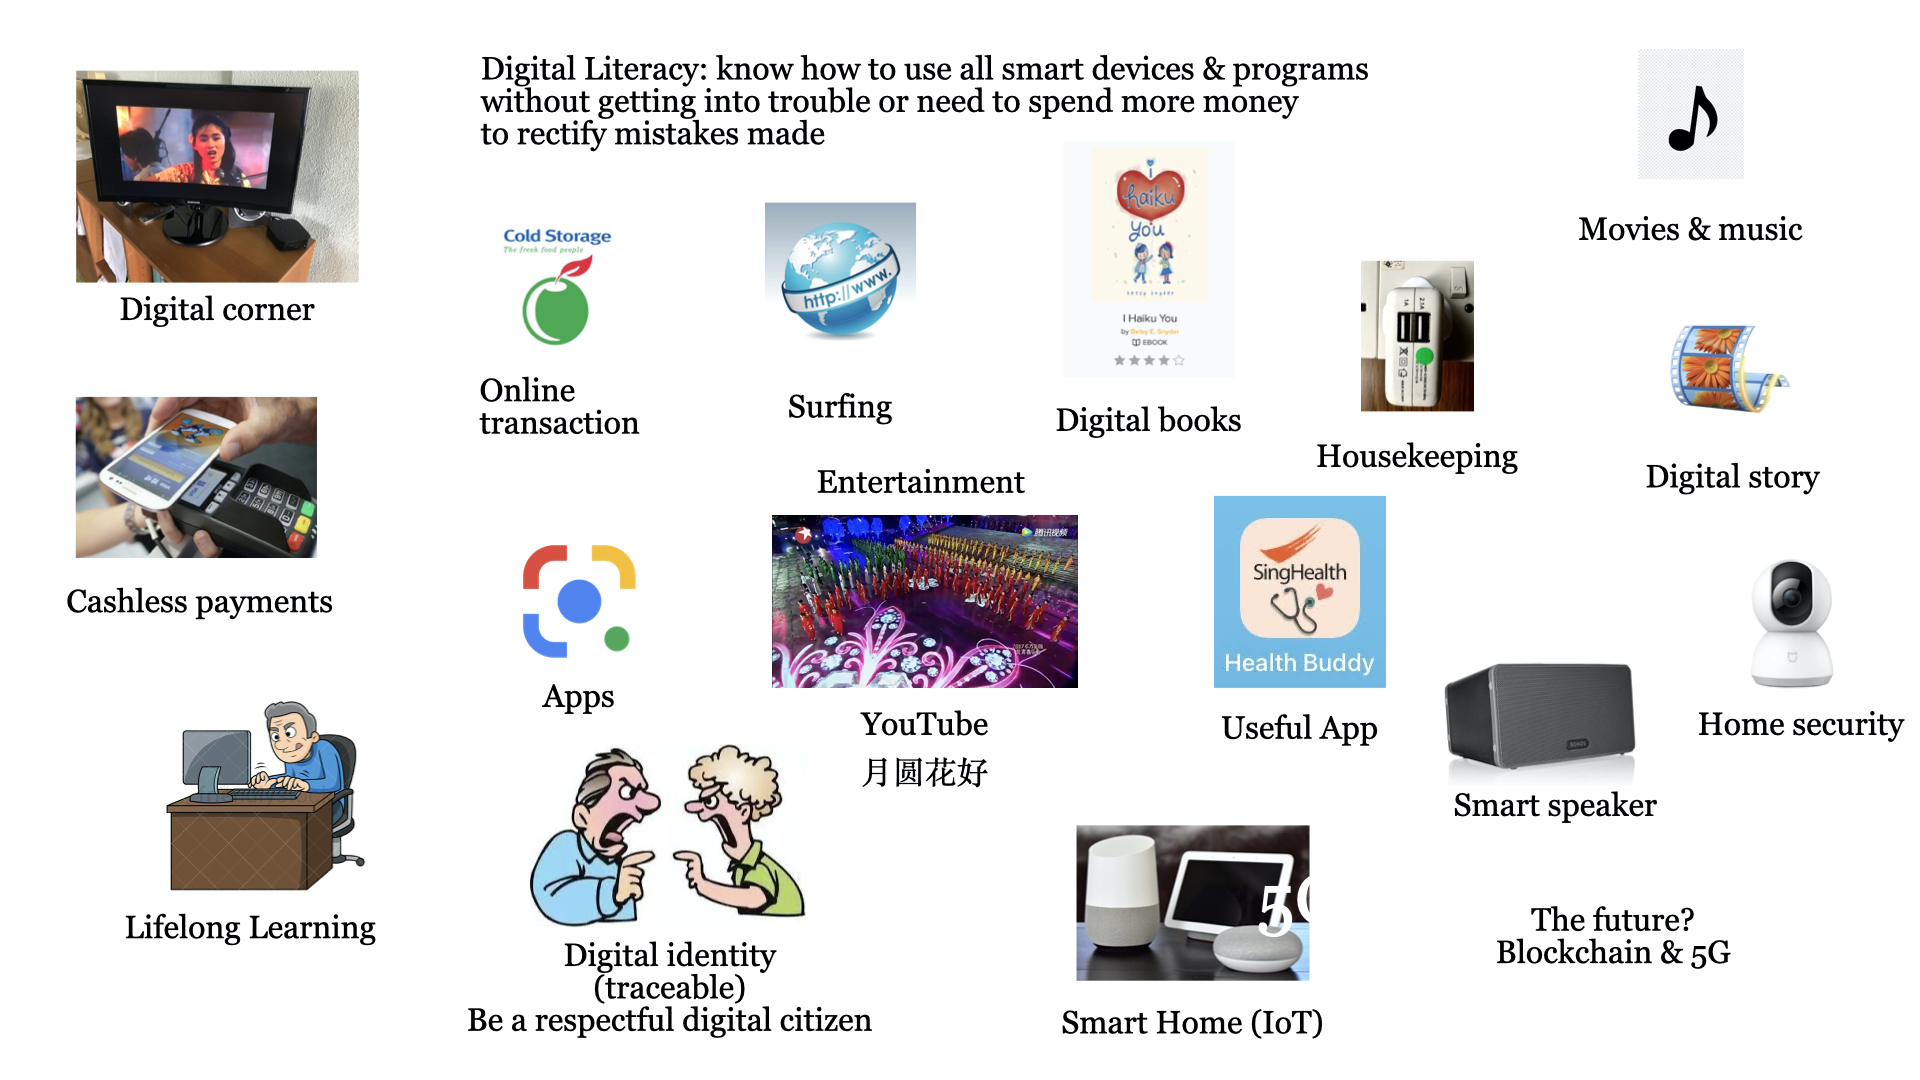
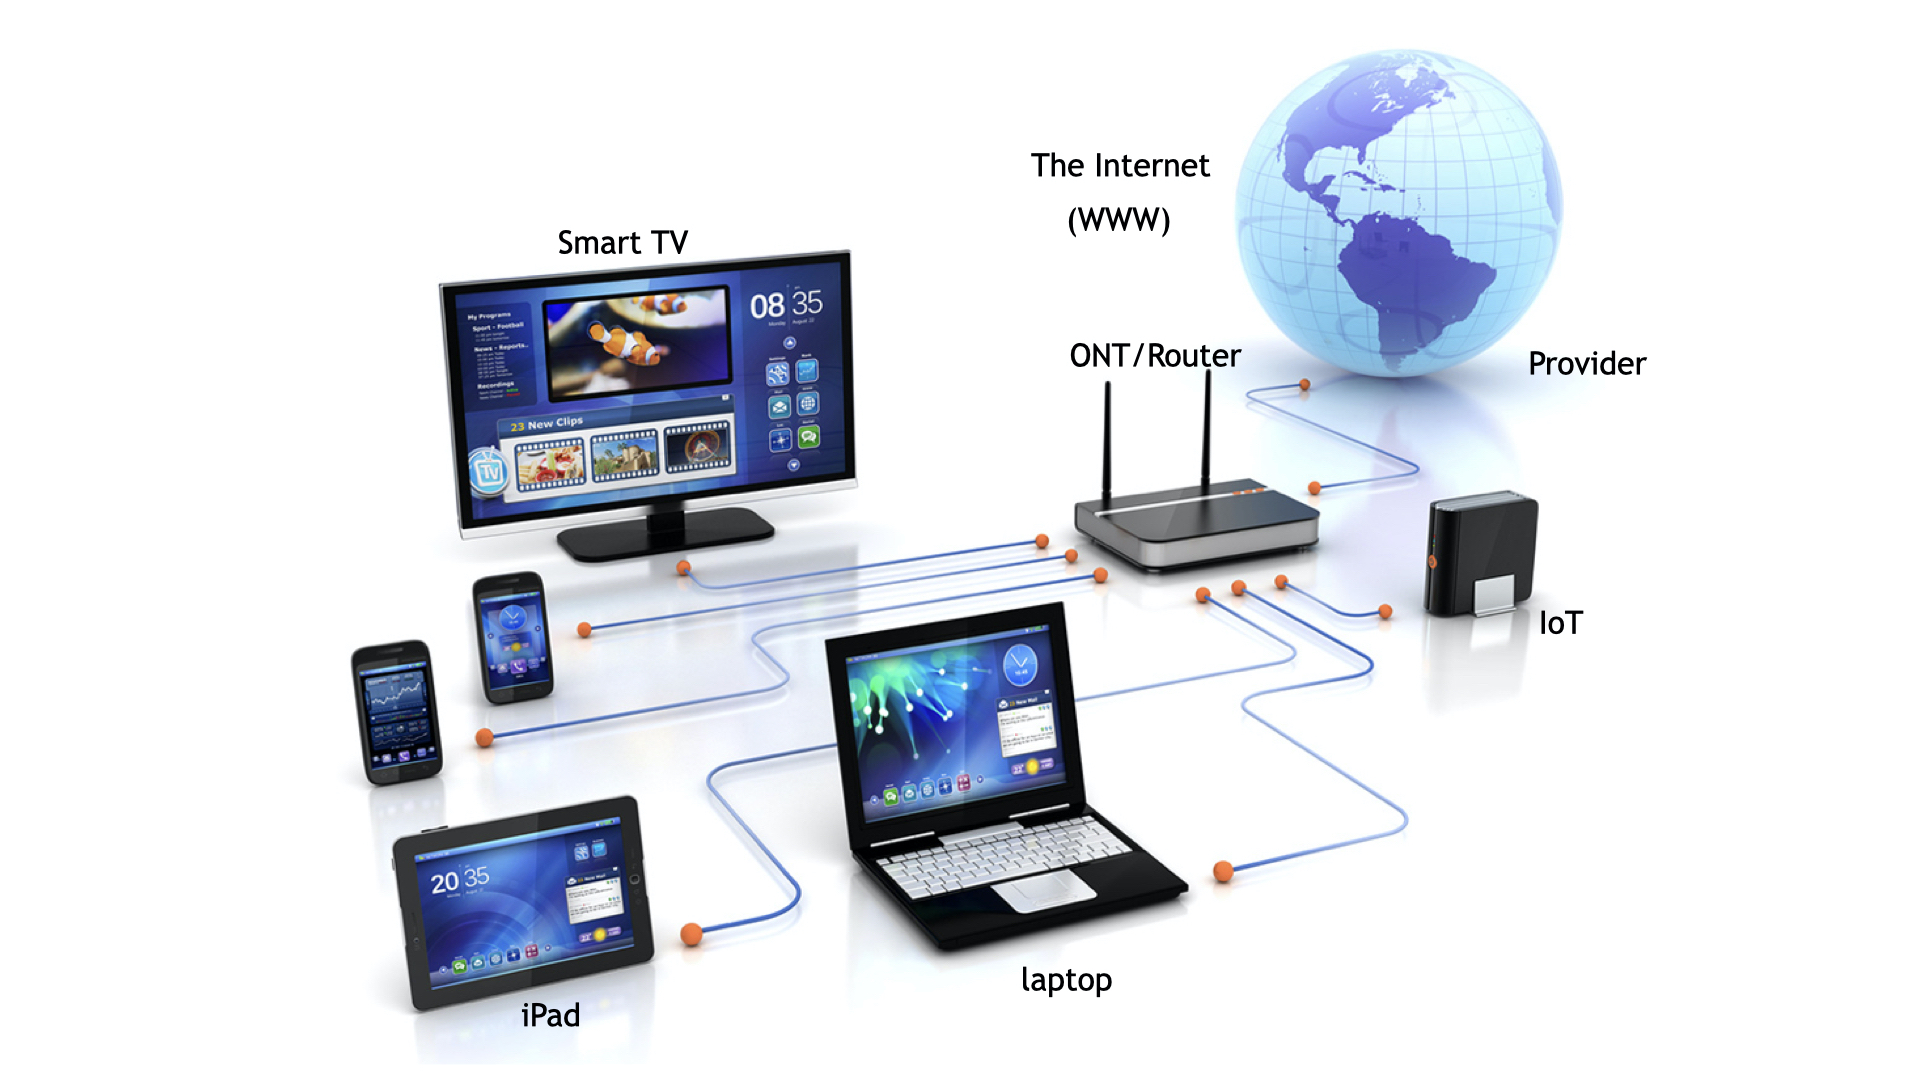
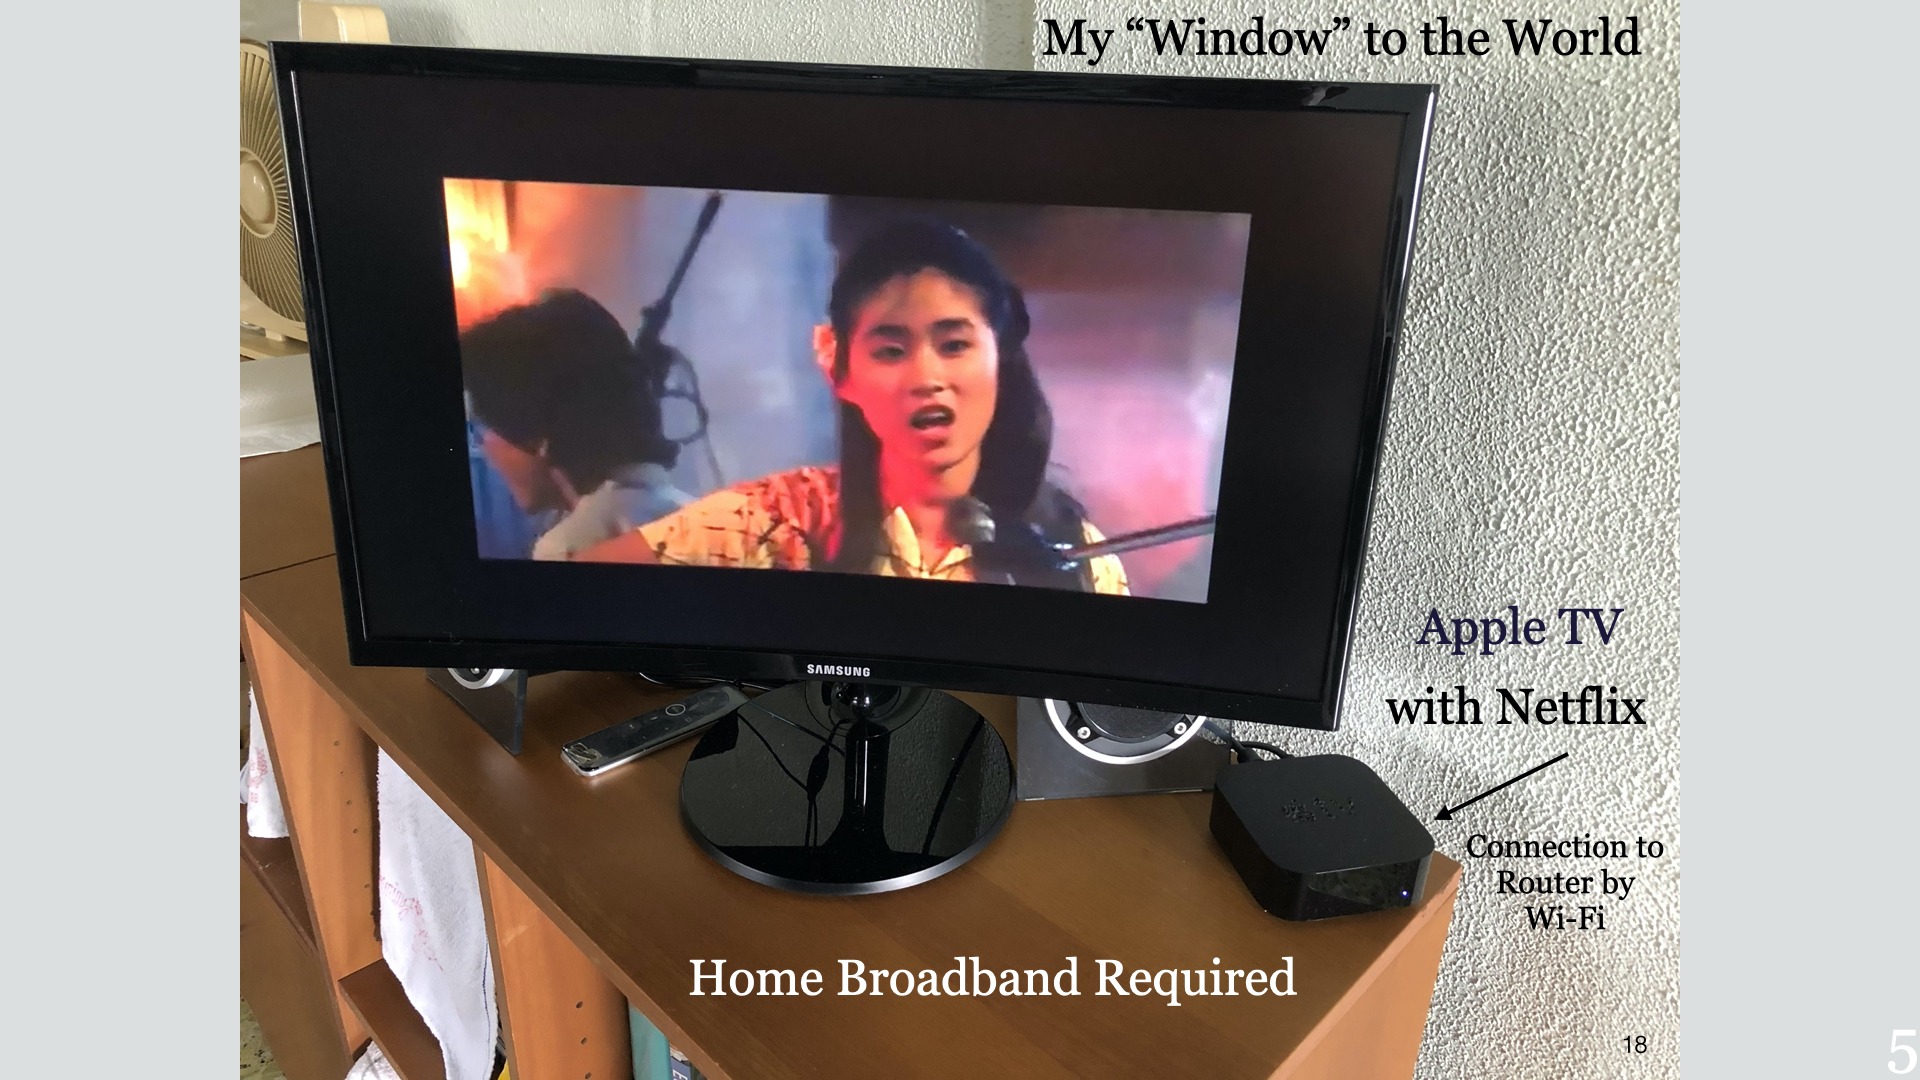
Nowadays, on the streets, you can easily spot a primary school child holding a smartphone! With this one smart device, the child or anyone can do ALL of the above-mentioned (at his home) and more. Now we have satellite and optical network covering the complete earth, optical cable network, IoT (Internet of Things), Cashless Payments, Online transactions, streaming movies/videos, and more.
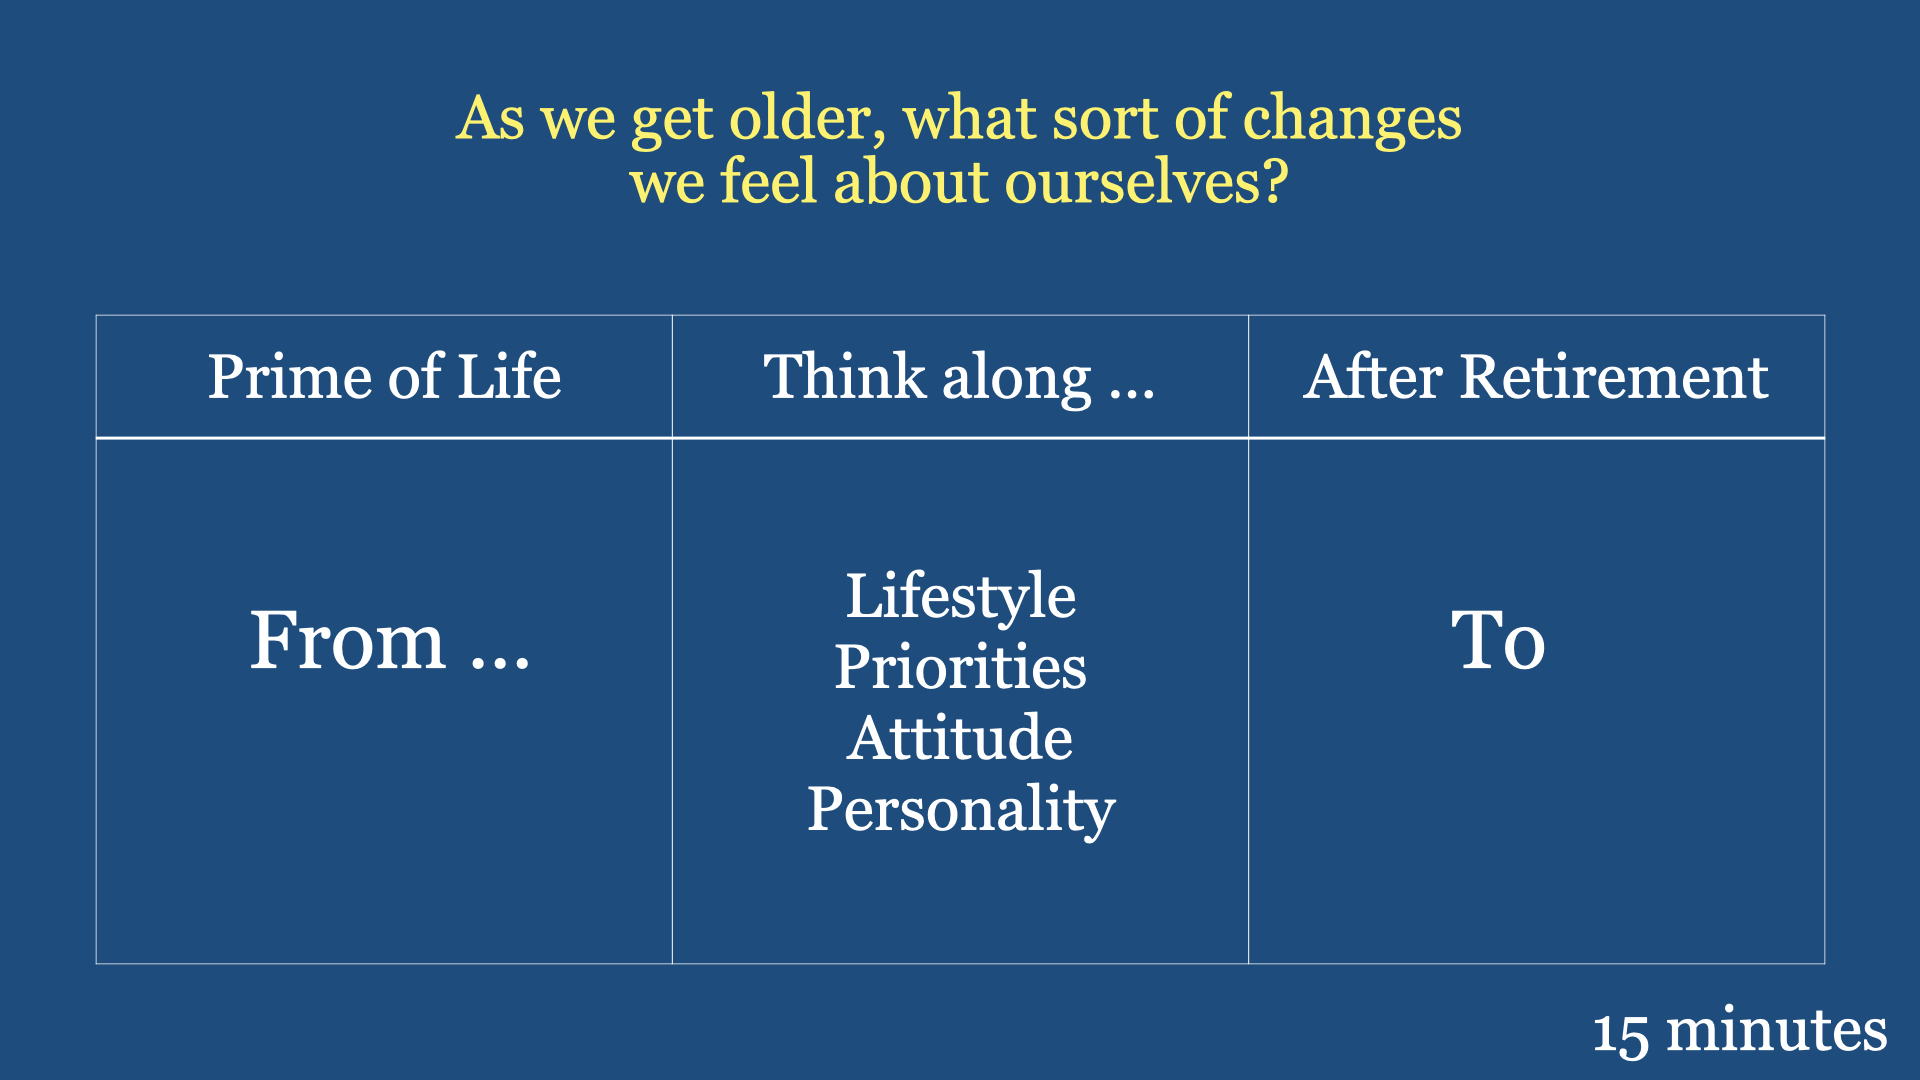
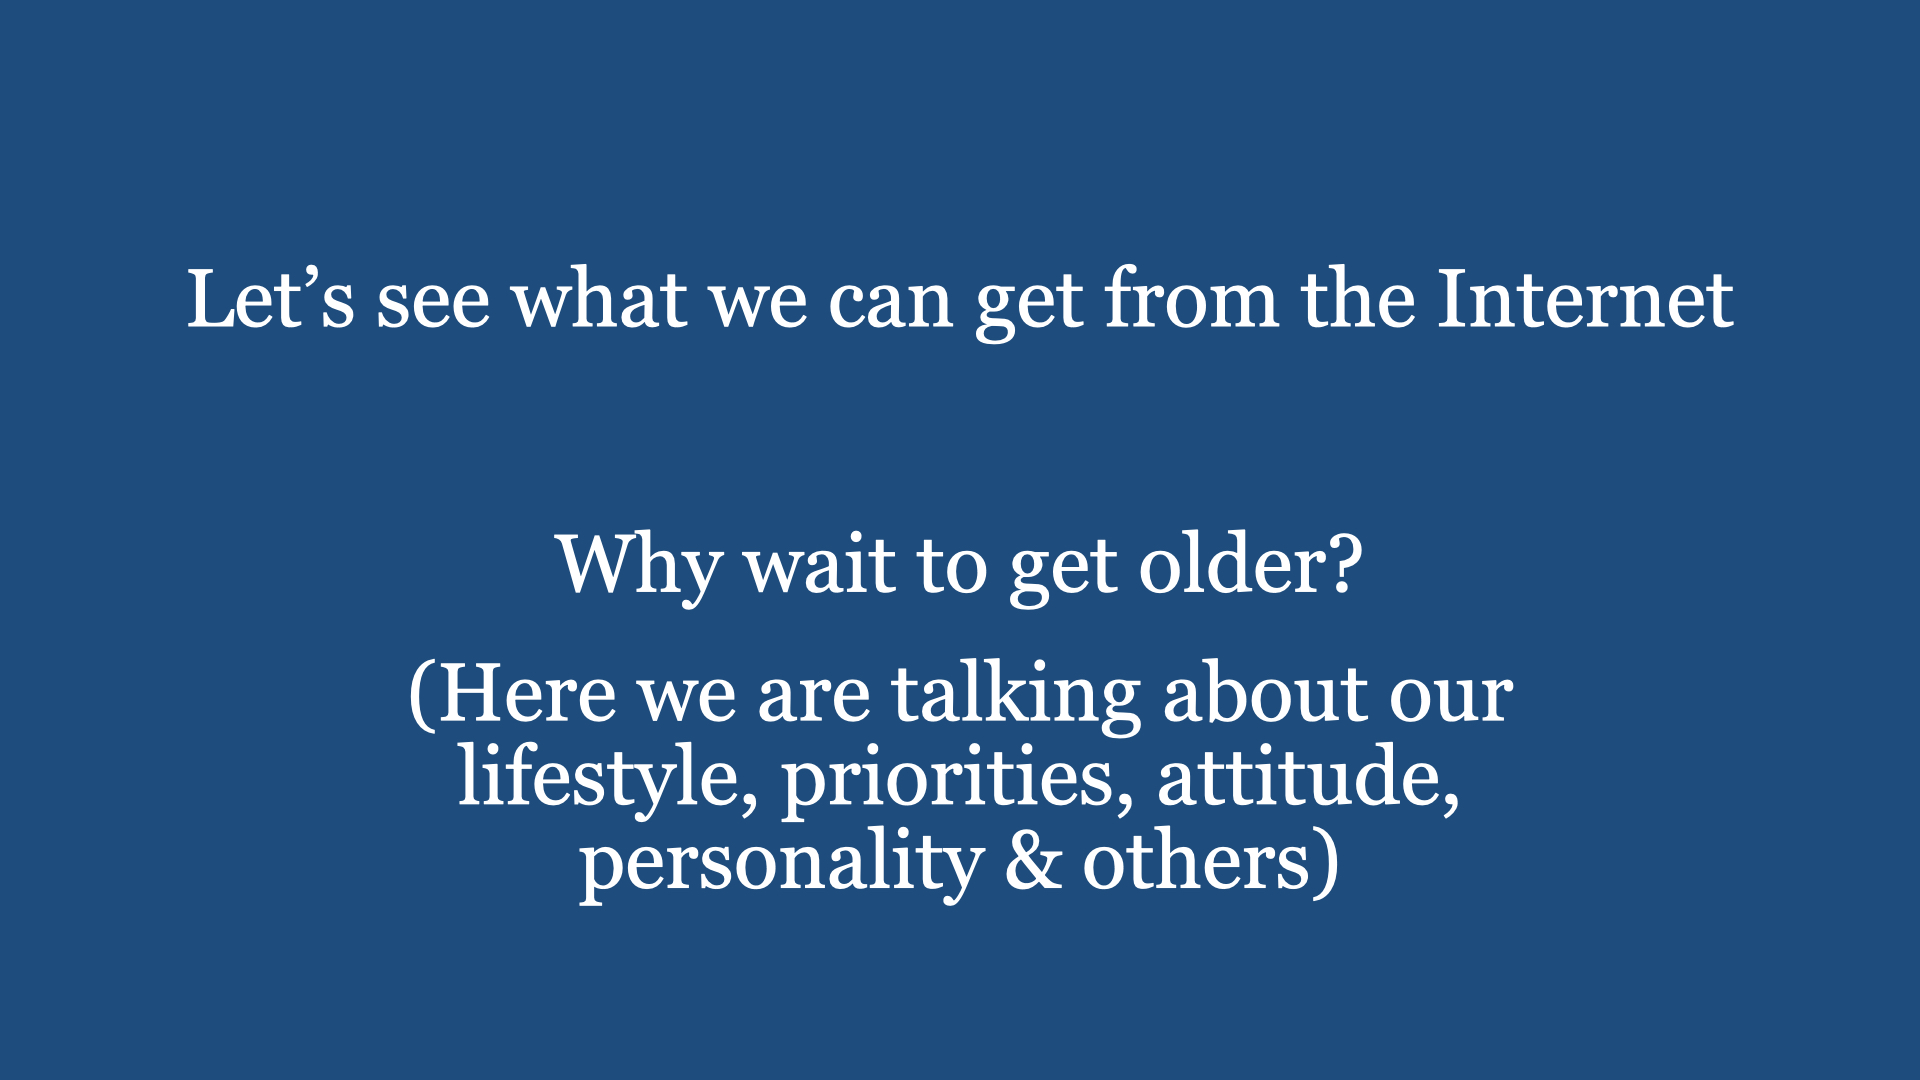
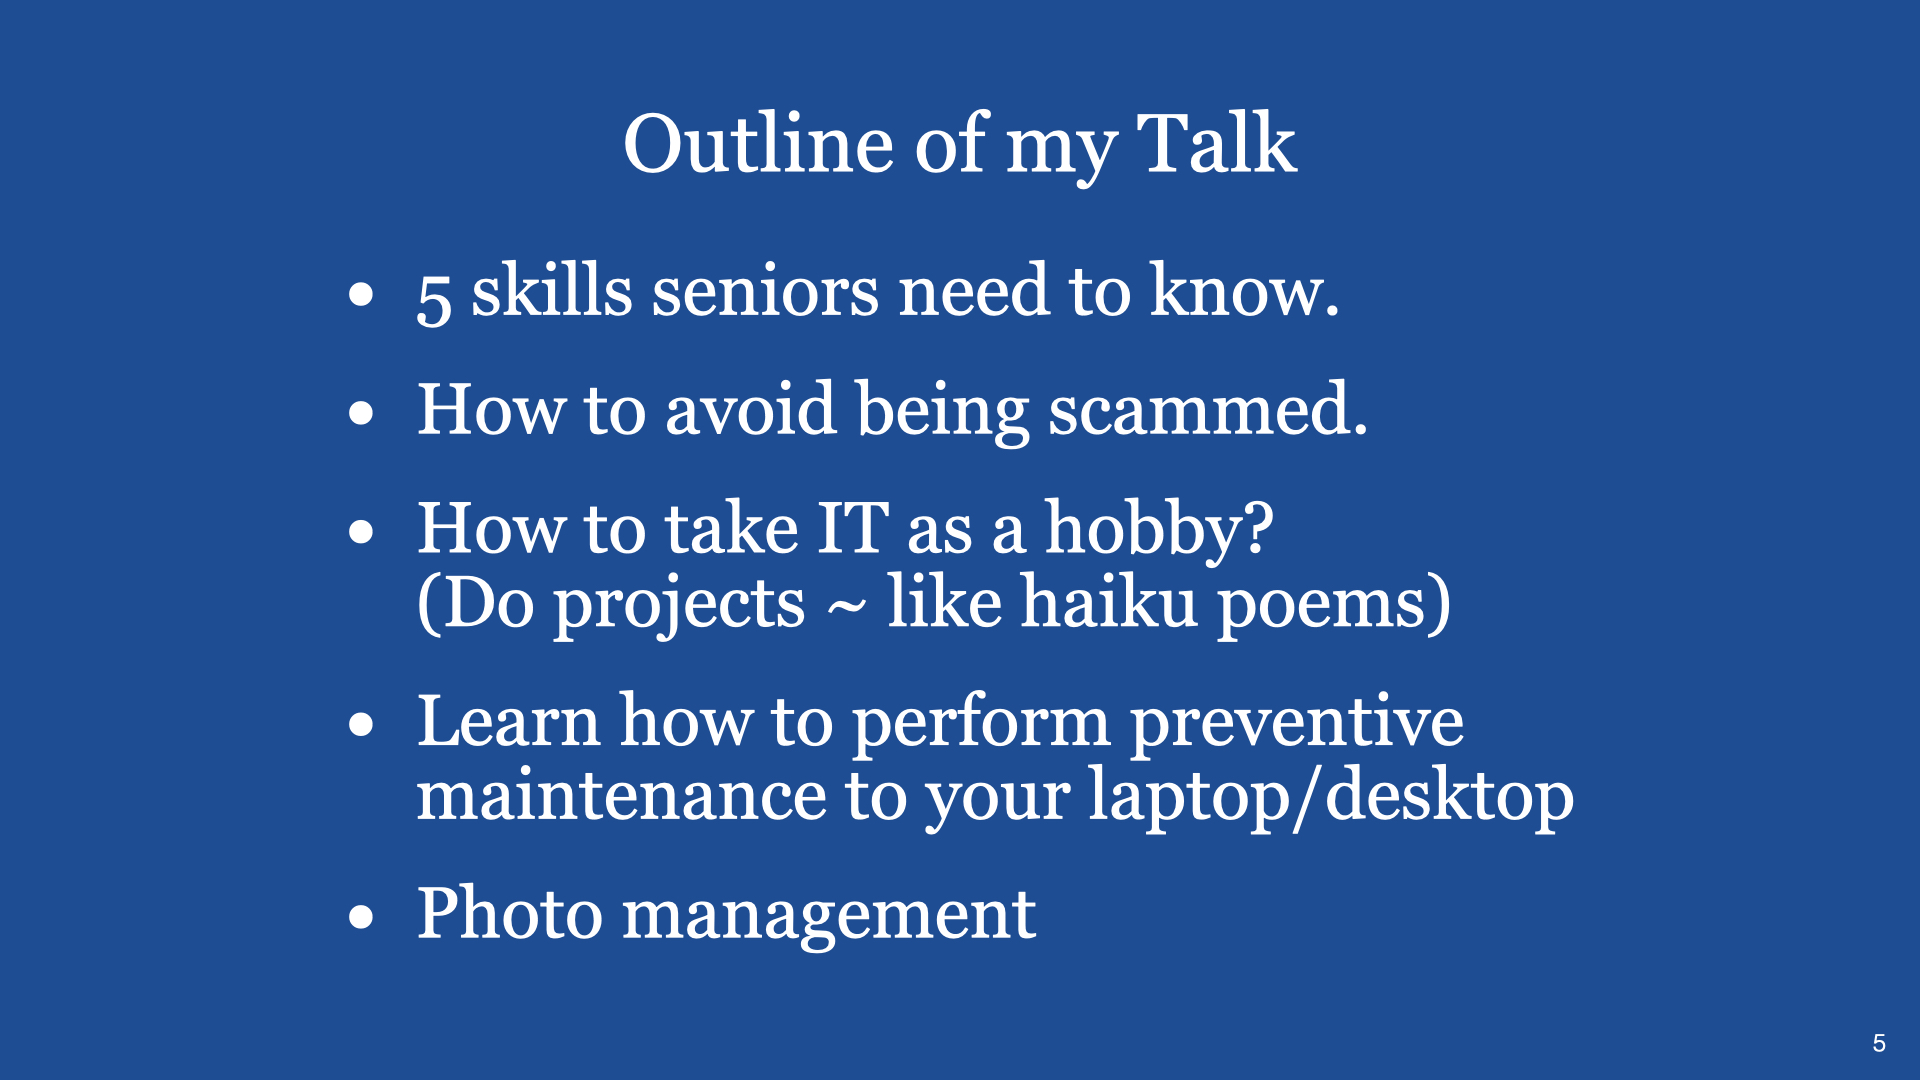
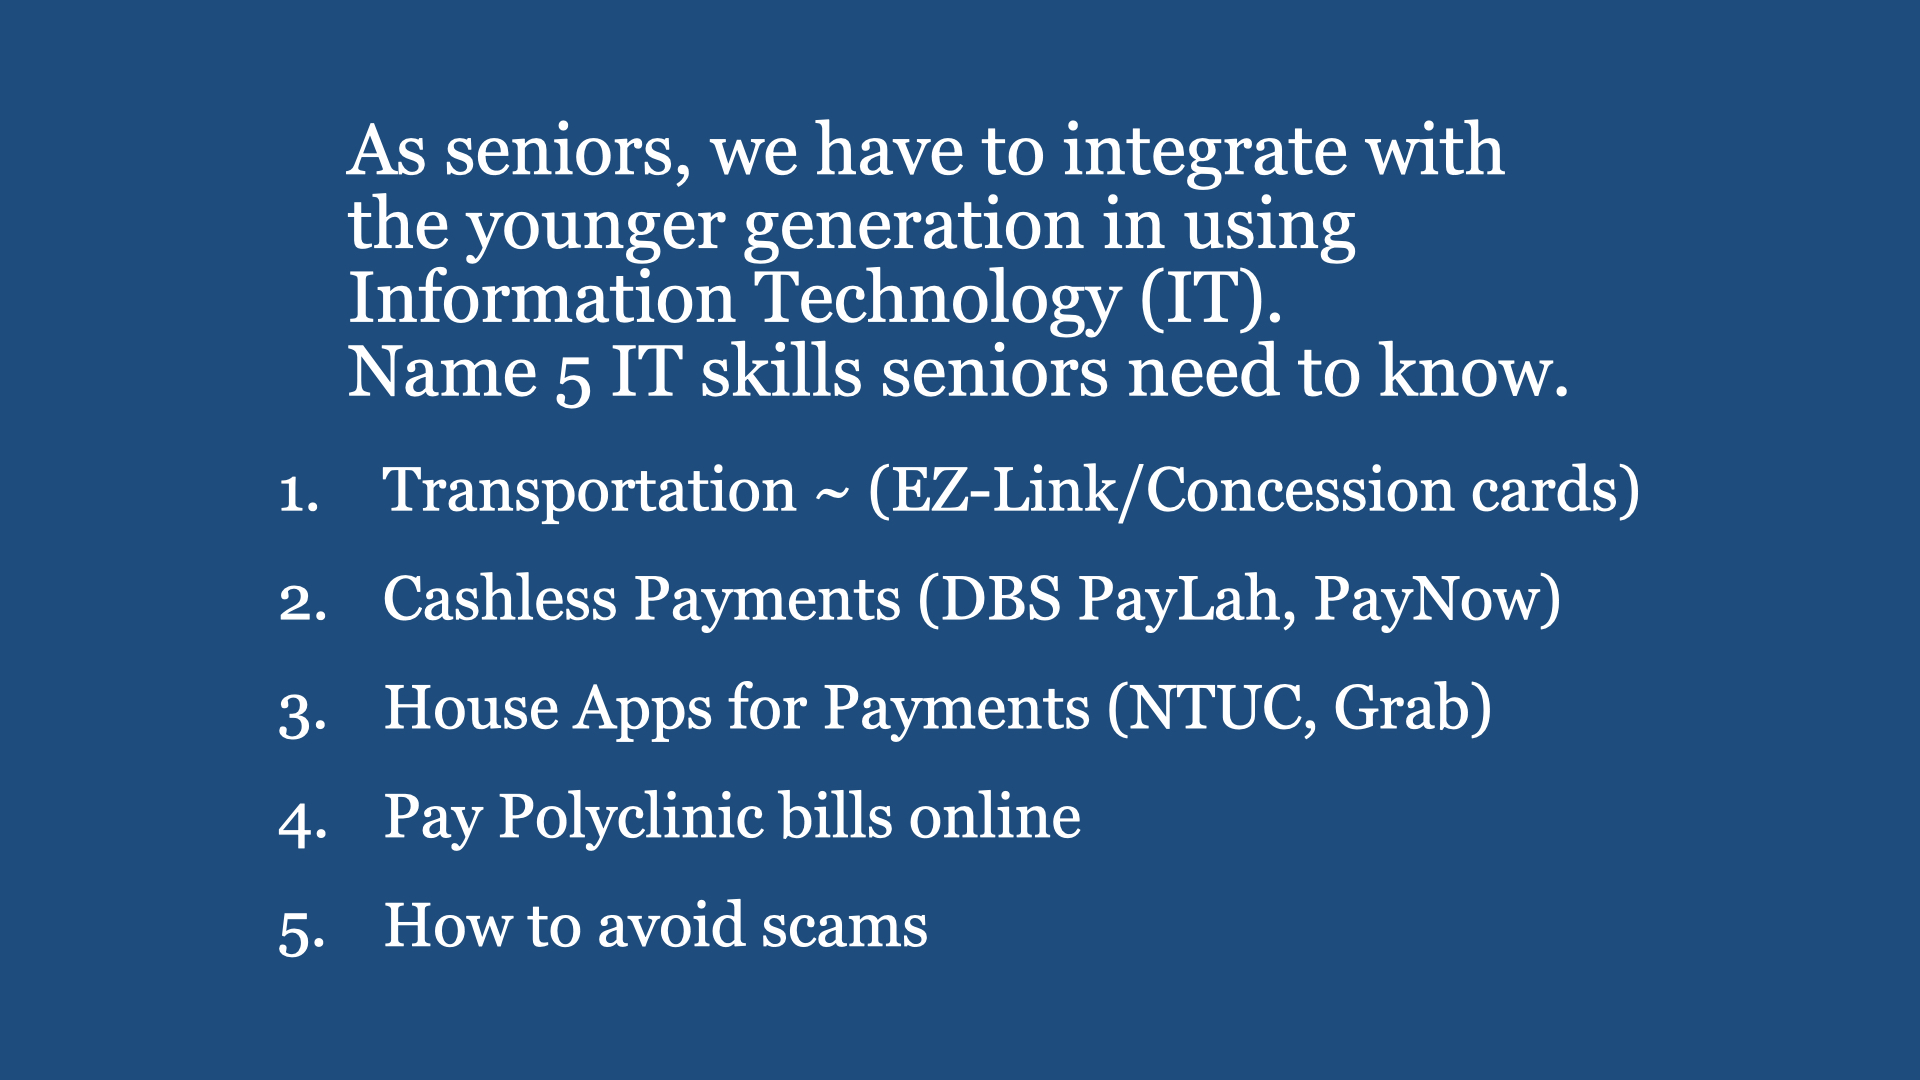
So, for us Seniors, we have to catchup with all these new Information Technology (IT) devices and live a lifestyle comfortable to our needs and happiness … else we may be left behind.
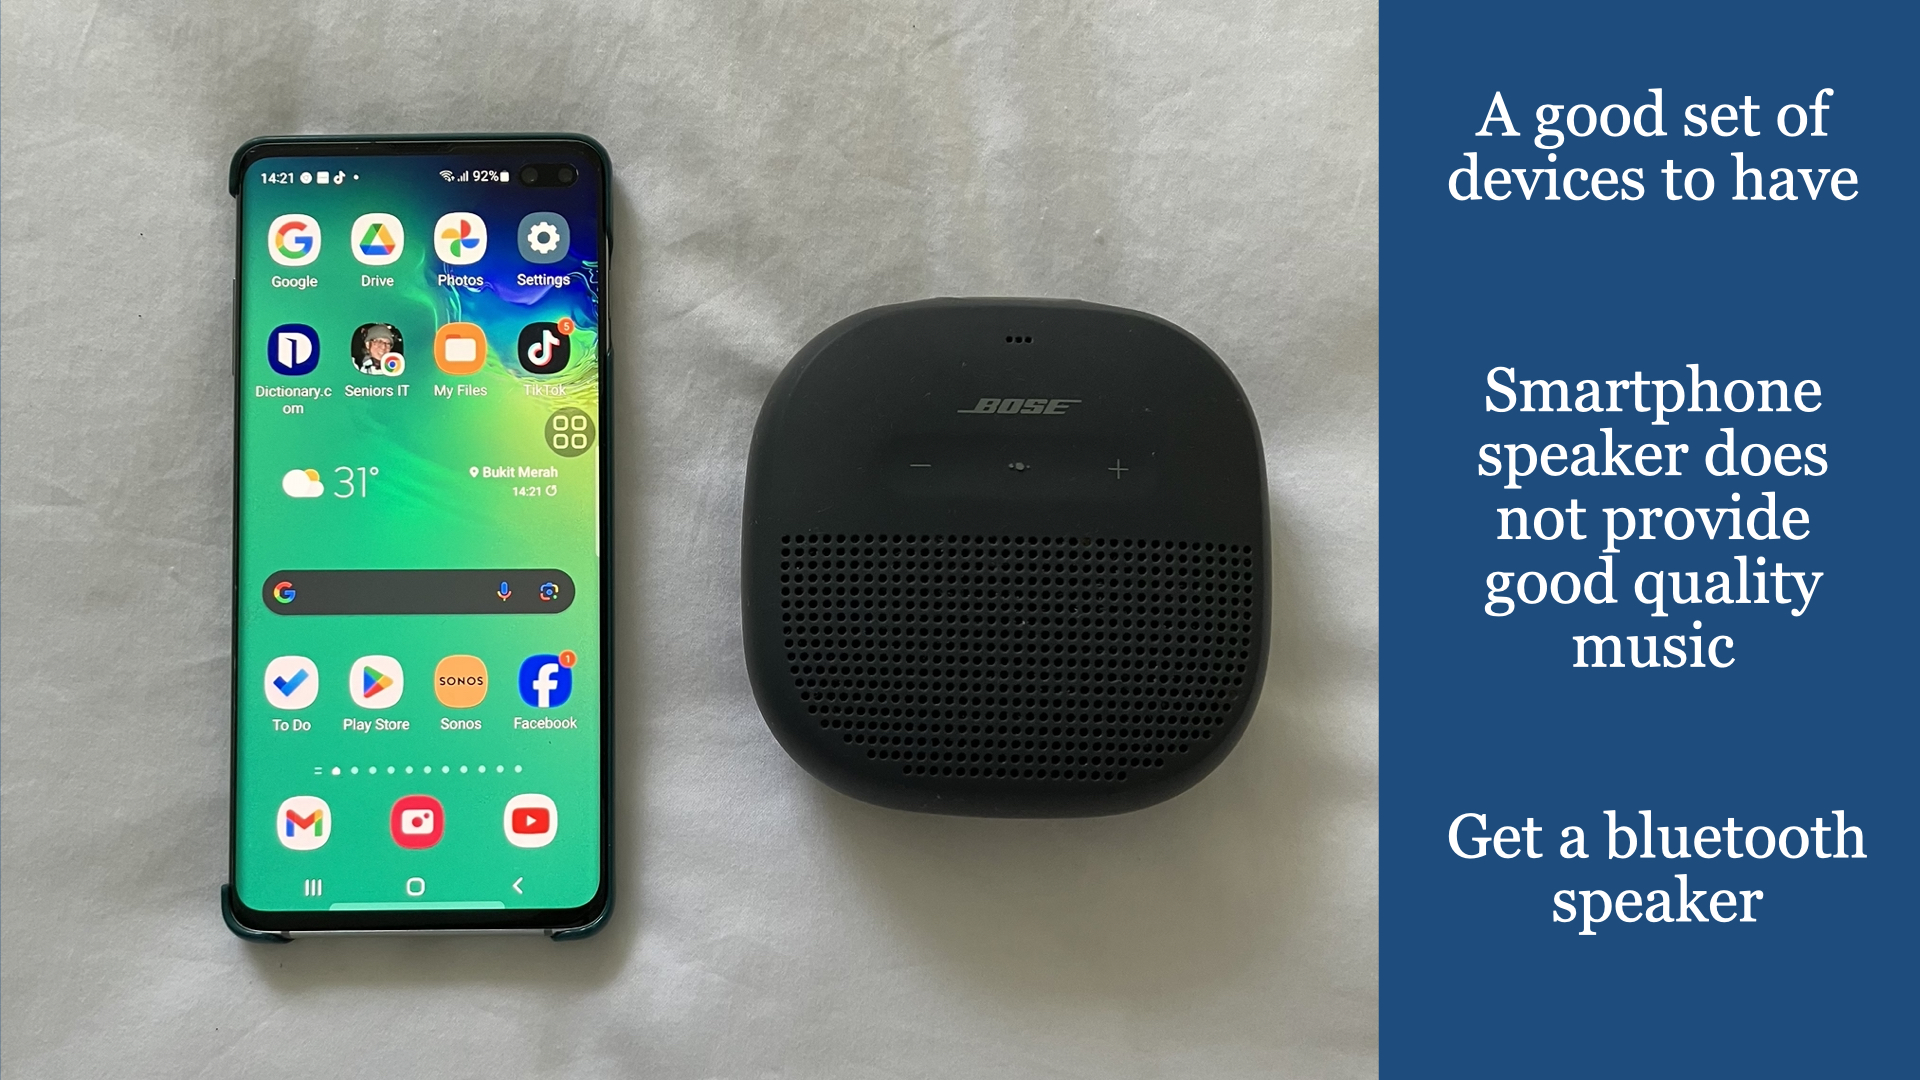
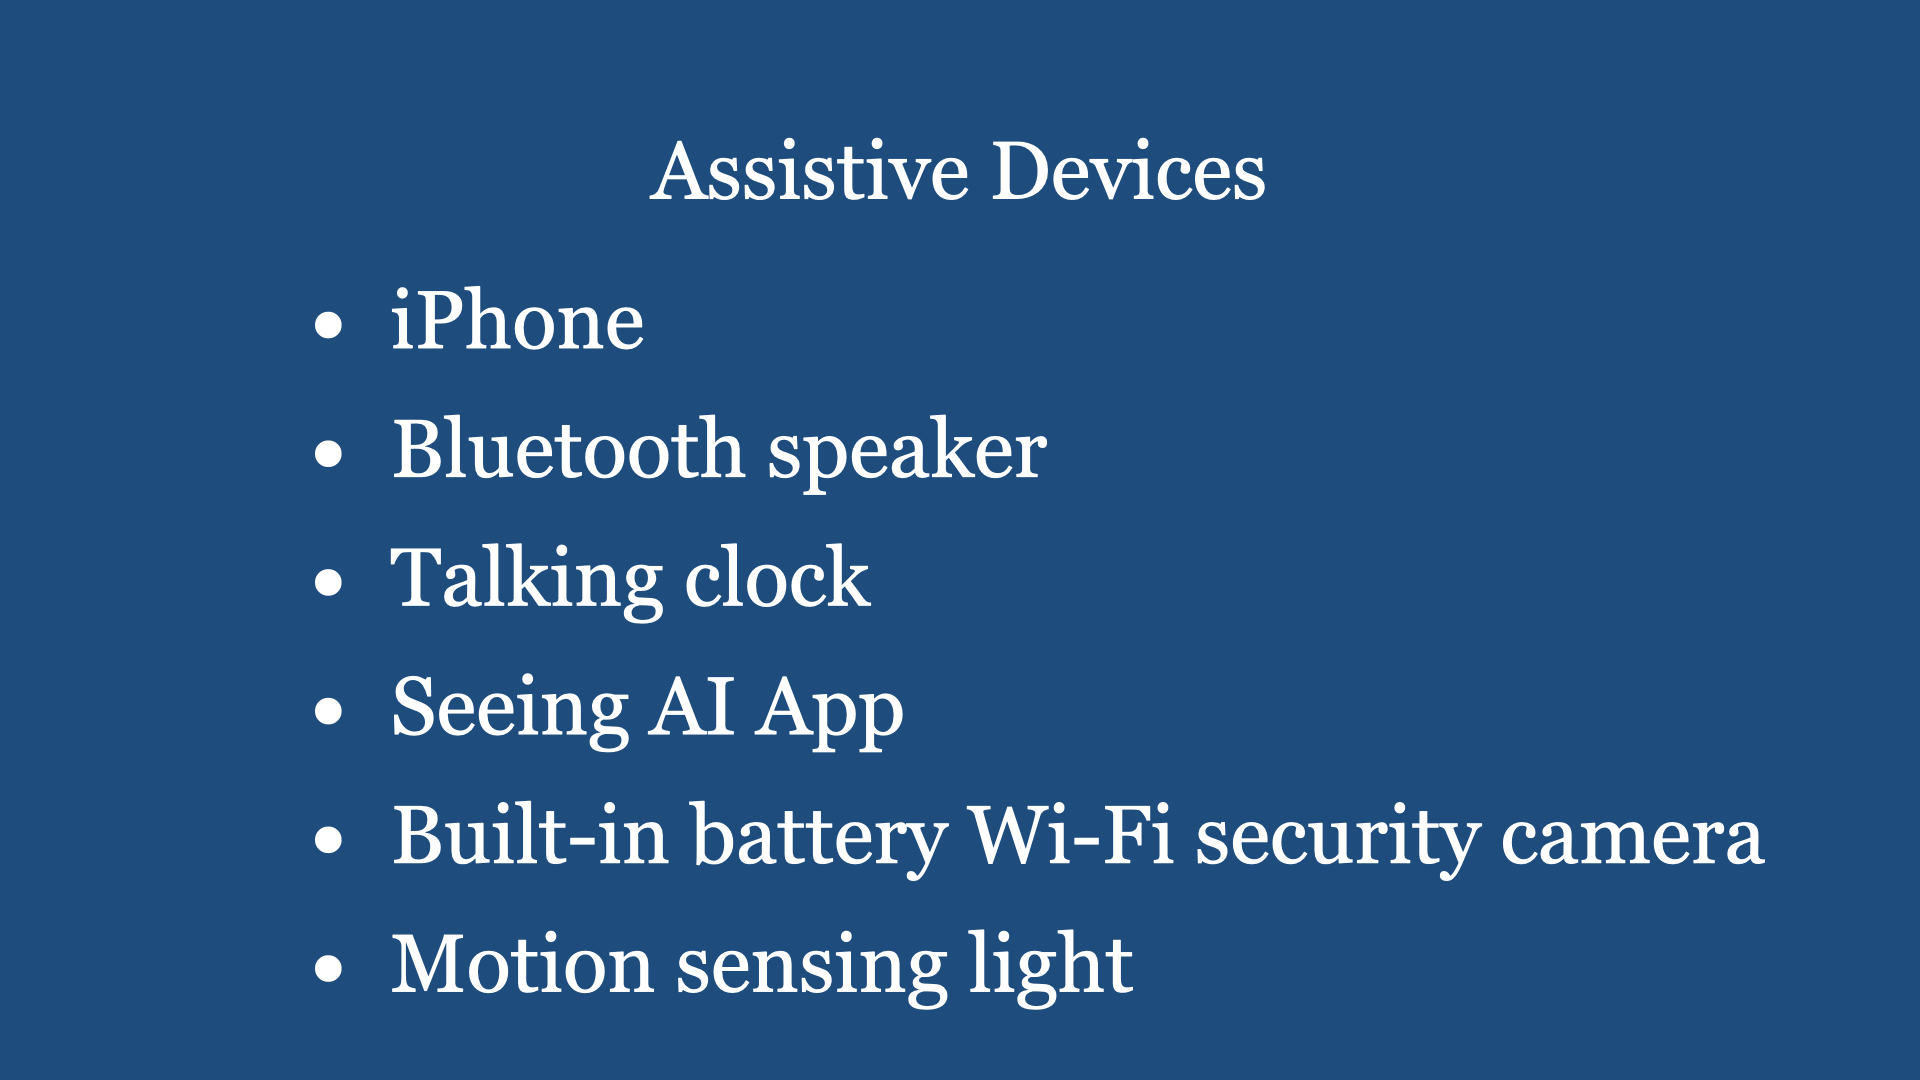
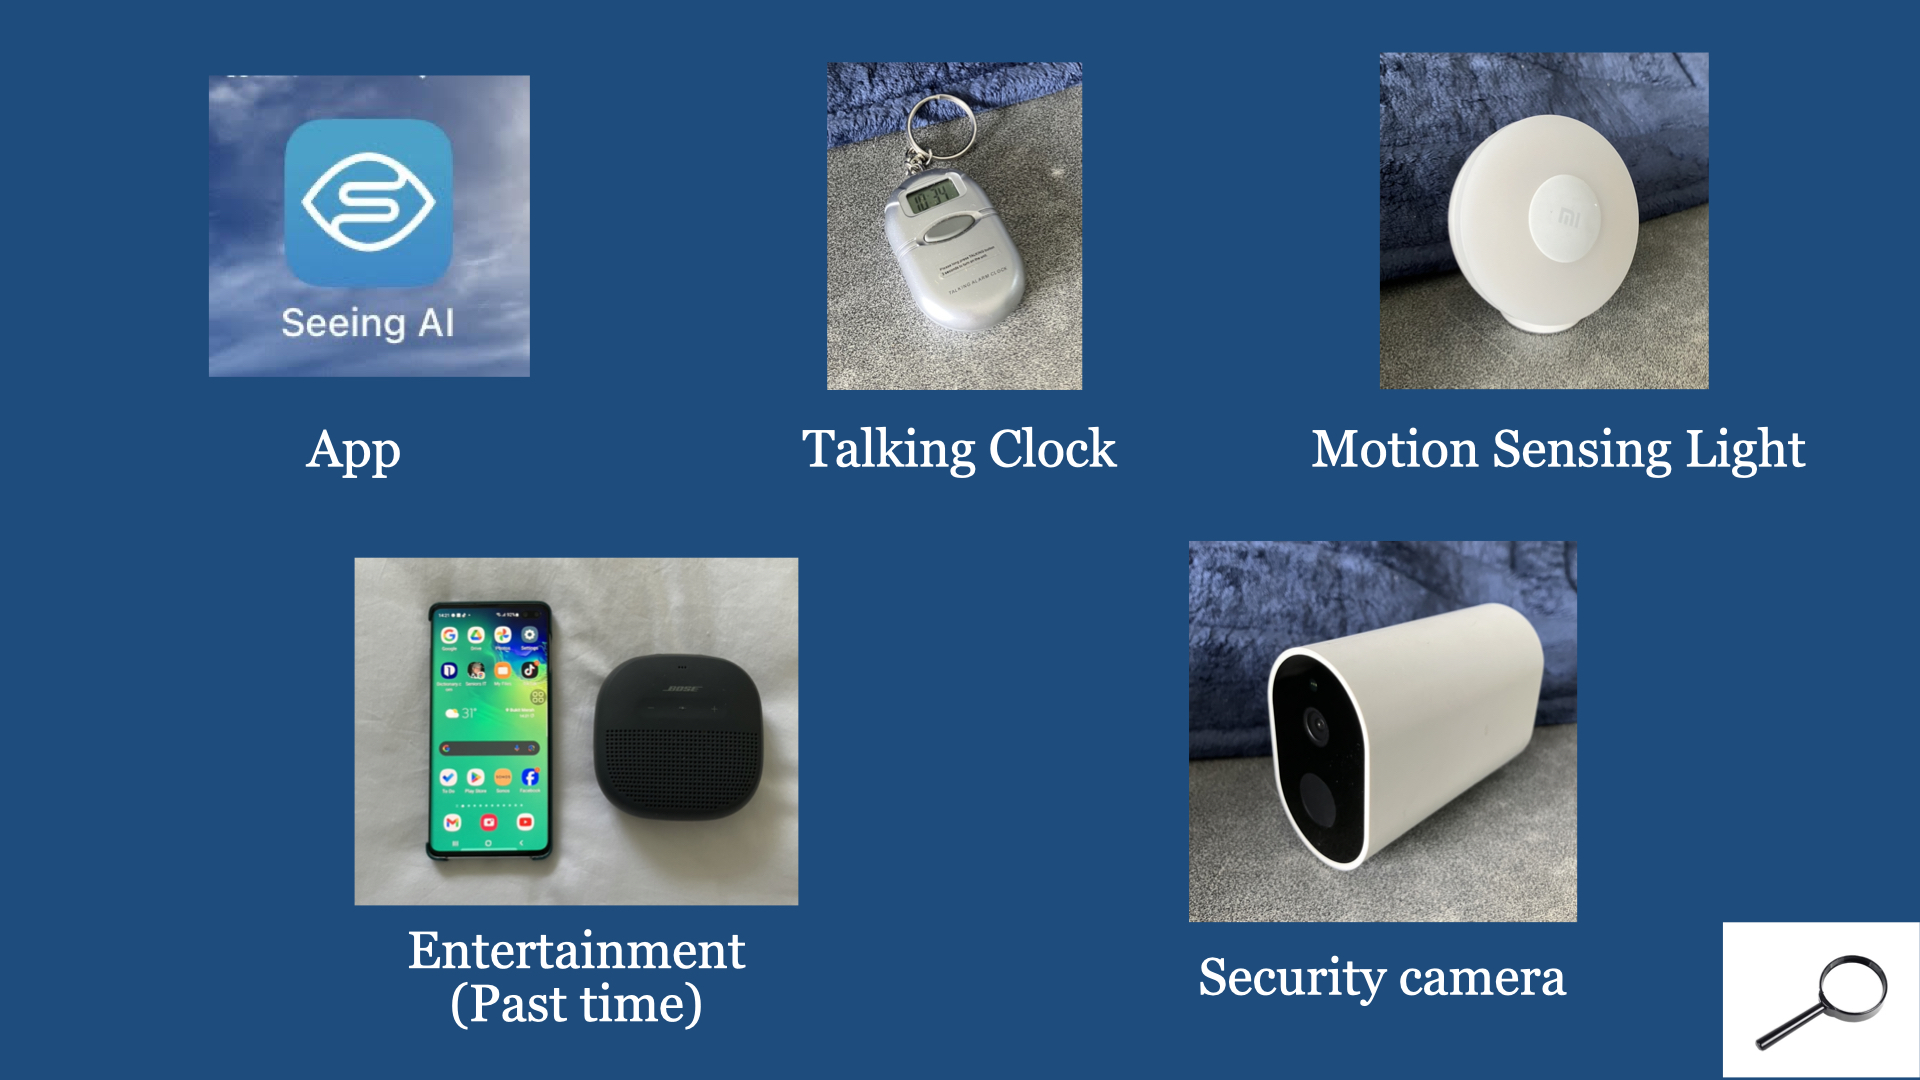
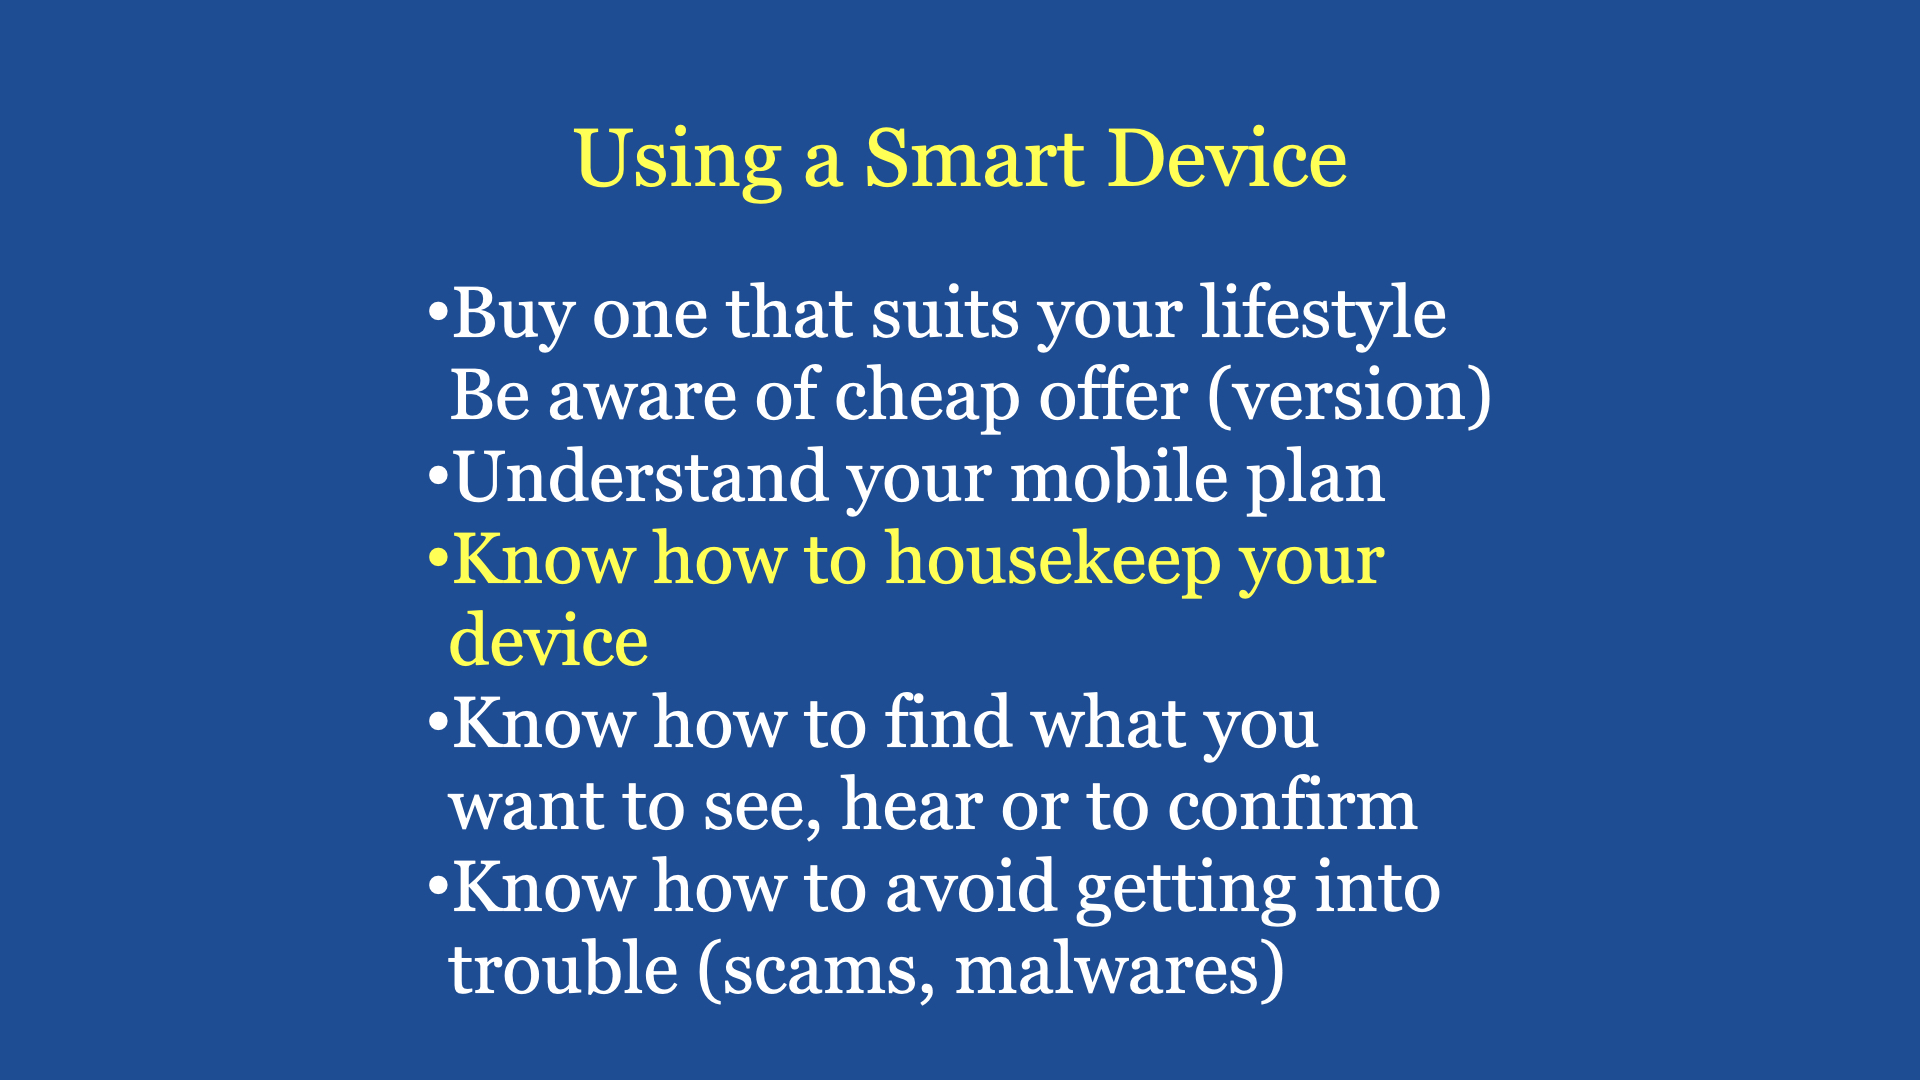
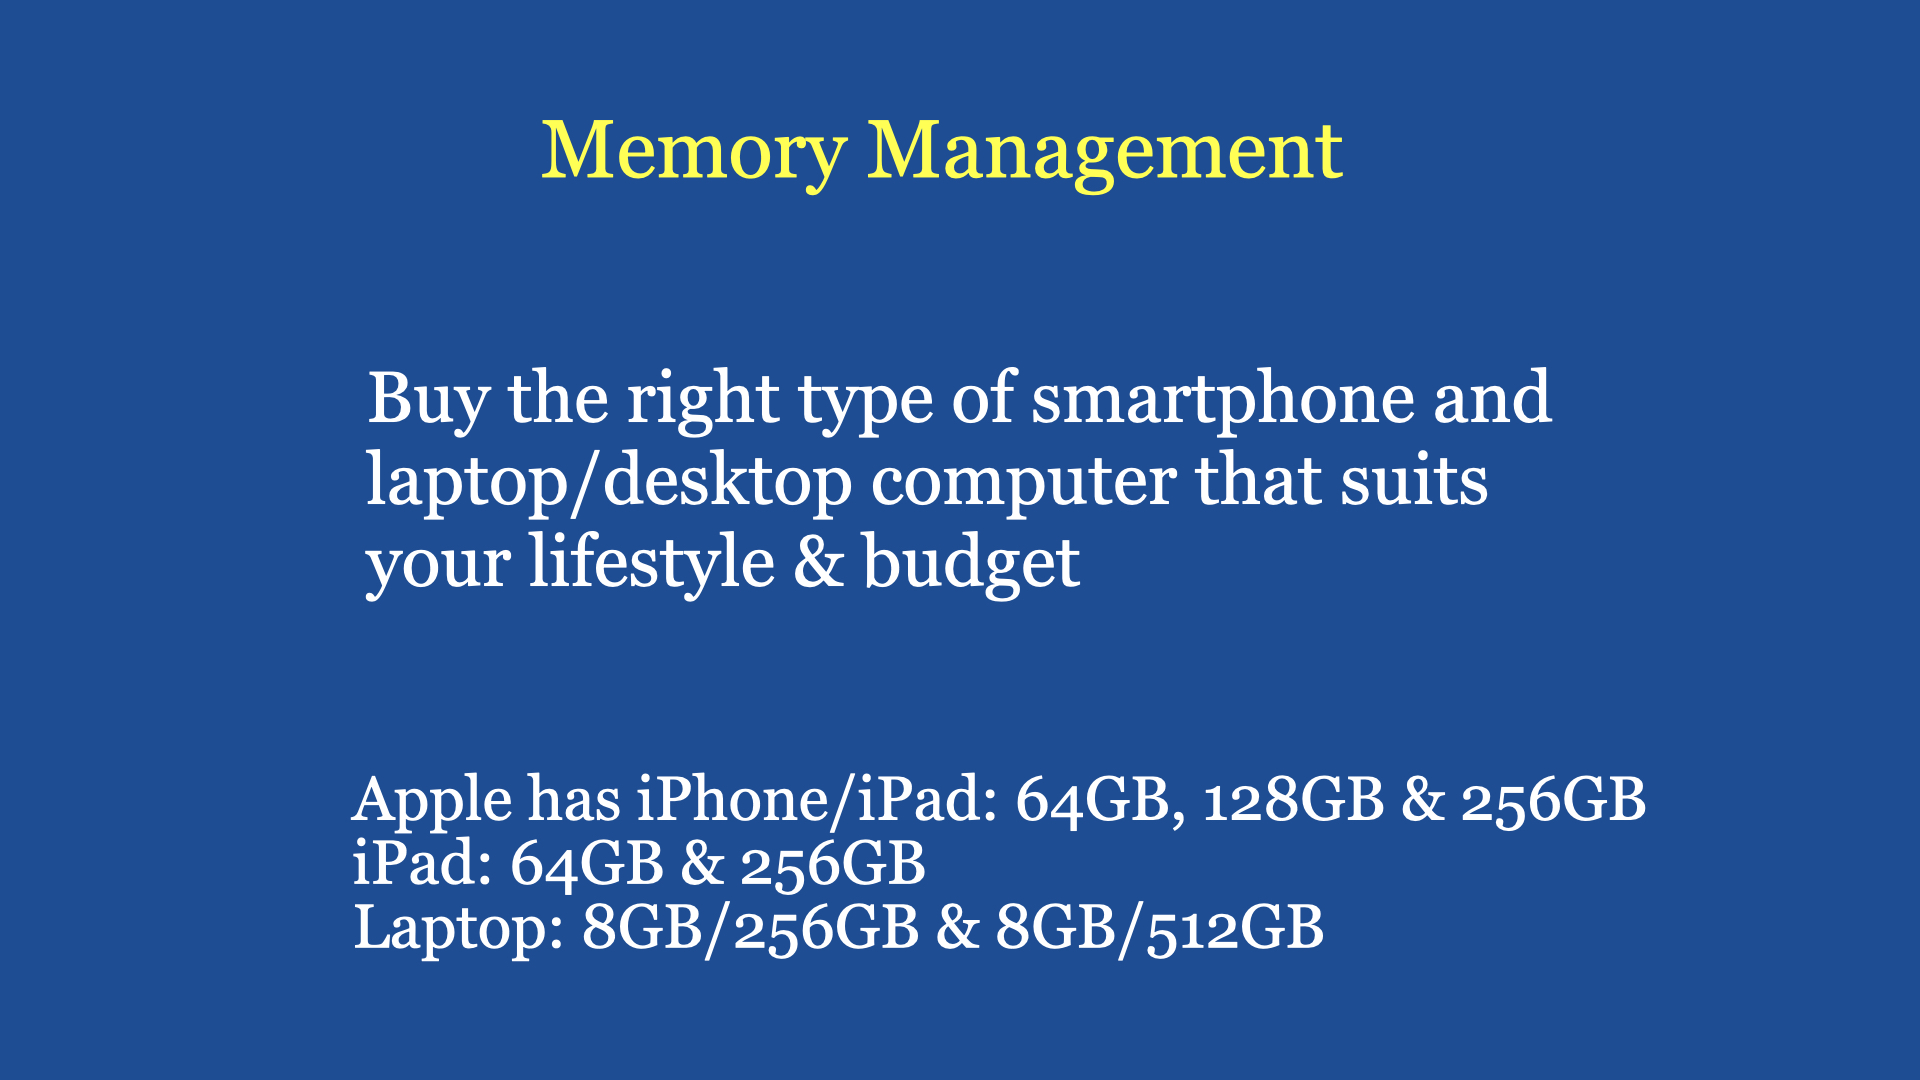
After Retirement, what shall I do to embrace Information Technology? I have been asked this question, many a time, and my answer is always the same and as below … a) get a good quality smartphone. Preferably with 256GB memory and a larger screen. b) subscribe to a Senior’s mobile plan ($5 per month) c) get a good quality bluetooth speaker (to get better quality music) d) subscribe to a Senior’s home broadband plan (500MB plan, about $30 per month) e) come to NLB’s LearnX Community Gathering (like this one) to pick up the necessary skills.
With this above commitment and engagement, I will assure you that you will have a new perspective on life, engage in Lifelong Learning, making new friends along your life journey and picking up new skills that will motivate you to want more. Most important of all is the opportunity to widen your experience on logical and systematic thinking and keep scammers at bay. With more confidence in life, this will also enhance your personal wellness.
Digital Cafe@Harbourfront Discussion: Fundamentals of Ecommerce Date: 12th Aug 2023 (Saturday) Time: 2PM to 4.30PM Venue: library@harbourfront (Vivo City) Facilitator: Hewlee Ho Registration starts around 3 weeks before event date via https://go.gov.sg/toyl Admission: Free (NLB membership required)
What is e-commerce? E-commerce is one of the groups of FinTech. It is a Tech Startup model communicating almost all business decisions through the Internet.
The customer is aware of your products or services through the Internet (marketing).
Once a sale is confirmed, i.e. payment made online, you activate your delivery department to deliver the product/service on agreed date/time.
Types of Business – Product and/or Service – Main Distributor – Self-import – Through online platform – Retail, home service, and/or online
Decide what you want to do 1) Product only 2) Service only 3) Product & Service
Products only – How many players already in the market? – Target group(s) that may buy your products – Can you do better than the existing players and still make a comfortable profit? – What make you think you are better than the existing players?
Example of a business model – Selling new bicycles and bicycle parts. – Servicing all popular brands of bicycles – Mix & Match bicycle parts (customised) – Have a web site for marketing and networking – Have an Internet Interest Group on cycling (be the Team Leader) ~ networking
Customer’s Experience Dinning in a Restaurant 1. Scan QR code (Menu) 2. Order food items 3. Present table number to cashier (for payment) 4. Amount confirmed, use smartphone to scan QR code for payment 5. Payment received, receipt printed.
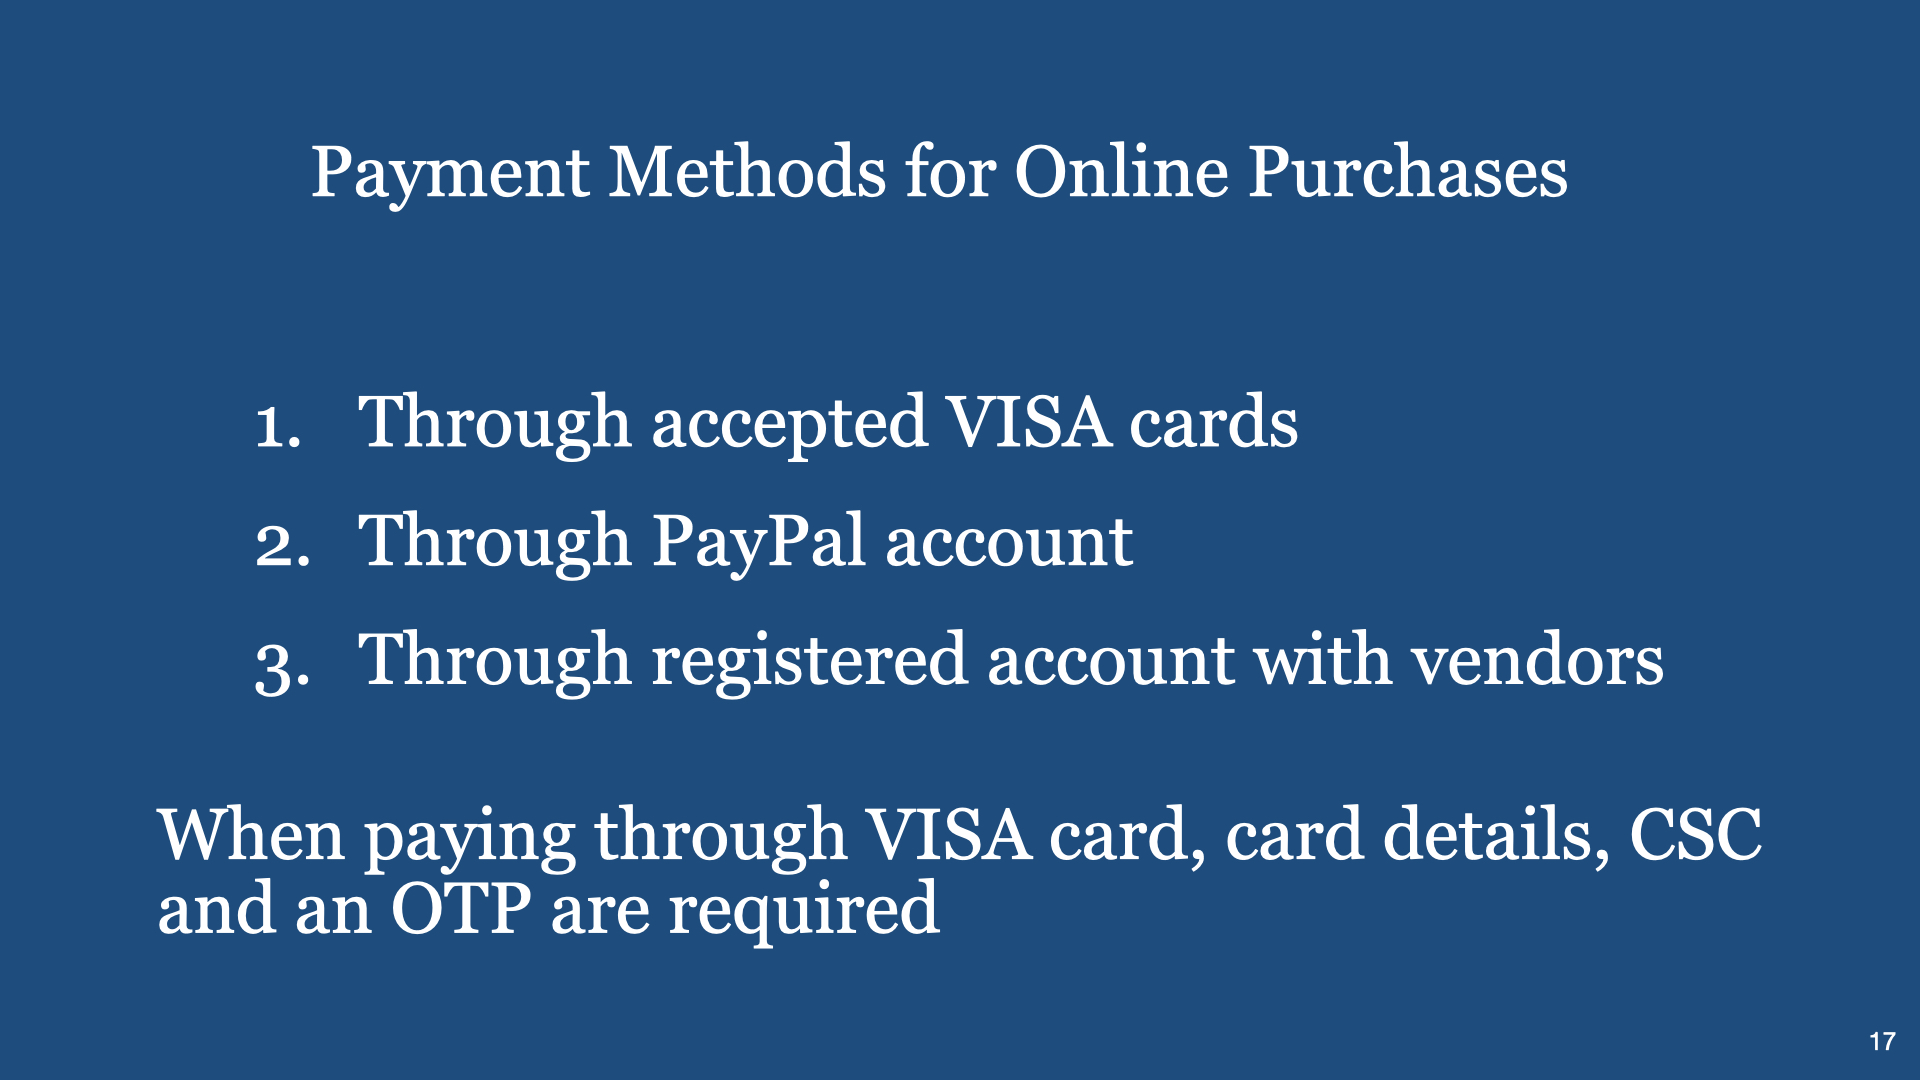
Customer’s Experience buying a product online 1. Decide on an online platform for the product 2. Go to a showroom to view product (if possible) 3. Accept offer and pay online (trusting seller) 4. Specify date/time of delivery 5. Product delivered within specified date/time.
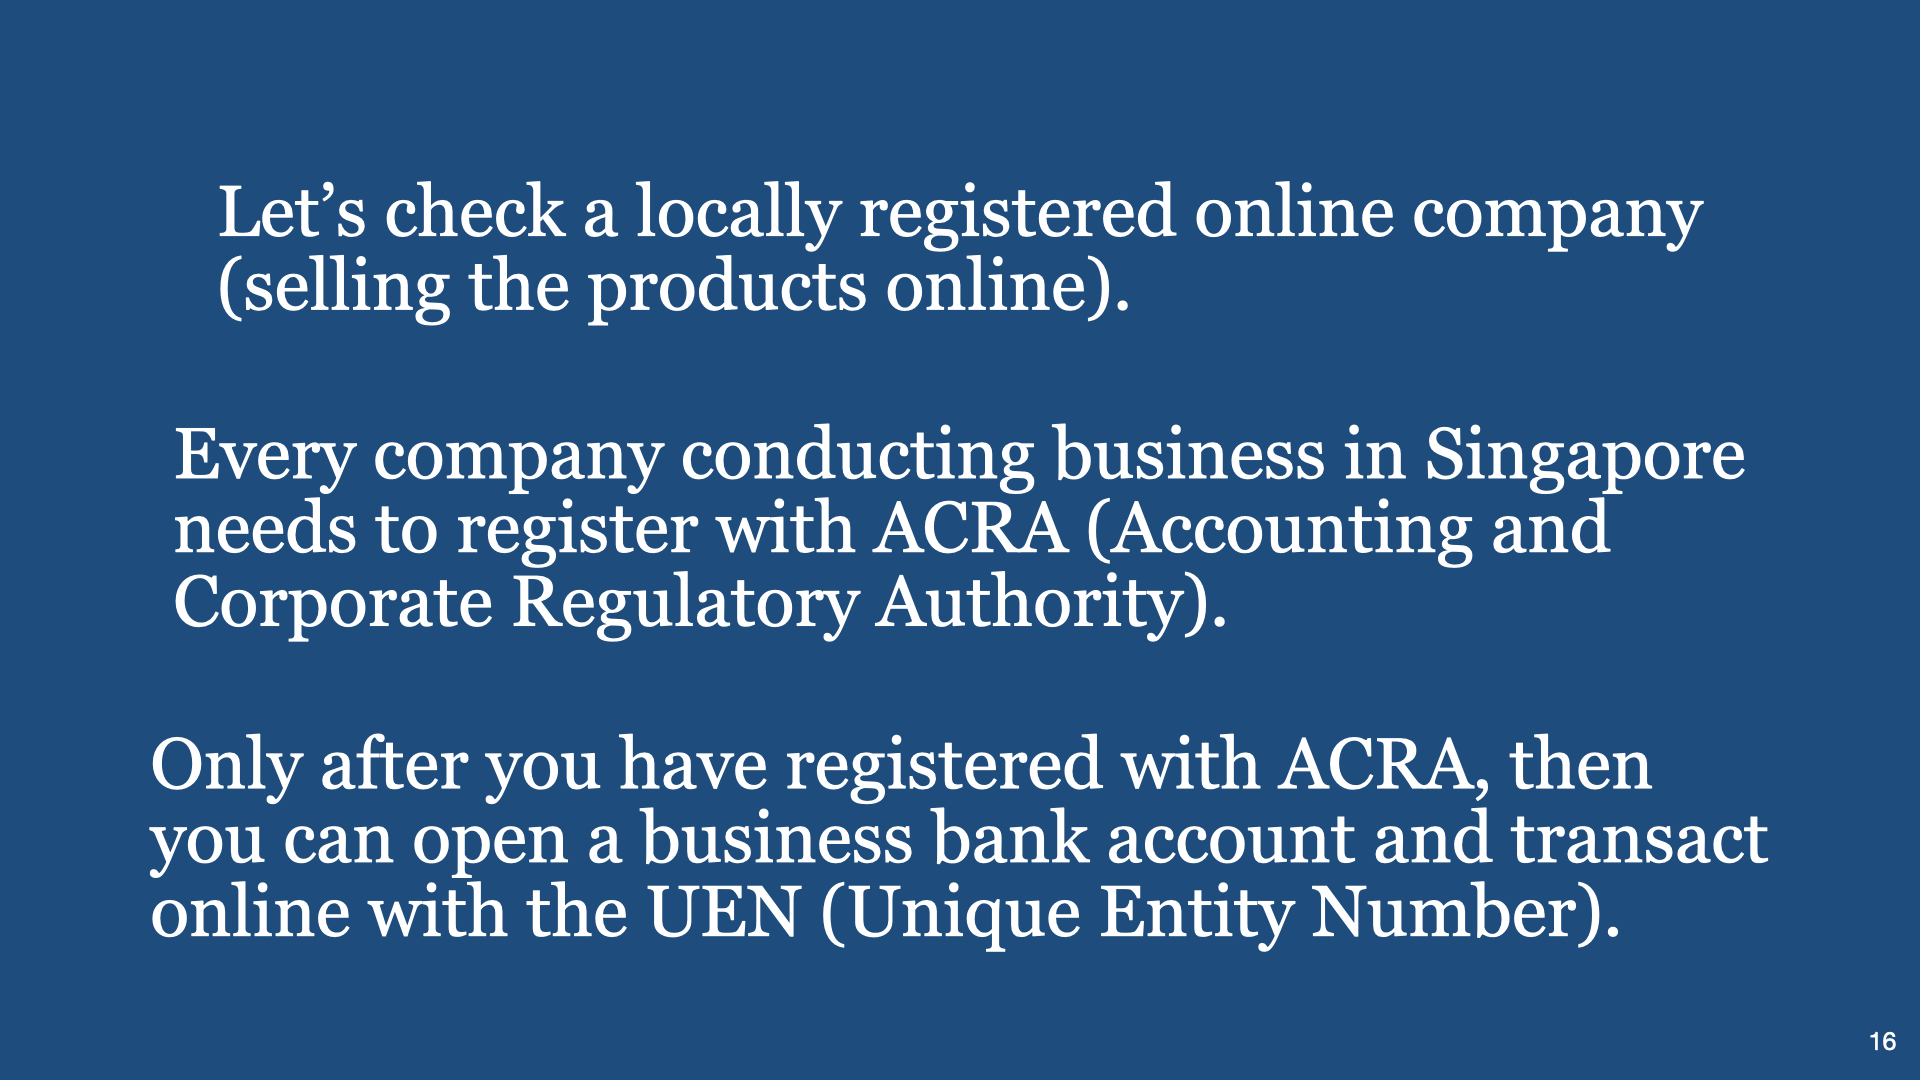
Tech Startup (online business) 1) Register with ACRA 2) Open business bank account 3) Product or Service or both 4) Sourcing including funding 5) Pricing, Profit, Payment Methods 6) Development of website (marketing) 7) Human Resources 8) Delivery & Storage 9) Logistics
Discussion Topics:
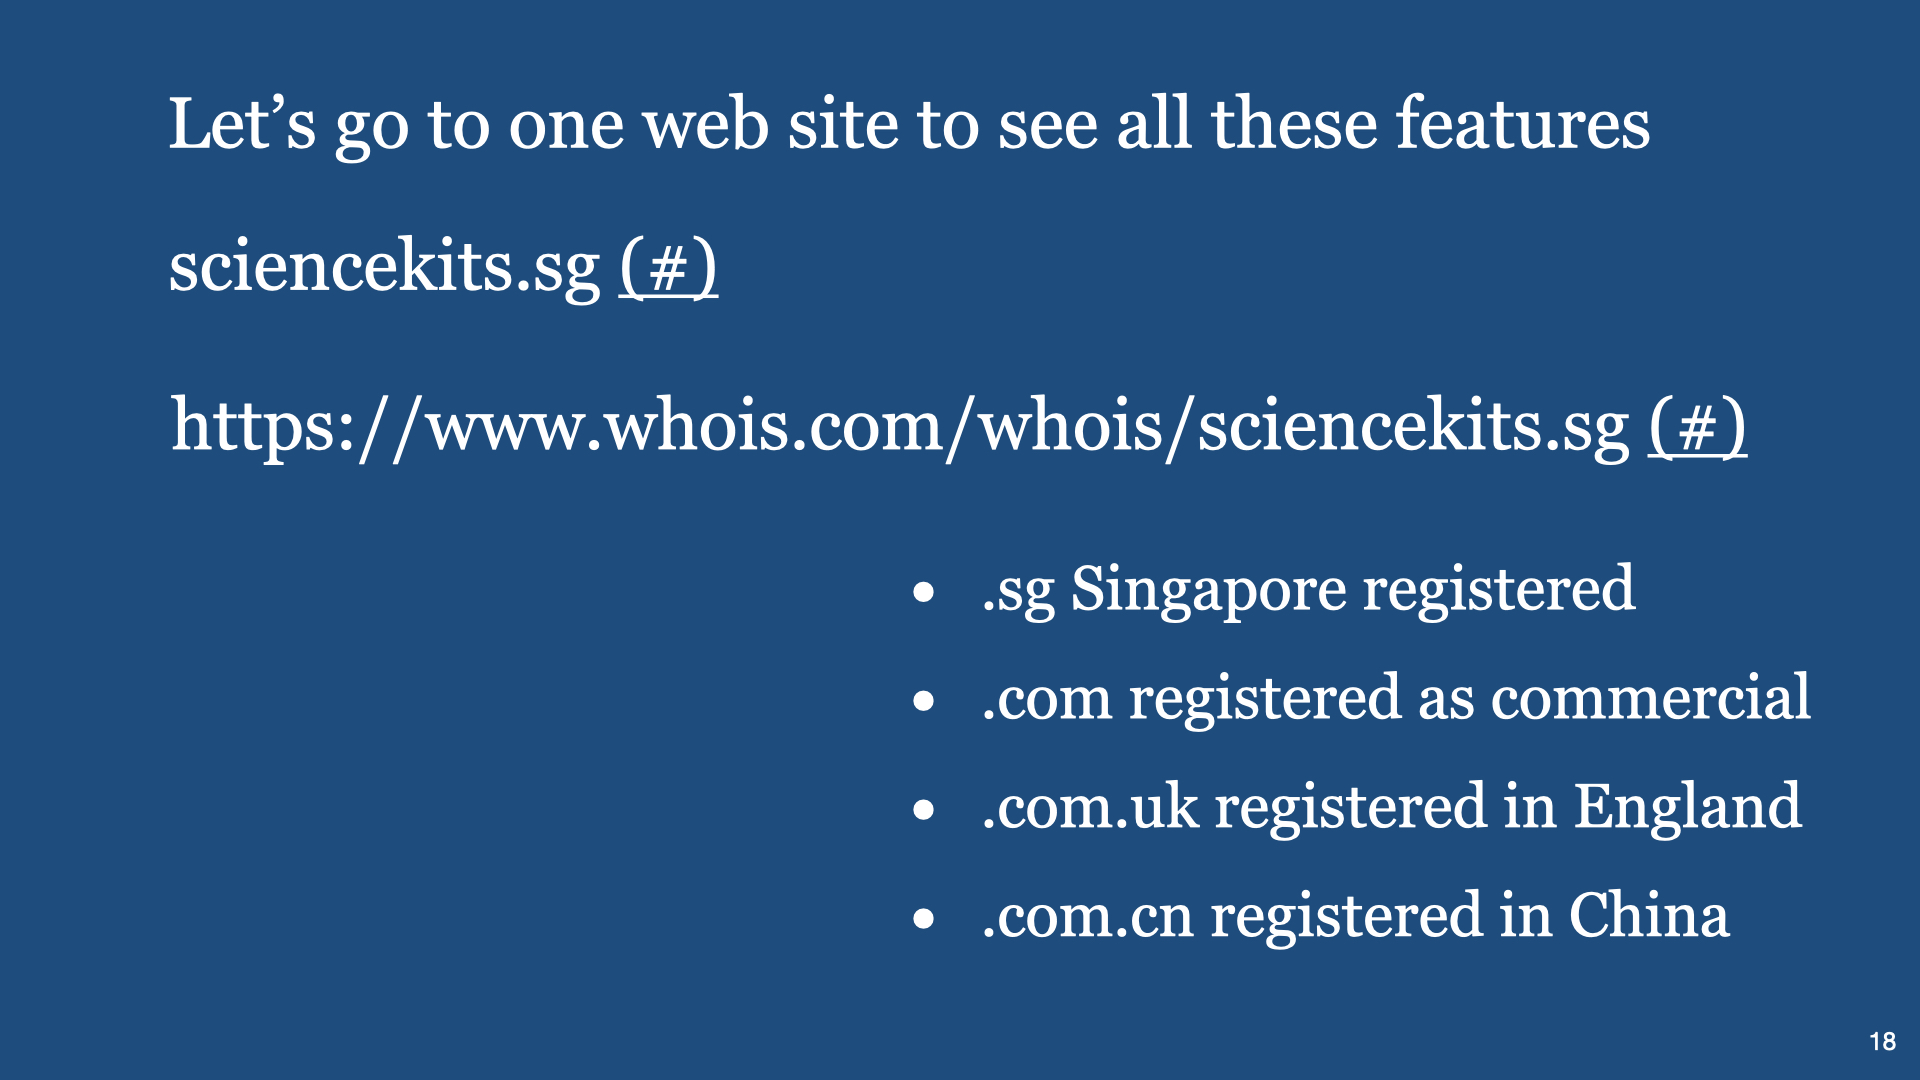
1) As an online Customer, what are your expectations on an online web company?
2) To safeguard being scammed in online transactions, how do you assess any online web company?